How to add mods to Project Zomboid
Last Update 2025-01-28 12:56:06
How to Add Mods to Project Zomboid: A Step-by-Step Guide
Adding mods to your Project Zomboid server can enhance your gaming experience and let you tailor the game to your liking. This guide will walk you through the process step-by-step, perfect for beginners!
Step 1: Finding the Right Mods
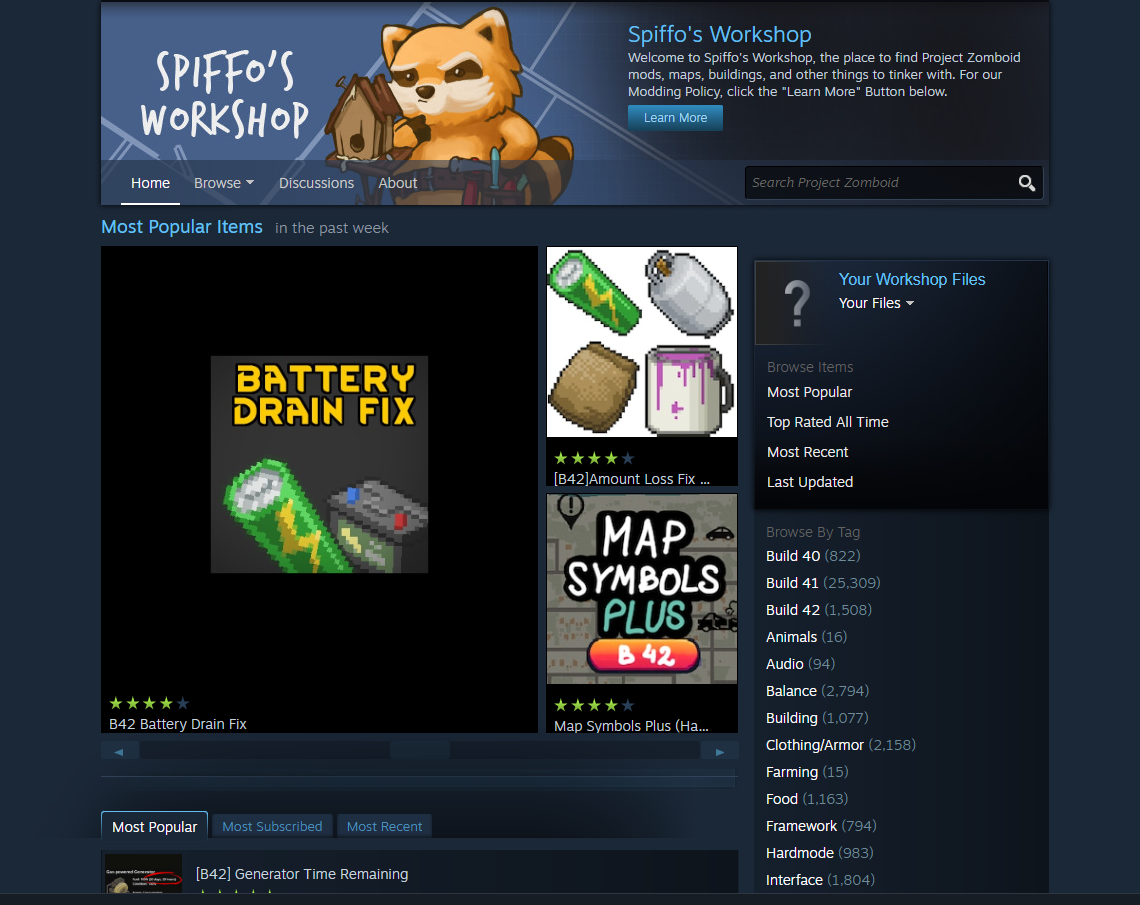
- Browse the Steam Workshop:
- Open Steam and go to the Project Zomboid page.
- Click on the "Workshop" link in the menu.
Use the search bar to find mods that you want.
- Noting Down the IDs:
- Each mod has two important IDs: the Steam Mod ID and the Steam Workshop ID.
Click on the mod you want, and check the URL in your web browser. It will look something like this (example link for ChangeSandBox mod, do not actually use this exact link for any mod):
https://steamcommunity.com/sharedfiles/filedetails/?id=2670674997Here, “
ChangeSandBox” is the mod ID, while the Workshop ID is "2670674997".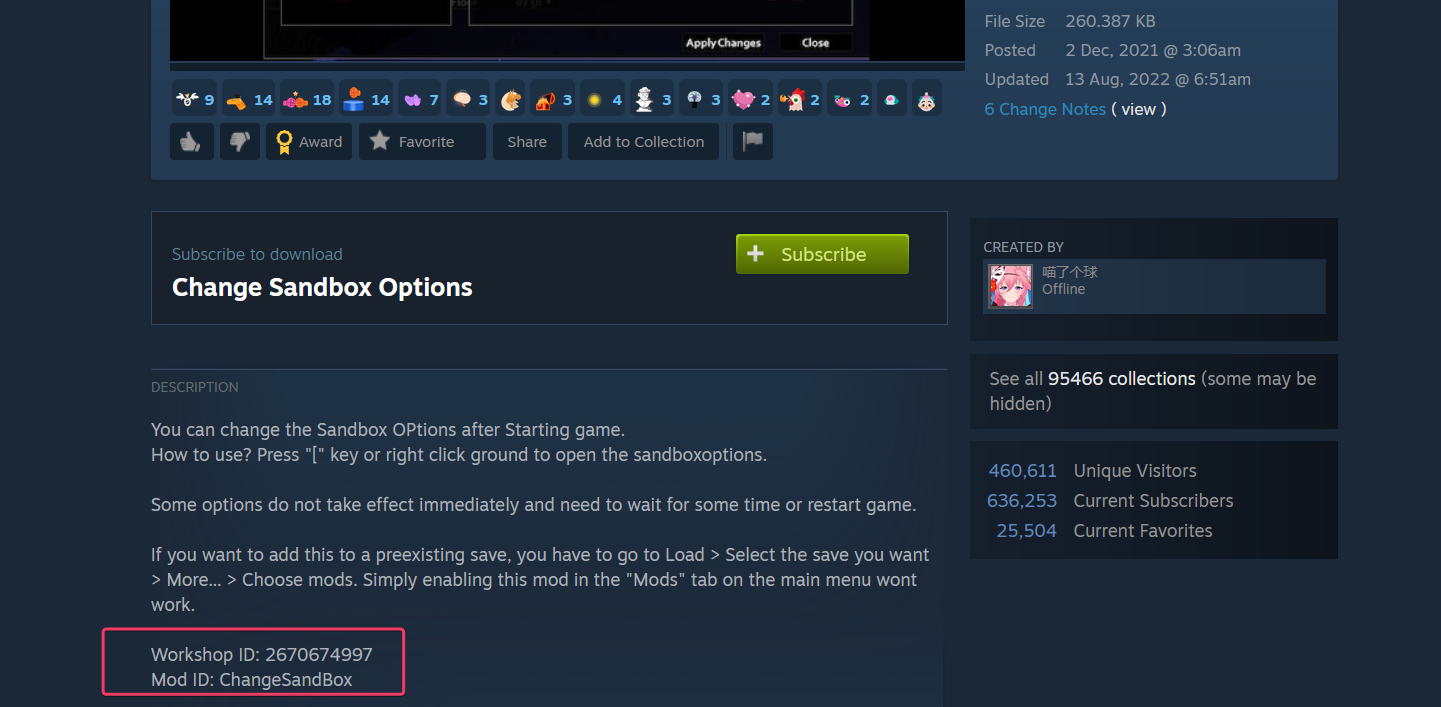
Also, check the mod's information to see if it mentions a Workshop ID. You can find it in
\Steam\steamapps\workshop\modID\mods\modName\info.txt.
Step 2: Adding the Mod ID
- Navigate to your Basic Settings:
- On your server, navigate to your Project Zomboid Server ->Basic Settings->Mods/Workshop Item:
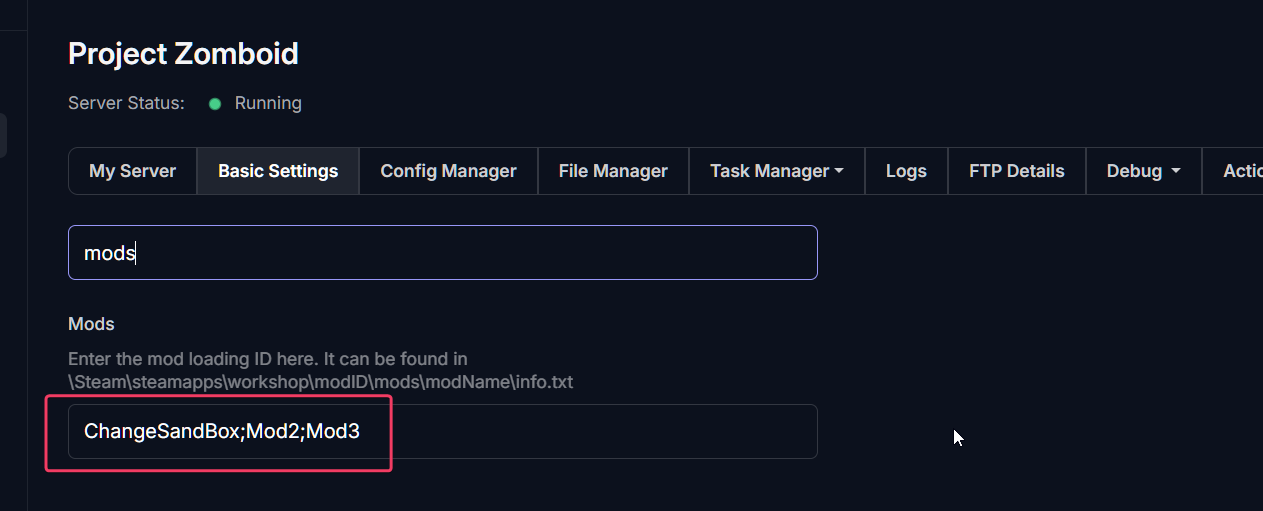
Add the Mod IDs separated by
;and without spaces. Don't add;for the final mod.
Step 3: Adding the Workshop Item
- Navigate to your Basic Settings:
- On your server, navigate to your Project Zomboid Server ->Basic Settings->Mods/Workshop Item:
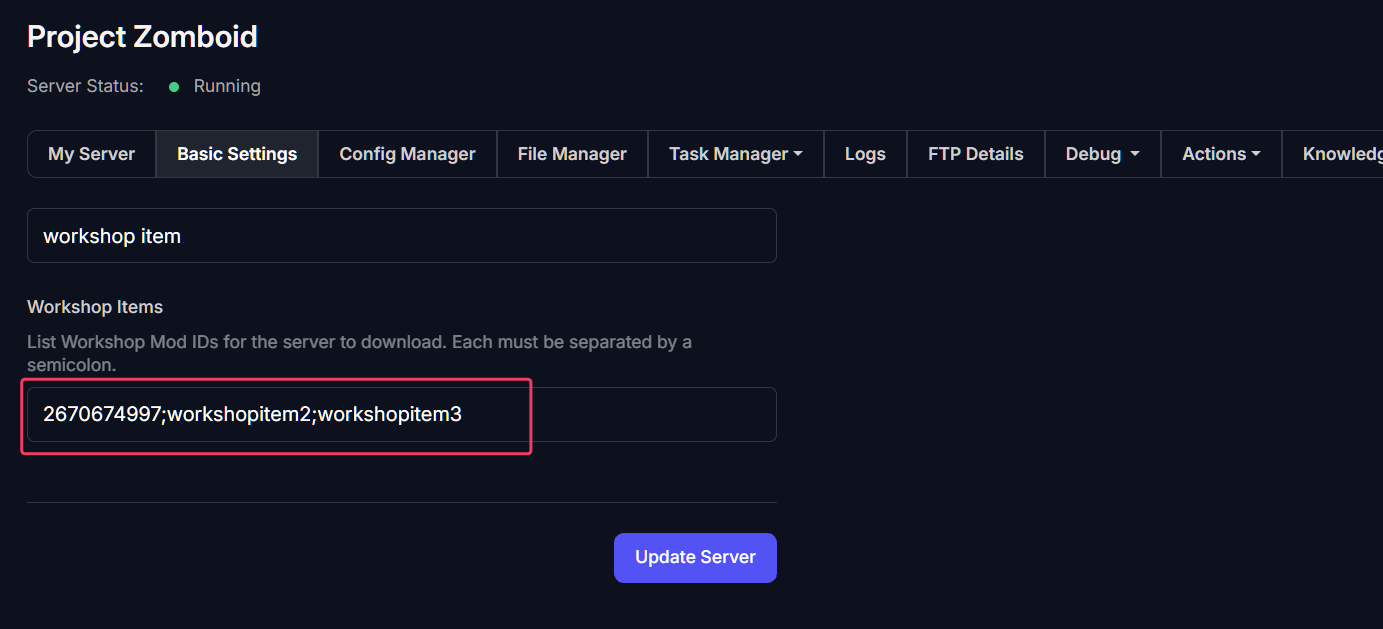
- Save Settings:
- Click on Update Server to save the changes.
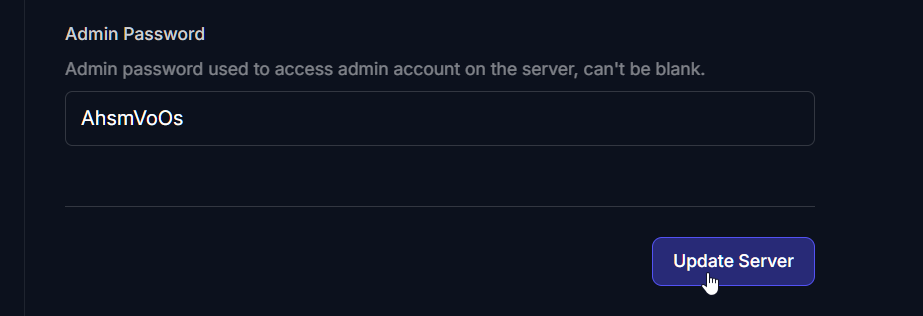
Step 4: Restart Your Server
- Restarting the Server:
- Click Actions.
- Restart your Project Zomboid server for the changes to take effect.
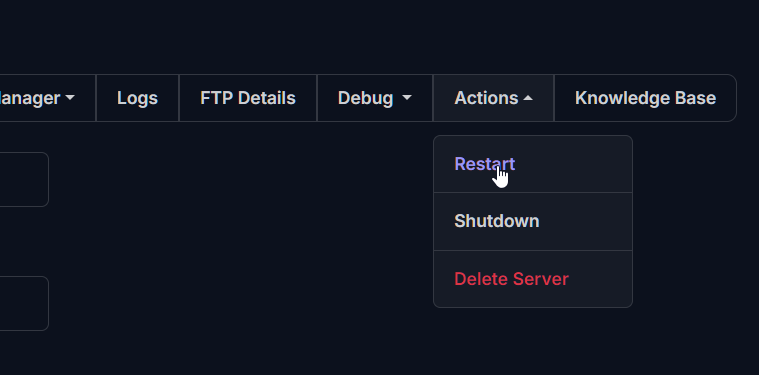
Common Issues and Troubleshooting
Sometimes, after following all these steps, you might encounter issues with mods not showing up. Here are some things to check:
- Mod is not showing up:
- Ensure that you entered the correct Mod ID or Workshop ID. Even a small typo will prevent the mod from loading.
- Mod doesn't work on the current game build:
- Some mods are compatible with multiple builds of the game and some are not. Check that all mods installed are compatible with the game version the server has running.
- Mod was working but now I changed something else and it's not working:
- Some mods have configuration files like servertestSandboxVars.lua that need to be configured correctly to work. You can try reverting any changes or using a previously saved backup. If nothing works, a clean server can be re-configured.
Now you’re ready to explore new features and content on your Project Zomboid server! Enjoy gaming with your newly added mods!
If you have any questions or need assistance, feel free to reach out to our customer care agents through our live chat or email at [email protected].