Last Update 2025-12-01 17:19:08
How to Become an Admin on Your 7 Days to Die Server: A Step-by-Step Guide
You've survived the blood moon, fortified your base against the horde, and carved out a piece of the apocalypse for you and your friends. But now, it's time to go from mere survivor to the master of your domain.
Becoming an admin is the key to unlocking your server's true potential. Imagine instantly spawning a 4x4 when your squad is pinned down, teleporting a friend who's glitched under the map, or summoning a thunderstorm just for the fun of it. This is about taking full control to help your friends, challenge them, and craft the perfect survival experience. While it requires a quick trip into your server's files, this guide will make the process simple.
You can easily set your ID as admin in the Basic Settings or, if you need multiple changes, in the config template. Let's get you those admin powers!
Step 1: Access Your Control Panel
First, you'll need to log into your PingPlayers account and navigate to your server control panel. Once you're logged in, locate the section labeled "My Servers," which will show you the servers you've set up.
Step 2: Manage Your Server
Find the server you want to work with and click on "Manage Server." This will take you to the management area where you can make changes to your server settings.

Basic Settings method:
Step 3-A: Find Your SteamID
Before you can become an admin, you need your SteamID. You can find this in your Steam account details or by using a useful tool like SteamDB or SteamIDio. Simply input your Steam profile name on that site to retrieve your SteamID.
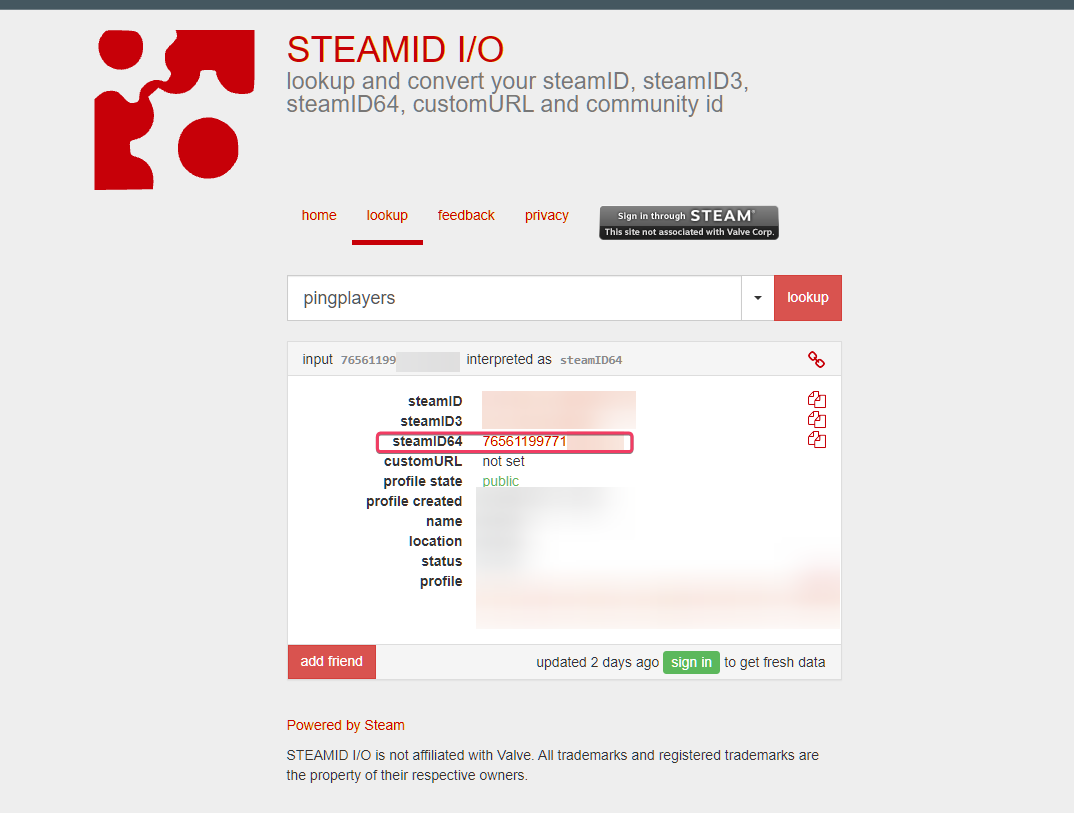
Step 3-B: Find Your PSN ID
To locate your PSN ID, you need to check on your server's logs by going to Console.
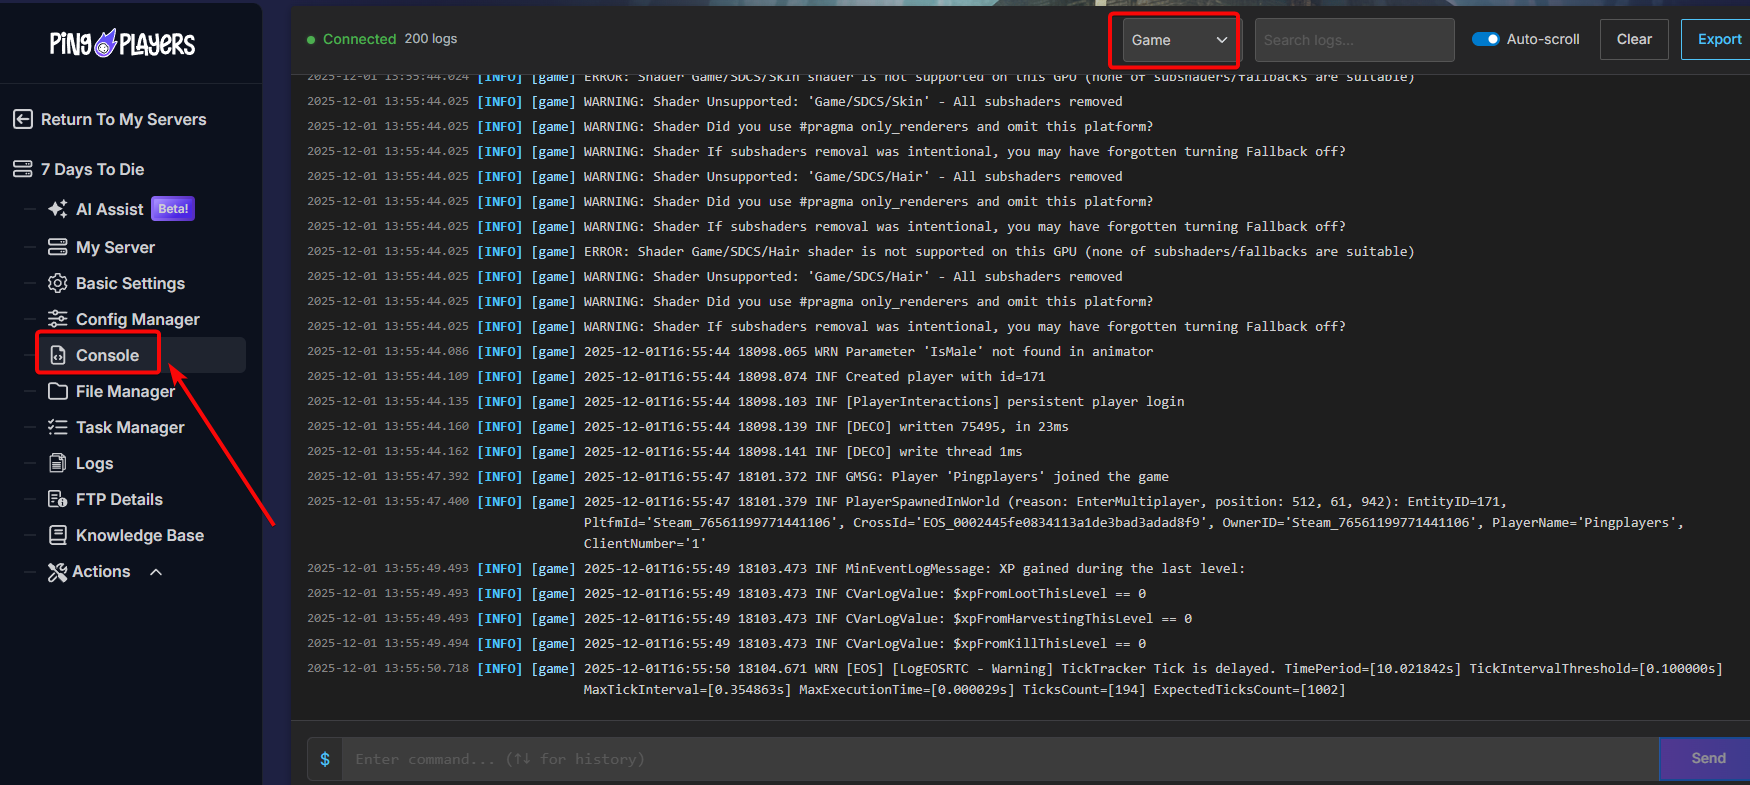
Once you're on the console logs, scroll till you see a log that says “[PSN] Creating PSN user identifier from:” and you should see a 19-digit number, which is your PSN ID.
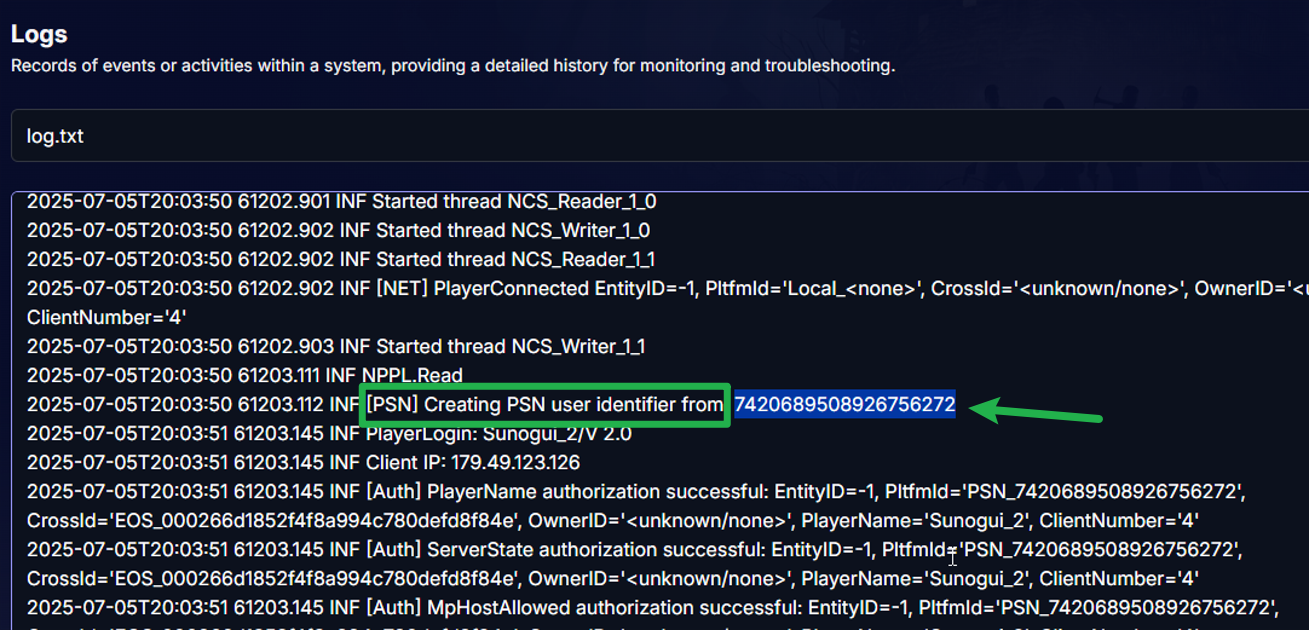
Take note of this ID as you'll need it later on.
From here, there are two methods depending on the number of admins needed.
For a single admin: Basic Settings
Step 4: Add player ID
Insert your SteamID/PSN ID or XboxID in the “Admin Player ID” variable.

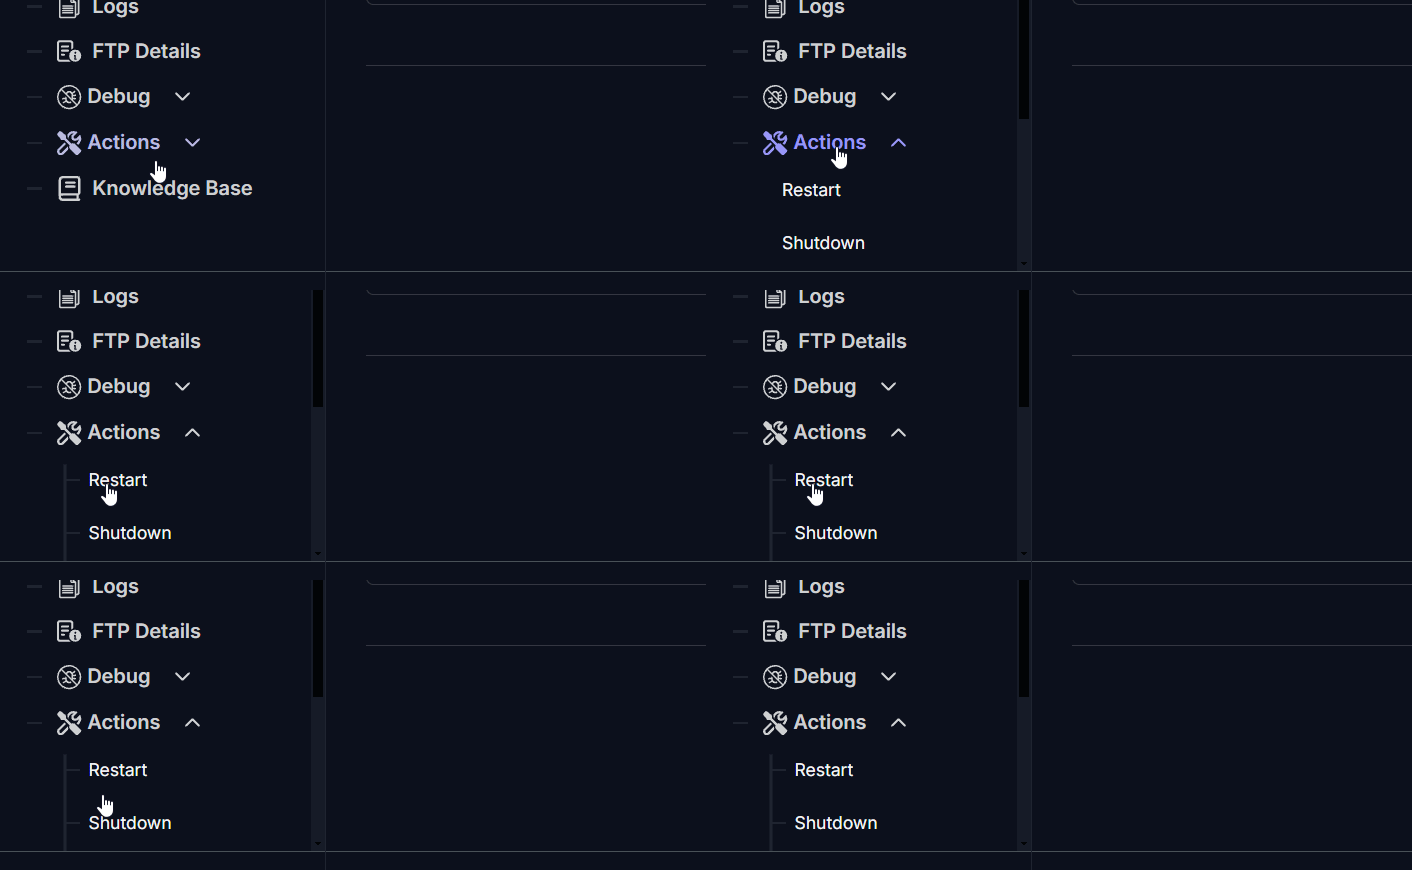
Step 5: Restart
Restart the server to take into effect.
For multiple admins and further configuration: Config Manager
Step 4:
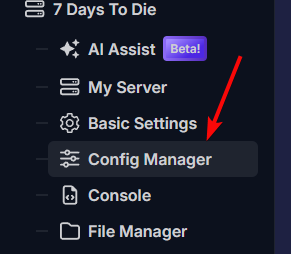
In the management area, look for the "Config Manager" option. Click on it; it'll show the different config files for your server, if you're not familiar with it, you may check our Config Manager guide .
Step 5: Create a serveradmin.xml template
Create a new config template for serveradmin.xml. This file must be edited here, if it's edited directly through SFTP or using File Manager, it will get reverted.

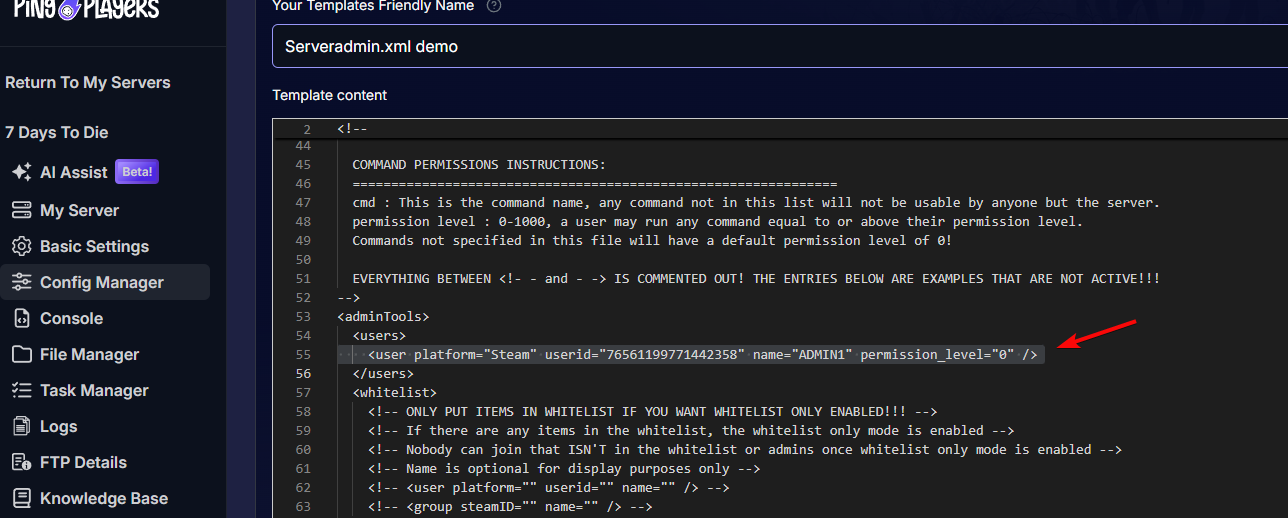
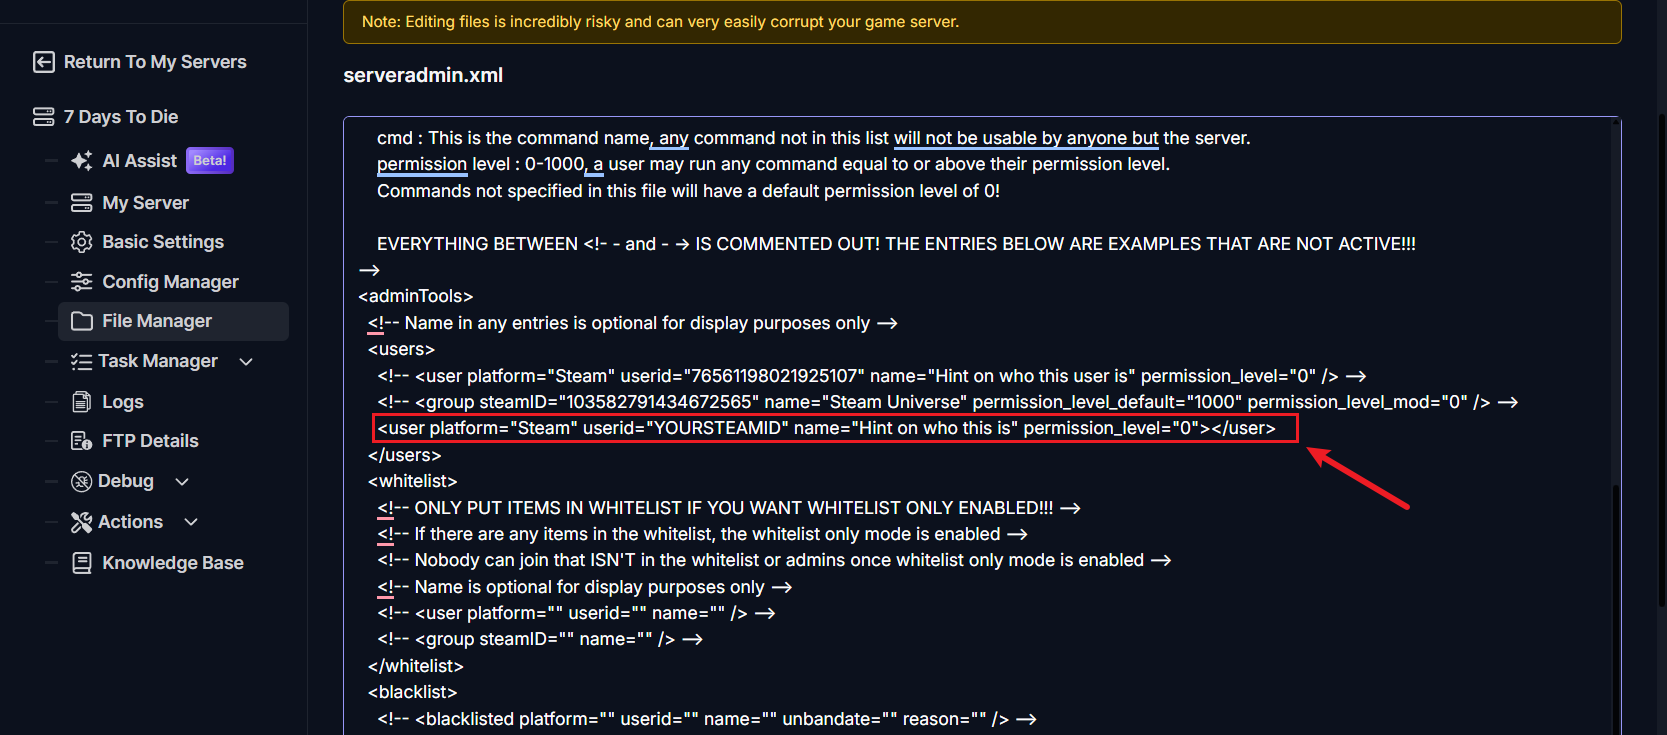
Step 6: Edit serveradmin.xml template
This is where you'll configure your admin settings (and some other stuff):
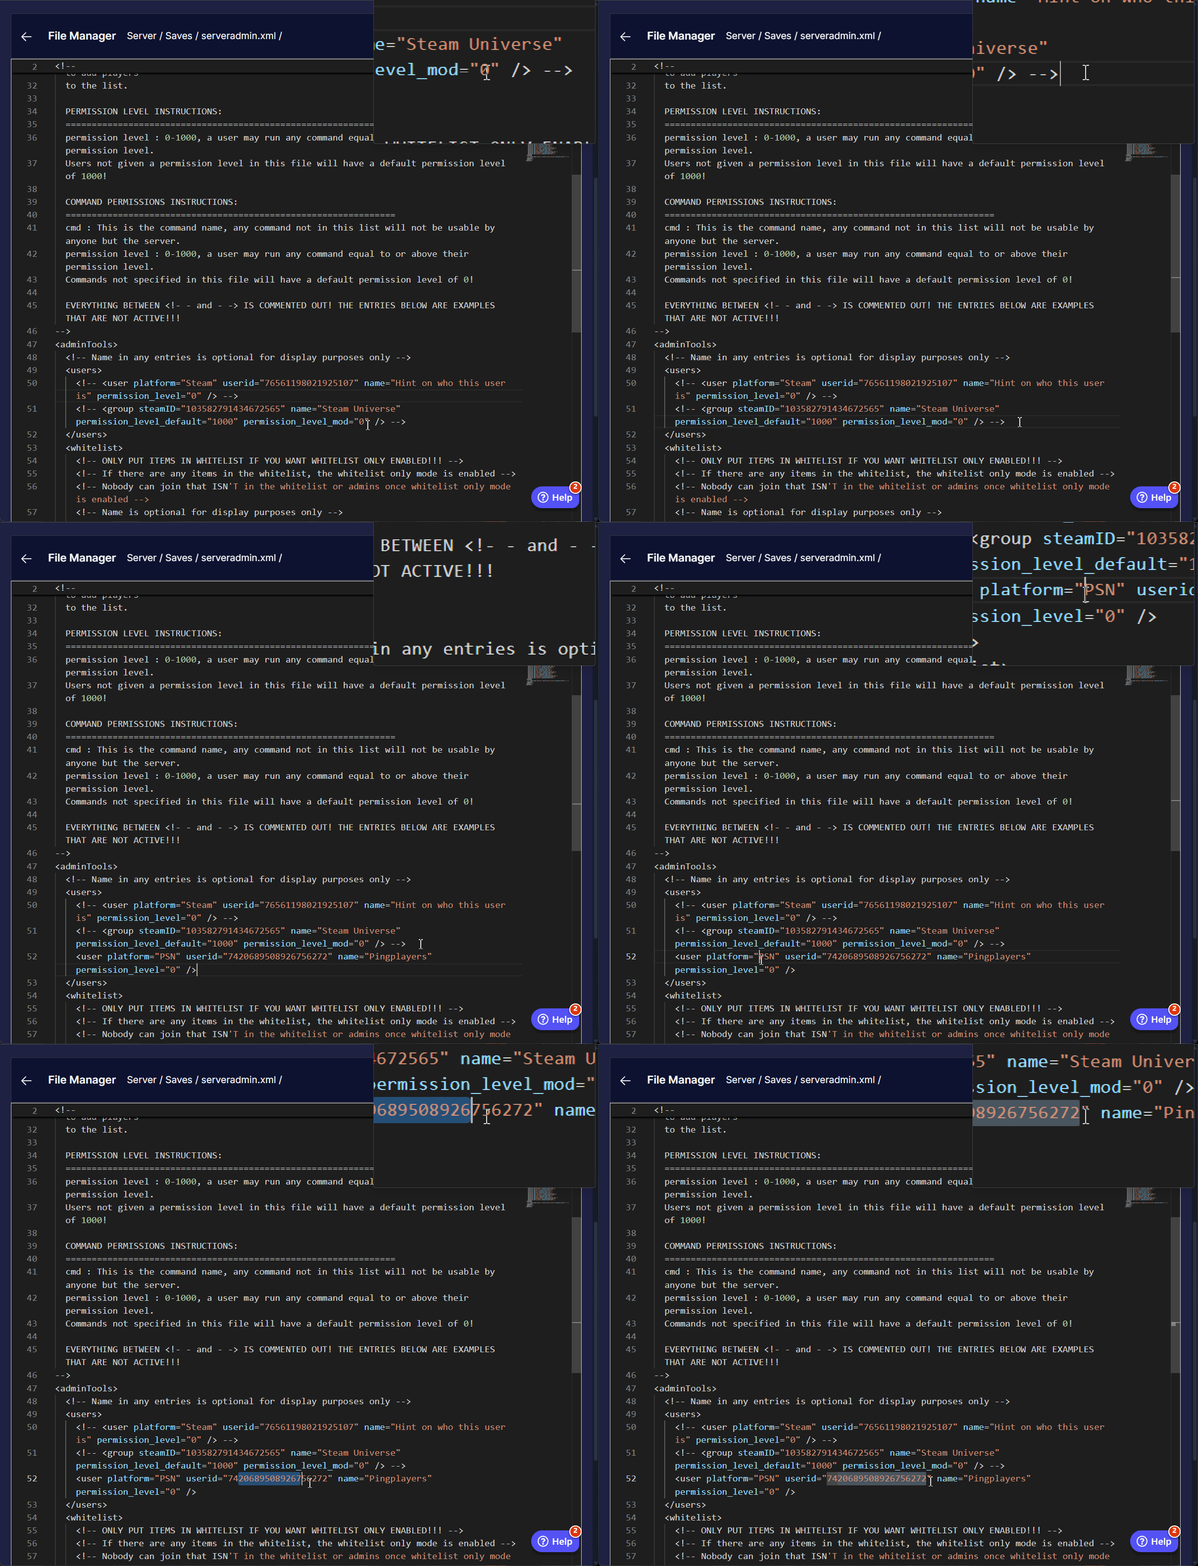
- Find the
<admintools>section and below, find the line:
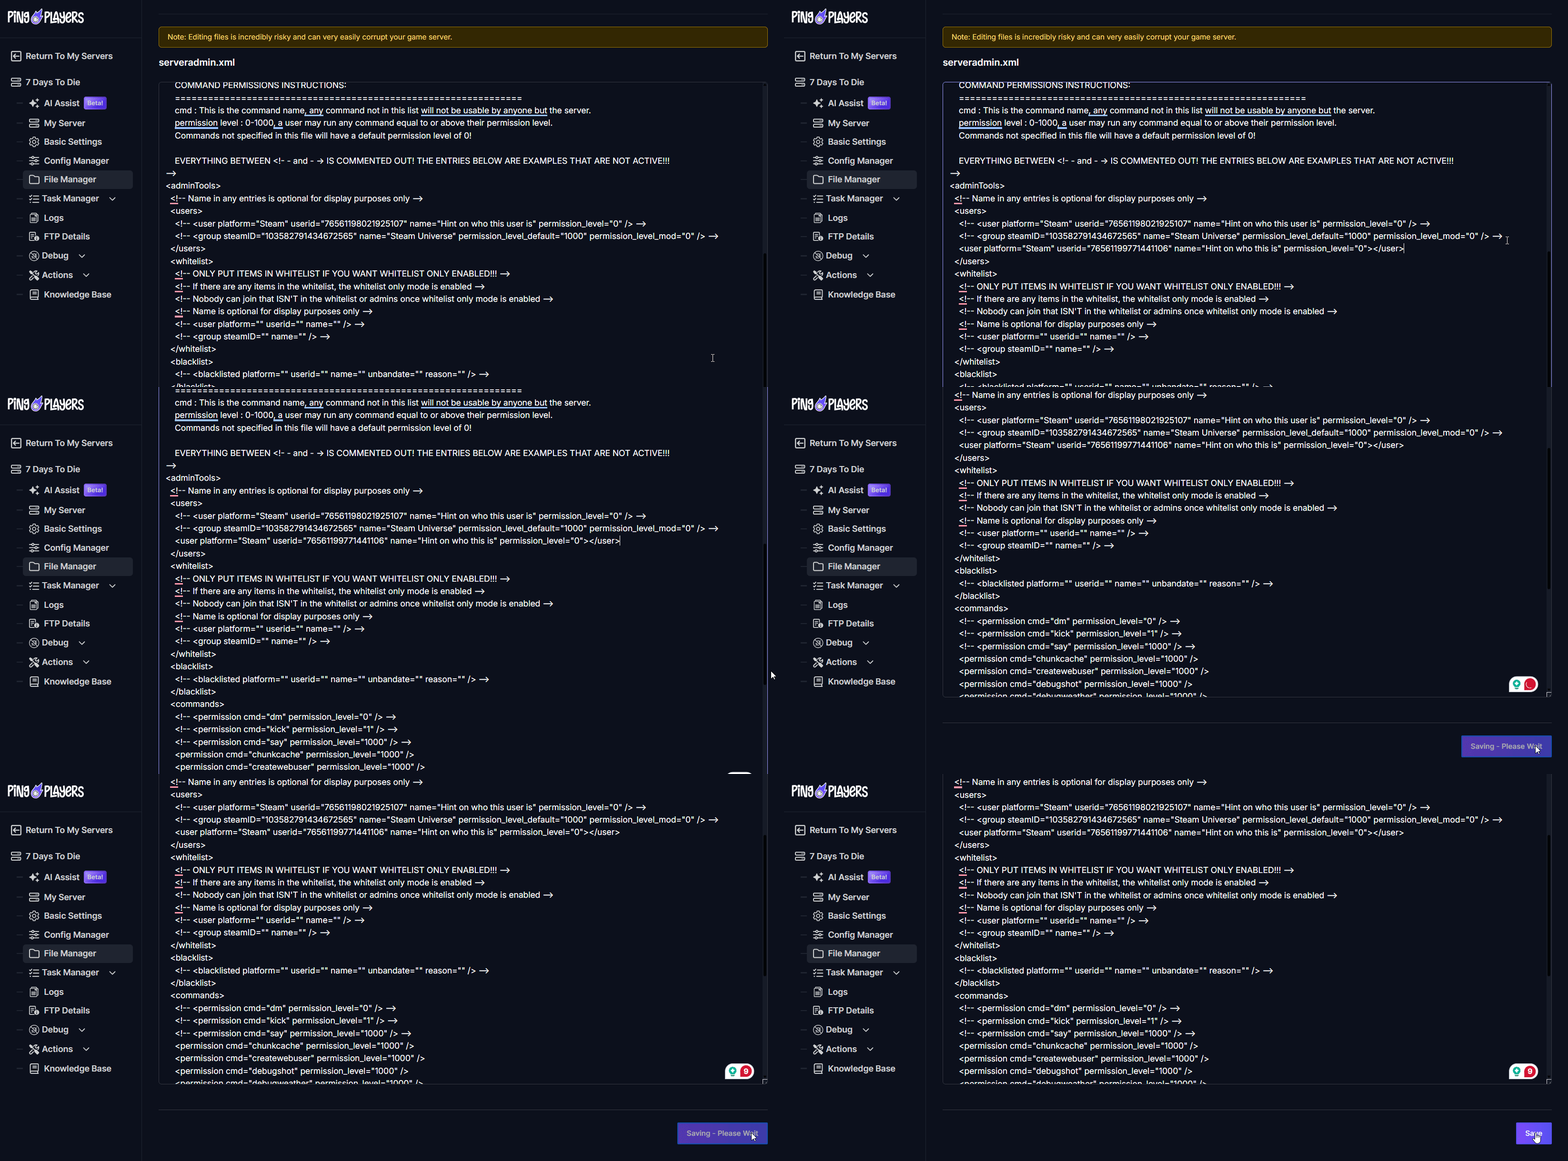
<user platform="Steam" userid="PLAYERID" name="ADMIN1" permission_level="0" />- Then, replace PLAYERID with the SteamID of the player you want to give admin.
Same goes for adding yourself as an admin on using the PSN ID you took note of earlier, replace the user platform to PSN then, replace YOURSTEAMID with the PSN ID you took note earlier.
Reminder: The spaces at the beginning are to match the indentation on the left. Add one line per admin.
Step 7: Reboot Your Server
Finally, it's time to reboot your server to apply the changes. Find the option to "Reboot" your server in the control panel. Once the server has restarted, wait for it to be fully ready, and you will now have admin privileges!

You can press F1 to open the console and type commands. Typing help will give you an extensive list of commands like shutdown, give or cm. CM is particularly useful as it enables the creative menu.
Congratulations!
And that's it! You now hold the keys to the kingdom. With a tap of the F1 key, you can enable the creative menu cm, spawn in any item you need giveself, or whisk players across the map teleport. The world of Navezgane is truly your sandbox now. Go on, build something epic, spawn in a few surprise zombie bears for your friends, and enjoy the freedom of being a server admin.
If you have any further questions, feel free to reach out to our support team at PingPlayers.