Last Update 2025-07-11 09:55:36
How to Add Mods to Your Arma 3 Server
Adding mods to your Arma 3 server can enhance your gaming experience significantly and even overhauling it completely to a point in which it can be played as a different game. This guide will walk you through the step-by-step process of adding mods to your server.
Before we get started, it’s essential to shut down your server while making modifications to avoid any corruption of server data.
Connecting through FTP
If this is your first time using FTP, you can follow our detailed guide on connecting through FTP. This method allows you to upload files directly to your server.
Steps to Add Mods
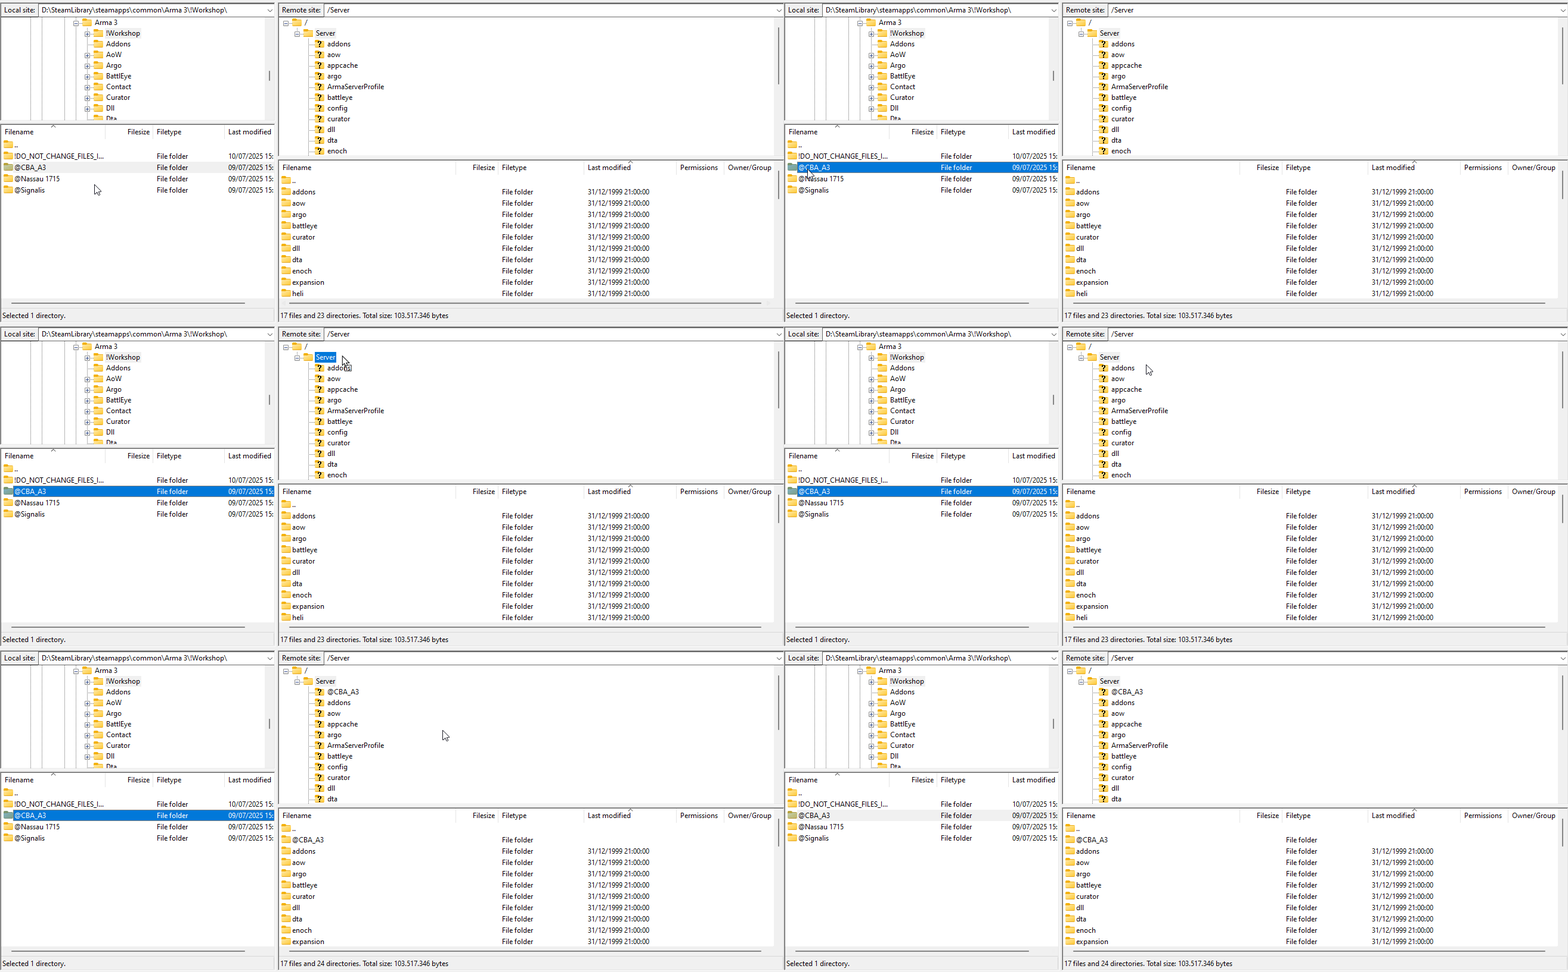
First of all, we need to locate the mods folder. It's usually located at C:\Program Files (x86)\Steam\steamapps\common\Arma 3\!Workshop (it may be hidden). Alternatively, you can open the game client, find the mods you have subscribed to, and in the Mods tab, right-click a mod to select "Open Folder".
To successfully add a mod to your server, follow these three steps:
- Upload the mod folder to the /Server root directory:
Once connected to the server files using FTP, you need to upload the mod's folder into the server.
Select your desired mod folder and drag it into the server's/Serverpath.

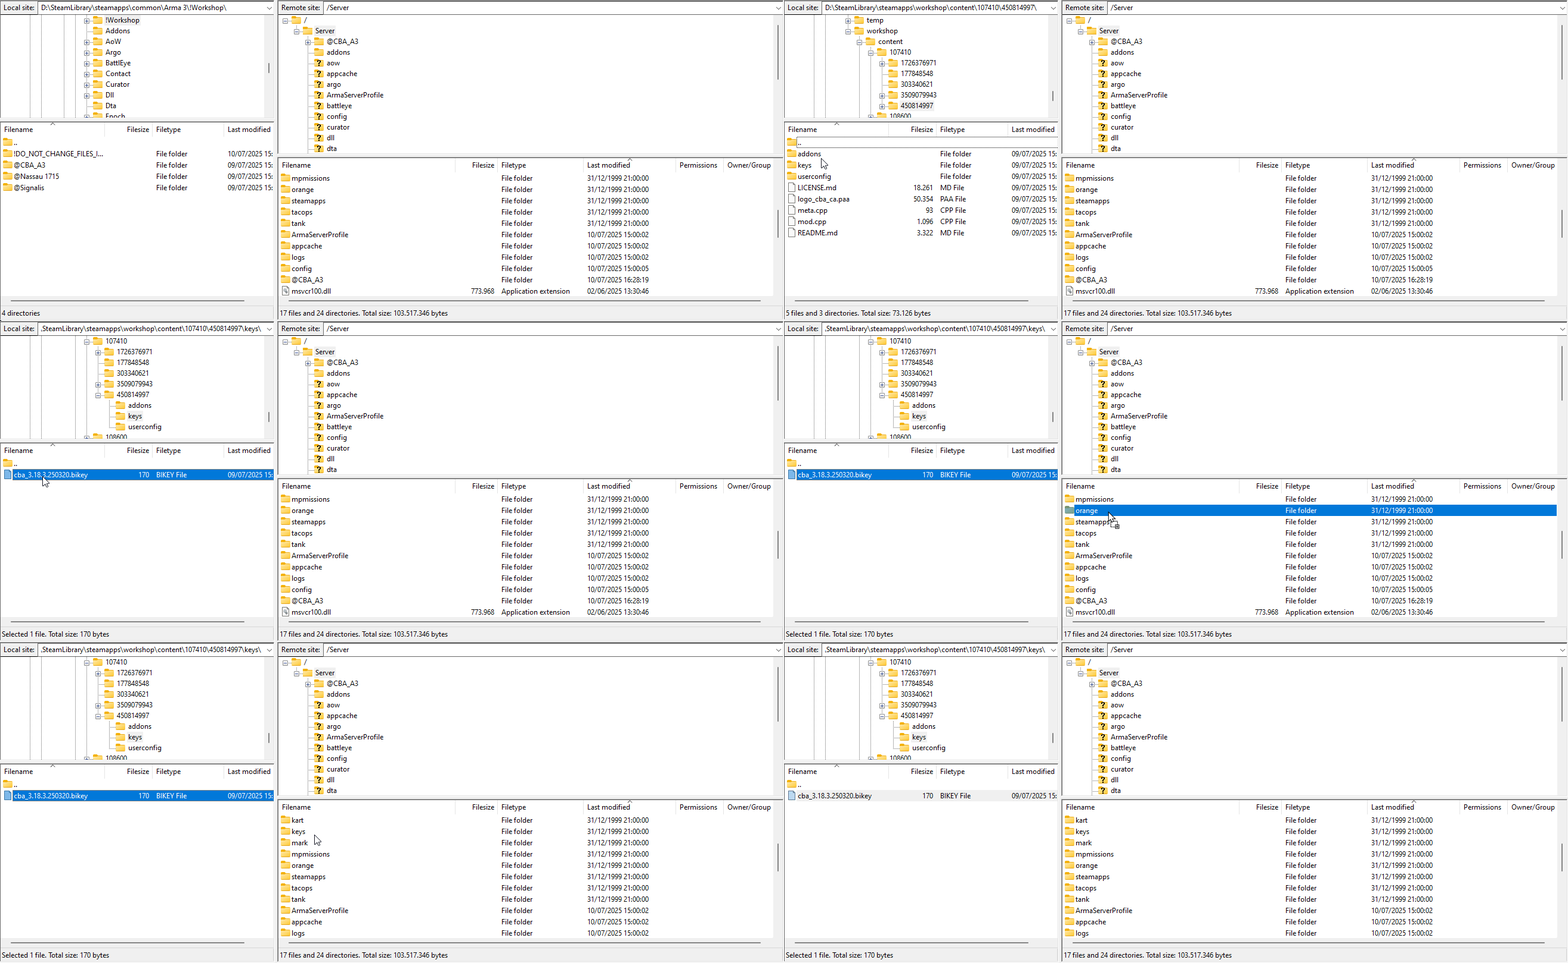
- Move or copy the .bikey file for each mod folder added to the
Server/keysfolder:
Open the mod's "keys" folder from your local device, copy the .bikey file and paste it inside the server's “keys” folder.

- Add the mod's name to the “Mods” or “Server Mods” variables in the Basic Settings:
- Open your server configuration in our website and click on “Basic Settings" on the left panel.
- Locate the ”Mods" / "Server Mods" variables (you can use the search bar at the top) and add your mods name there.
It's important to set the exact same name that the uploaded folder has, as the variable is case sensitive.
For example, if the mod folders are named@CBA_A3and@Nassau 1715, then in the Mods variable, it should look like this:@CBA_A3;@Nassau 1715.
Ensure there are no spaces and a semicolon;is placed between each mod folder name. Never end the list with a semicolon.

• Save the changes by clicking on ![]() at the top right.
at the top right.
Restart your server by clicking on “Actions” > “Restart” to apply all new changes.
Note that some mods may require further file editing. Always follow the mod page instructions to ensure proper installation.
That's it, now you may connect to your server and enjoy all added mods.
Troubleshooting
If you encounter issues, here are some potential problems and solutions:
- Missing .bikey file: Ensure the .bikey file is present in the
Server/keysfolder for each mod you added. - Missing dependency mod: Some mods require other mods to function. Check the mod's page to ensure all required mods are installed.
- Wrong mission: Ensure that you are selecting the correct mission that corresponds with the installed mods.
Conclusion
And that's it! You've successfully navigated the core process of modding and have unlocked the true potential of your Arma 3 server. You're no longer limited to the vanilla experience; you now hold the keys to transform your server into anything you can imagine, from a historical battlefield to a zombie-infested wasteland.
If you have any questions or need assistance, feel free to reach out to our customer care agents through our live chat or email at [email protected].