Last Update 2025-04-21 07:38:53
How to Load a Custom Map for DayZ: A Step-By-Step Guide
Want to offer a completely fresh DayZ experience on your server beyond the standard Chernarus or Livonia? This guide provides a clear, step-by-step walkthrough for installing and configuring custom maps. We'll use the popular and expansive "Deerisle" map as our primary example, covering everything from subscribing in the Steam Workshop to setting up the necessary server files, ensuring you're ready to launch a brand new adventure for your players.
Step 1: Subscribe to the Custom Map on the Workshop
The first thing you need to do is subscribe to the custom map of choice on the Steam Workshop. The example in this guide is DeerIsle. Here’s how:
- Open your Steam client.
- Go to the DayZ Workshop.
- Search for the custom map name and click on the map.
- Hit the “Subscribe” button to download it.

Step 2: Add the Mod Name to the Mod Field in Basic Settings
Next, you need to add the map mod name to your server's settings:
- Log in to your PingPlayers control panel.
- Navigate to the "Basic Settings" section.
In the "Mods" field, add the name of the map folder just like with mods, in this example the line is:
@DeerIsle.
Note that the dependency for this map is Custom Framework, so the line
@CFis also present.

Step 3: Download the Custom Map Missions Folder
You’ll need to download the missions folder that corresponds to the custom map. Each map has different resource pages or download sites, but this is the one for the DeerIsle example:
- Visit the Deerisle GitHub page or the appropriate source.
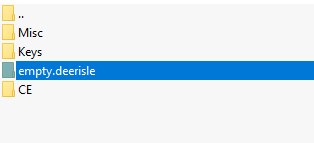
- Download the missions folder (it should contain something like
empty.deerisle).

Step 4: Connect Through FTP
Before you can upload any files, you’ll need to connect to your server using FTP.
If this is your first time, please follow our detailed FTP guide.
- Open your FTP client (such as FileZilla).
- Enter your server IP, username, and password in the appropriate fields.
Connect to your server.
Step 5: Transfer the Mod Folder and Missions Folder
Now that you're connected, it’s crucial to turn off your server to avoid data corruption. Always shut down your server before modifying server files!
- In your FTP client, navigate to the root directory of your server.
- Upload the Deerisle mod folder into the server root directory.
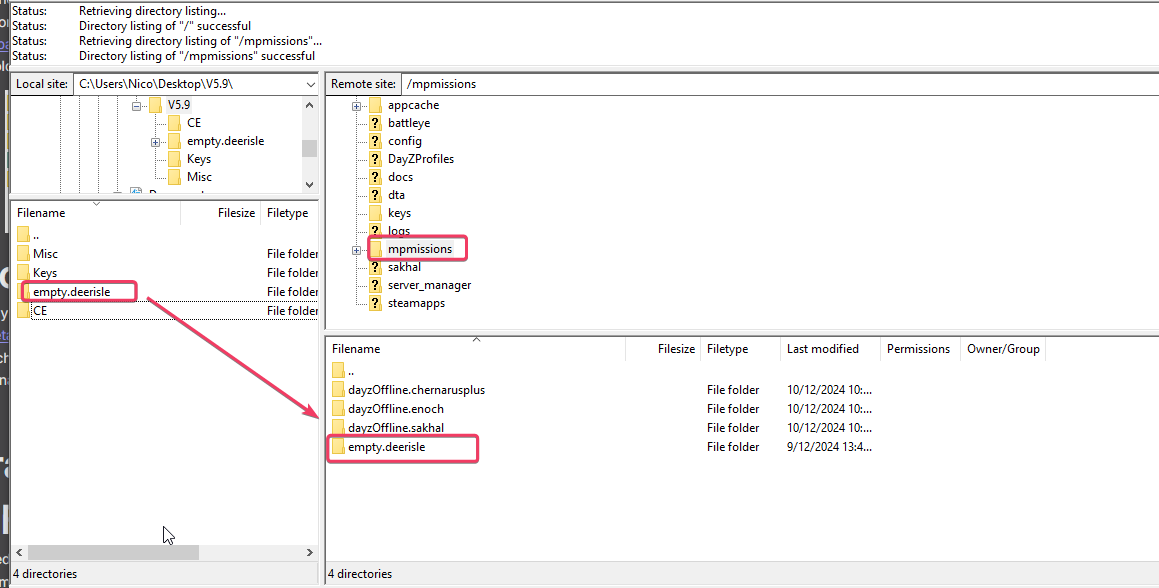
- Next, find the
mpmissionsfolder and upload the downloaded missions folder (e.g.,empty.deerisle) there.

Step 6: Modify the Map Name
It’s time to ensure the server recognizes the new missions.
- In the missions folder you uploaded, make sure the map name matches the mission name by confirming it is the same as your downloaded folder (use
empty.deerisleas an example). - Once confirmed, you can restart your server.

Final Step: Update Changes and Restart the Server
After making all the changes, remember to update your Basic Settings if necessary:
- Double-check the mod and mission settings in the Basic Settings section.
- Press the “Update Server” button.

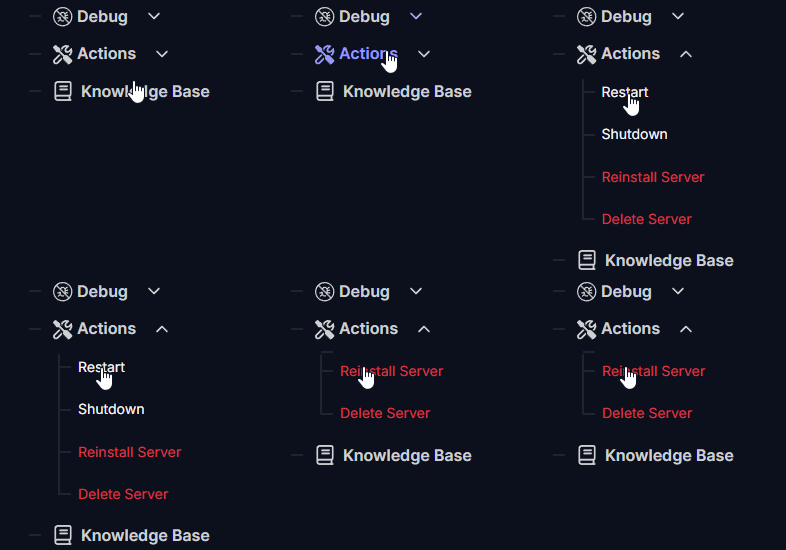
- Restart your server to apply the changes and load the custom map.

Conclusion
And there you have it! You've successfully navigated the process, and your DayZ server is now running the custom map, opening up an entirely new world for exploration, survival, and unique player stories. Congratulations on completing the setup! We encourage you and your players to dive in and discover everything this fresh landscape has to offer. Should any unexpected issues arise or if you need further assistance, remember that our support team is ready to help. Enjoy the revitalized DayZ experience!