Last Update 2025-11-21 15:18:14
How to add mods to your Starbound server
Ready to expand your universe? Starbound's modding community is one of the most creative in gaming, offering everything from new playable races and custom starships to massive gameplay overhauls like Frackin' Universe.
Unlike some games, adding Steam Workshop mods to a Starbound server requires a few manual steps. You'll need to locate the mod files on your PC, rename them, and then upload them to your server using either the File Manager in your control panel or an FTP client.
If you prefer using FTP for file management, you can refer to our detailed guide here.
This guide will walk you through that entire process, turning a seemingly complex task into a simple checklist. Let's get your server customized.
Before you make any modifications to your server files through FTP or the File Manager, it is essential to shut down your server. Failing to do so may lead to corrupted server data and could potentially break your game.
How to Install Mods and Prepare Them for the Server
Part 1: Preparing Your Mod Files on Your PC
For a Starbound server, you can't just use the mods directly from Steam. You first need to find the mod files on your computer, prepare them, and get them ready for upload.
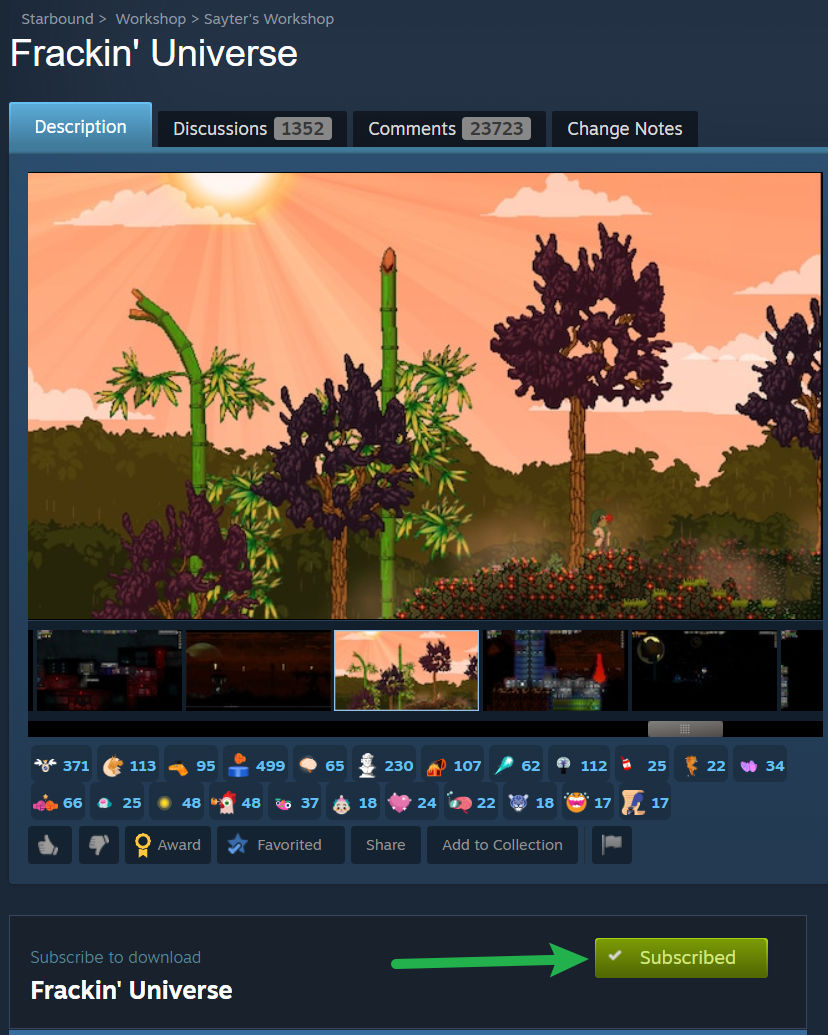
- Subscribe to Mods on Steam: Go to the Starbound Steam Workshop and subscribe to all the mods you wish to add to your server.
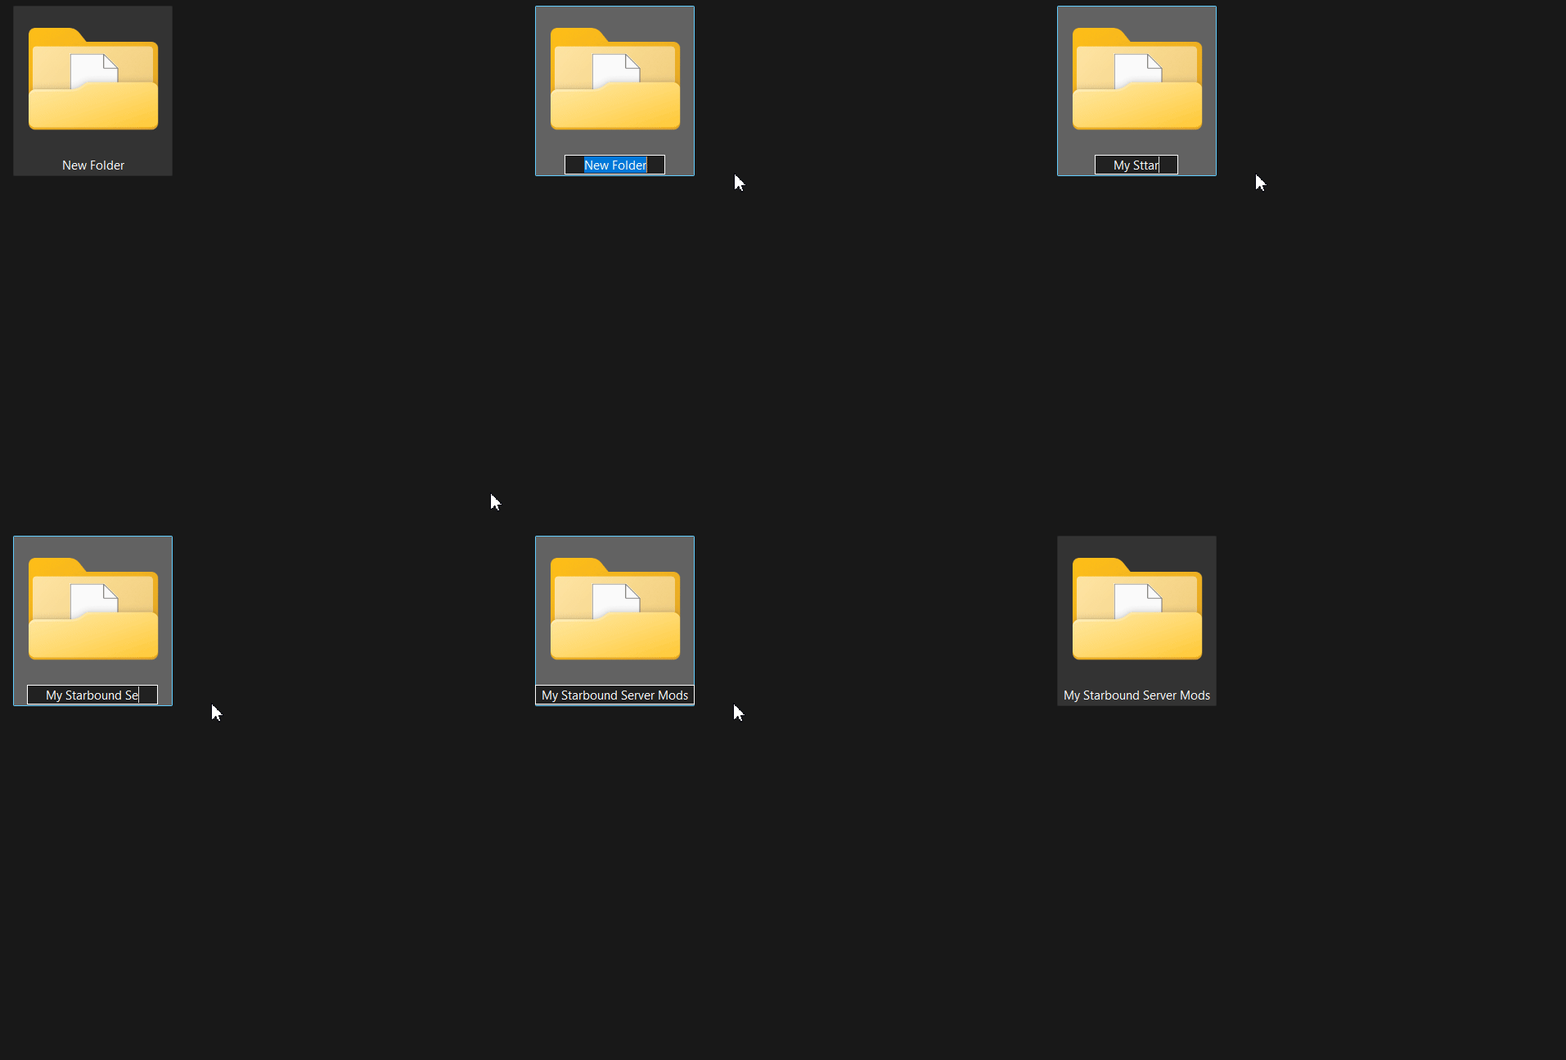
- Create a Preparation Folder: On your Desktop, create a new, empty folder and name it something easy to find, like My Starbound Server Mods. This is where we will gather all the prepared files.
- Locate Your Workshop Content Folder: Navigate to the Steam Workshop directory for Starbound on your computer. The default location is:
C:\Program Files (x86)\Steam\steamapps\workshop\content\211820\
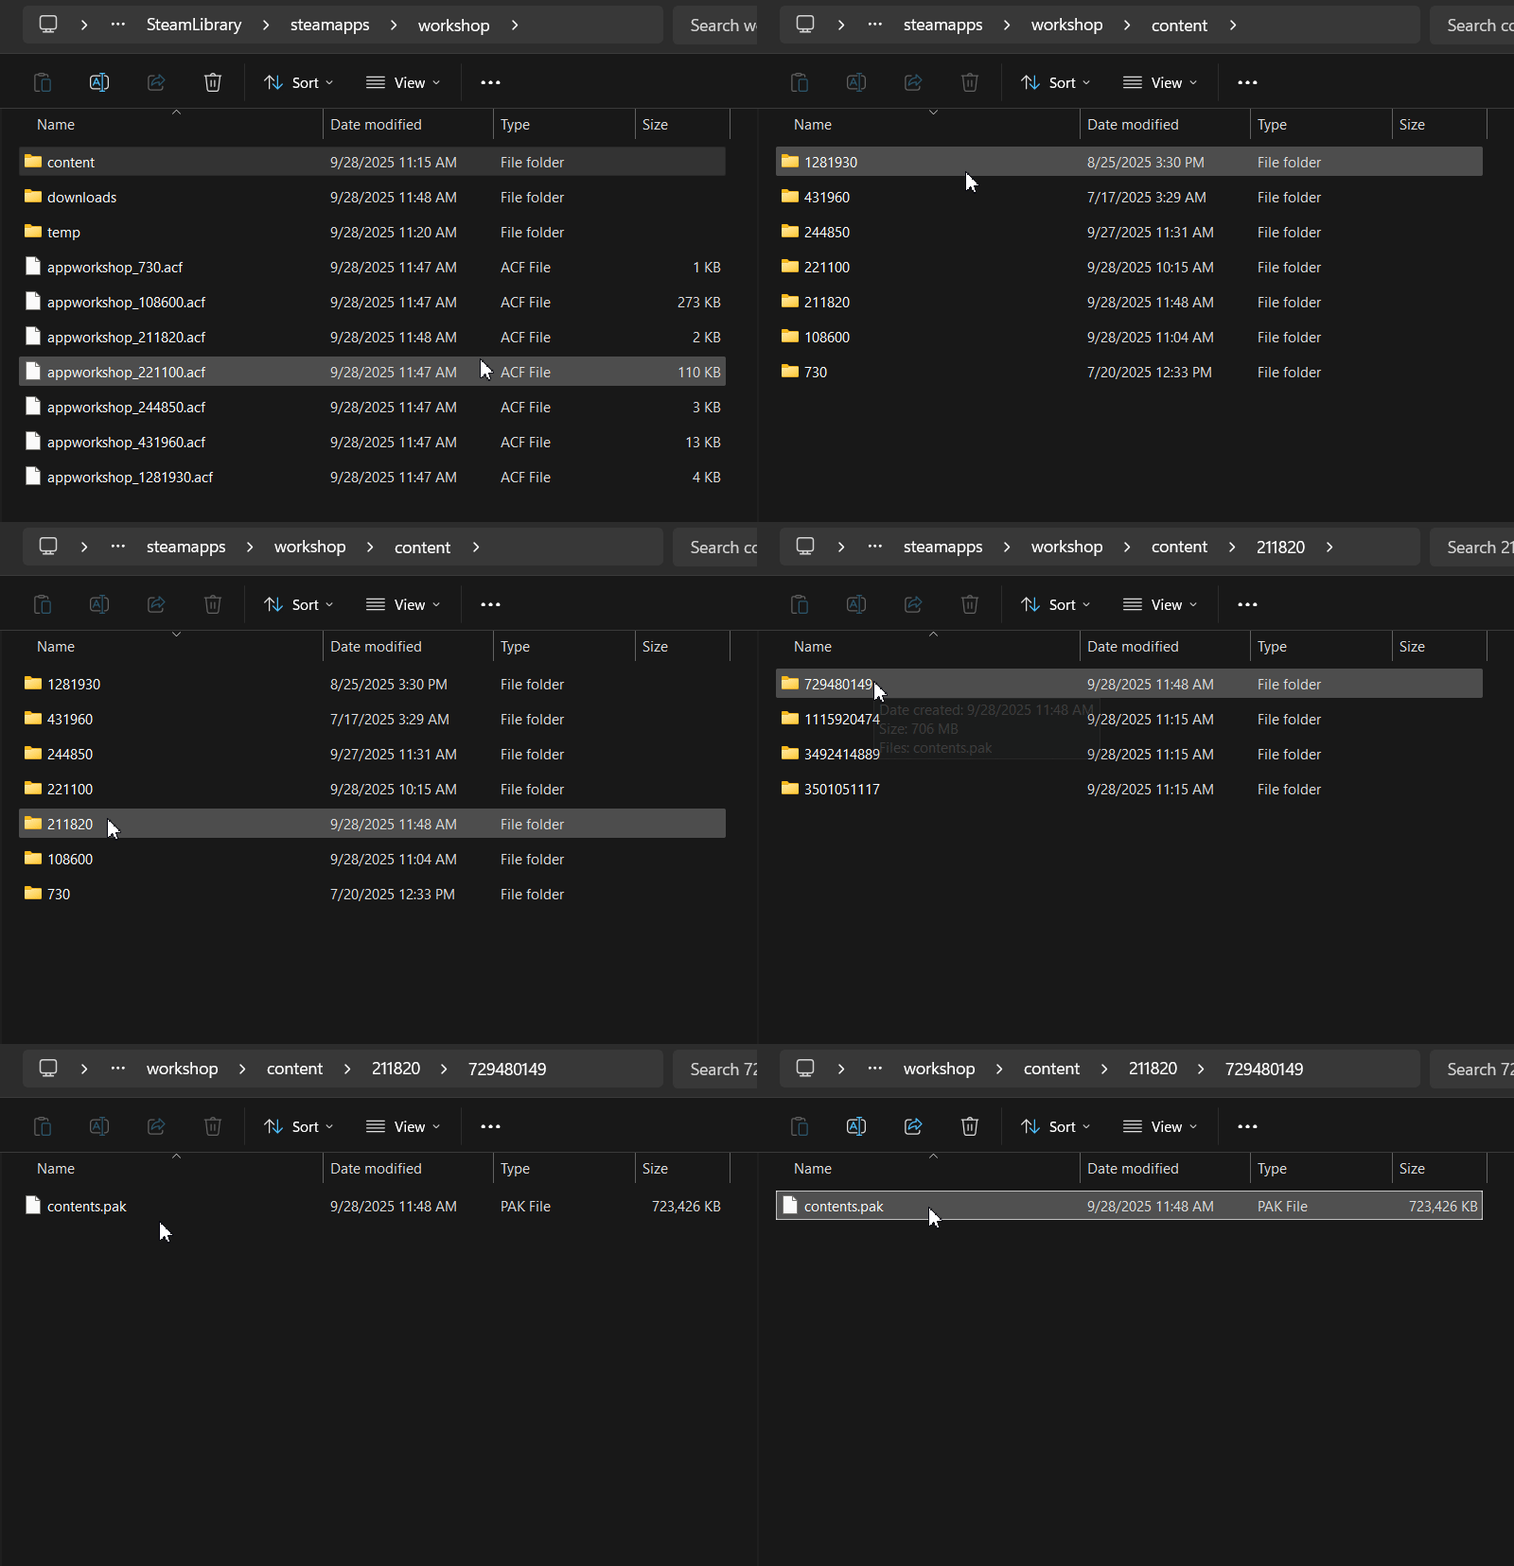
- Copy and Rename Each Mod: You will need to repeat this process for every mod you want to add.
- a) In the
211820folder, find the folder named with the mod's Workshop ID. (You can find the ID at the end of the mod's URL on its Steam page). - b) Open that folder and find the file named
contents.pak. - c) Copy this file and paste it into your
My Starbound Server Modsfolder on your Desktop. - d) Crucially, rename the file. Give it a descriptive name so you know what it is. For example, if the mod is Frackin' Universe, rename the file from
contents.paktoFrackinUniverse.pak. This is vital for managing your mods later.
- a) In the
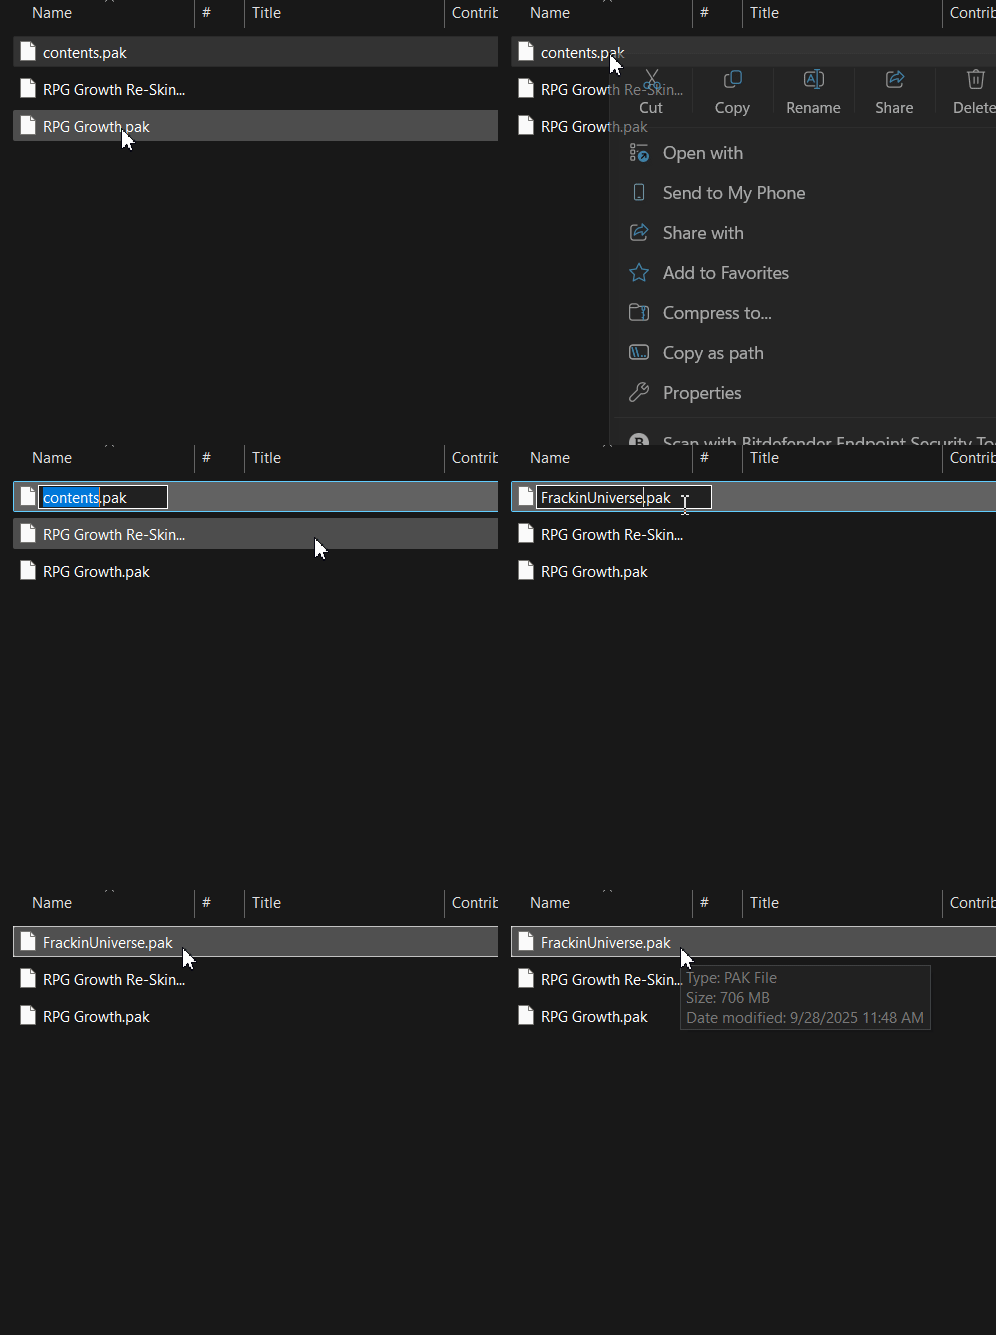
When you are finished, your My Starbound Server Mods folder should contain all of your uniquely named .pak files.
Part 2: Uploading and Activating Mods on the Server
With your .pak files prepared and organized, it's time to upload them.
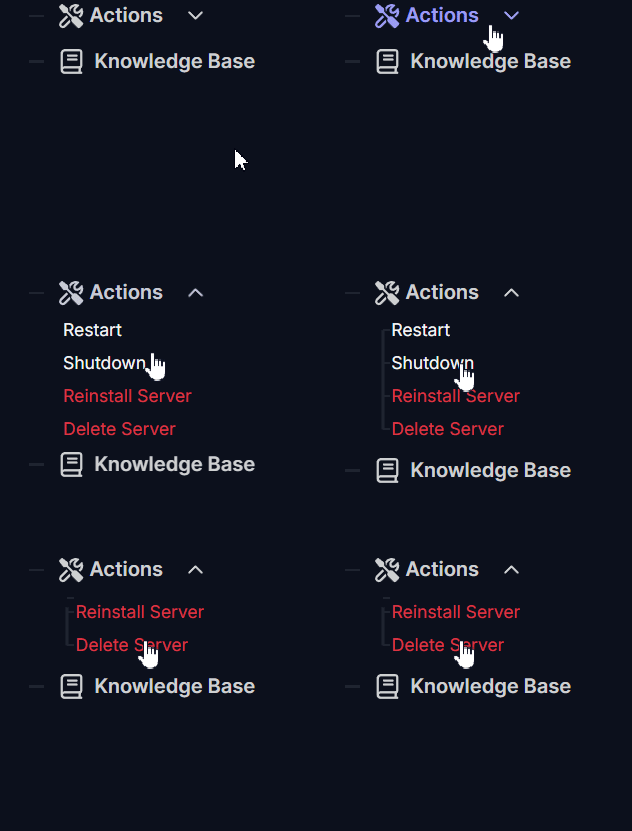
- Stop Your Server: This is a mandatory first step to prevent any file issues. Just go to Actions, then Shutdown.
- Connect to Your Server: In your PingPlayers control panel, open the File Manager or connect using your preferred FTP client.
- Navigate to the
modsFolder: In your server's main directory, find the/modsfolder. If this folder does not exist, simply create it. - Upload Your
.pakFiles: Upload all the renamed.pakfiles from yourMy Starbound Server Modsfolder directly into the server's/modsfolder. - Restart Your Server: From the control panel, restart your server.
When the server restarts, it will automatically load all the mods you have uploaded.
How to Remove a Mod
Removing a mod from your server is straightforward.
- Stop your server.
- Navigate to the
/modsfolder in your File Manager. - Delete the
.pakfile for the mod you wish to remove. - Restart your server.
Important Note for Players: For the best experience, your players should also remove the mod from their own game client. This is especially critical for HUD or UI mods.
After you remove a mod from the server, you should instruct your players to unsubscribe from that same mod in the Steam Workshop. If a player has a HUD mod installed locally that the server no longer has, it can cause significant visual glitches and errors on their screen.
Troubleshooting
Running into issues after adding mods? Here are the most common problems and their solutions.
- Players Can't Connect to the Server? This is the #1 issue with Starbound modding. For a player to join, they must have the exact same mods installed on their own computer. Ensure all connecting players are subscribed to the same Steam Workshop items that you have installed on the server.
- Server Fails to Start After Uploading a Mod? This usually means a mod is out of date, conflicts with another mod, or is simply broken. Try removing the most recently added
.pakfile and restarting the server. If the server starts, you've found the problematic mod. - A Mod Isn't Working Correctly in Game? Many large mods require other "library" or "dependency" mods to function. Always read a mod's Steam Workshop page carefully to see if it requires any other mods to be installed alongside it.
- What About Gamepass Players? For players using the Gamepass version of Starbound, they will need to manually place the same prepared
.pakfiles into their local mods folder, which is typically located atC:\Users\YOUR_PC_NAME\Documents\Starbound\mods.
Conclusion
Your universe has been expanded! You've successfully learned the process of adding custom mods to your Starbound server. You are now the curator of your own galactic experience, able to add new adventures, challenges, and quality-of-life features to create a truly unique server for your friends and community.
The beauty of Starbound is its limitless potential, and you now have the tools to explore it. If you have any questions or need assistance, feel free to reach out to our customer care agents through our live chat, or email us at [email protected].