Last Update 2025-11-25 15:05:46
How to Add Mods to Your Valheim Server
Adding mods to your Valheim server can greatly enhance your gaming experience by offering new content and features. However, it’s important to note that mods must be installed manually by transferring files through FTP or File Manager. Before modifying any server files, ensure your server is shut down to prevent potential corruption of server data.
Since December 2025, servers have BepInEx Pack included so if your server is from that date onwards, skip to “MODS” section directly.
ONLY IF SERVER IS PRE-2026
Required Installation: BepInExPack
All mods require BepInExPack for Valheim to be installed in both the client and server game folders. Here’s how to set it up:
OPTIONAL (BepInEx Pack should be installed already, but if you don't have it, you must install it).
Step 1: Download and Extract BepInExPack for Valheim
- Download BepInExPack for Valheim from here.
- Extract the downloaded archive into a folder on your computer.

Step 2: Install BepInExPack on Your Client
- Navigate to your Steam installation location. Typically, this is located at:
C:\Program Files (x86)\Steam\steamapps\common\Valheim. - Move the contents of the
BepInExPack_Valheimfolder into the Valheim folder.

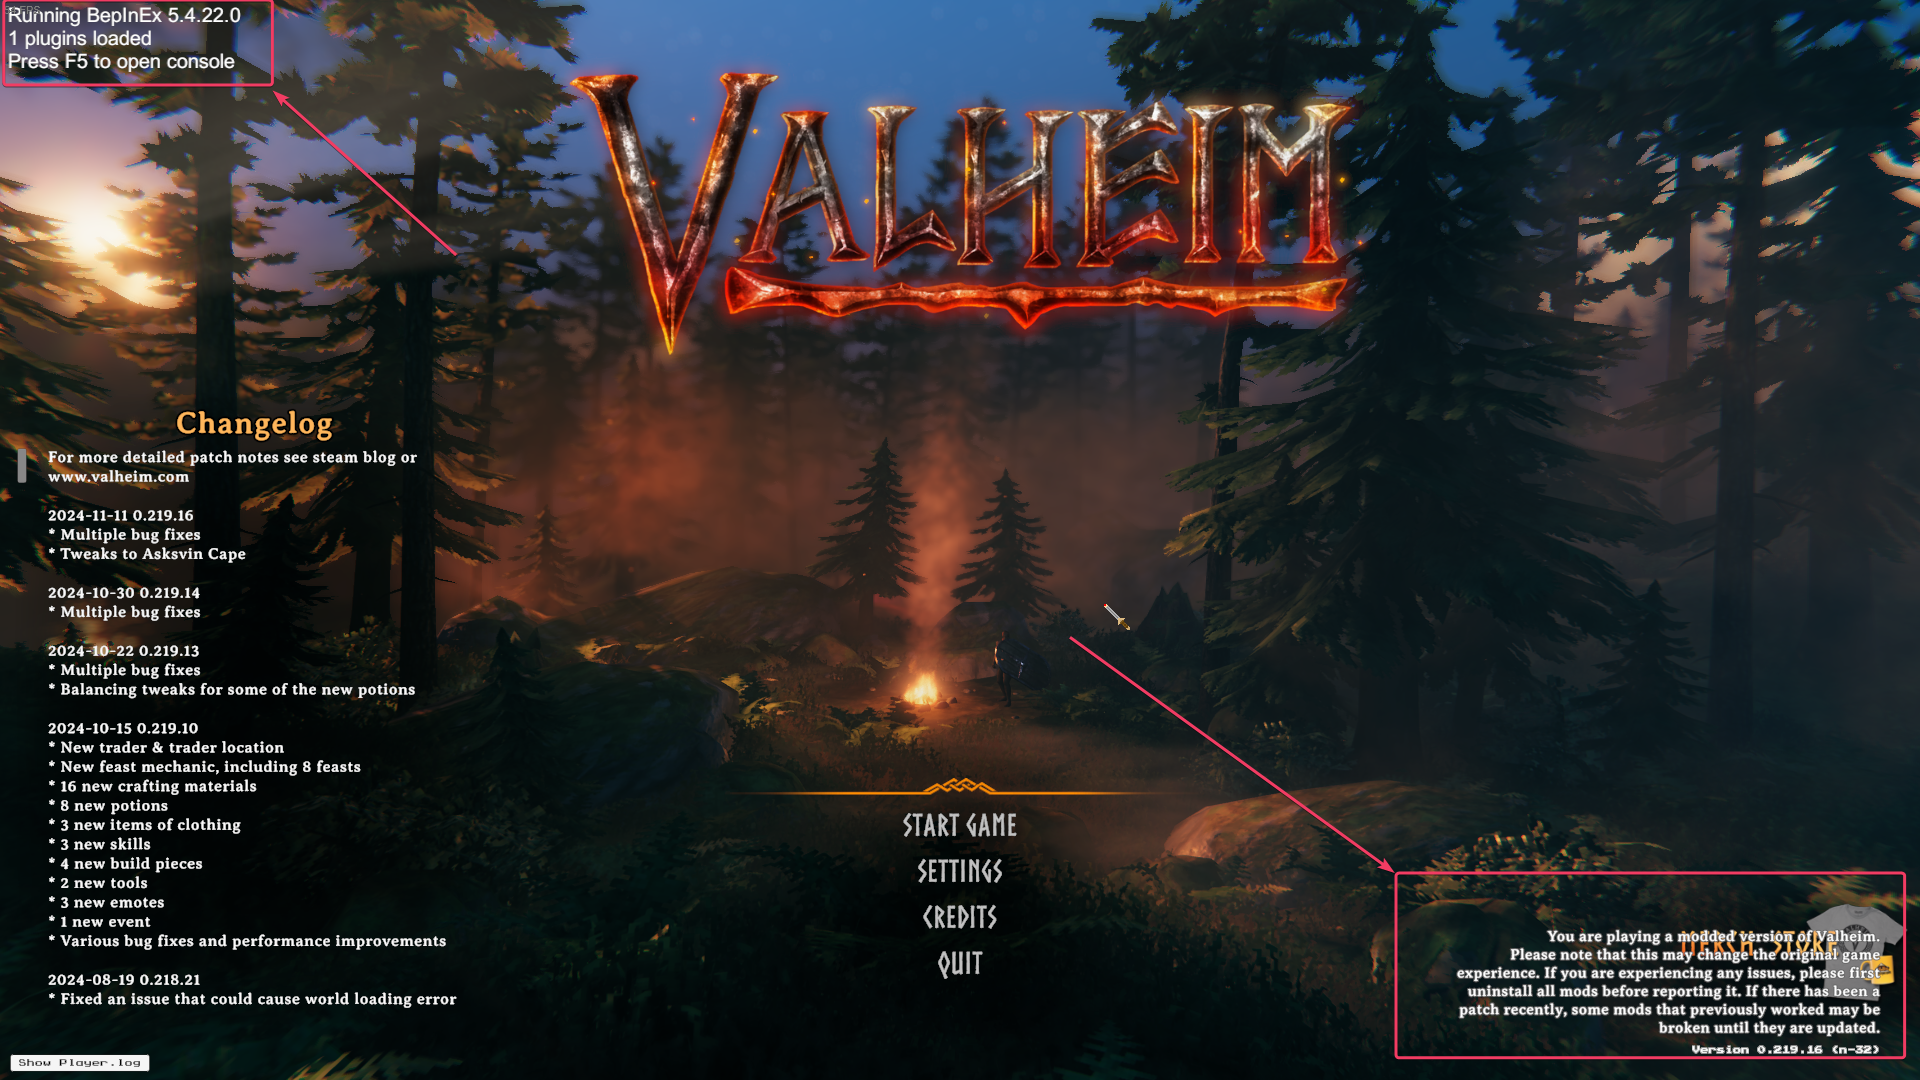
- Launch the game to check if the console appears and the plugin is loaded successfully.


Step 3: Install BepInExPack on the Server
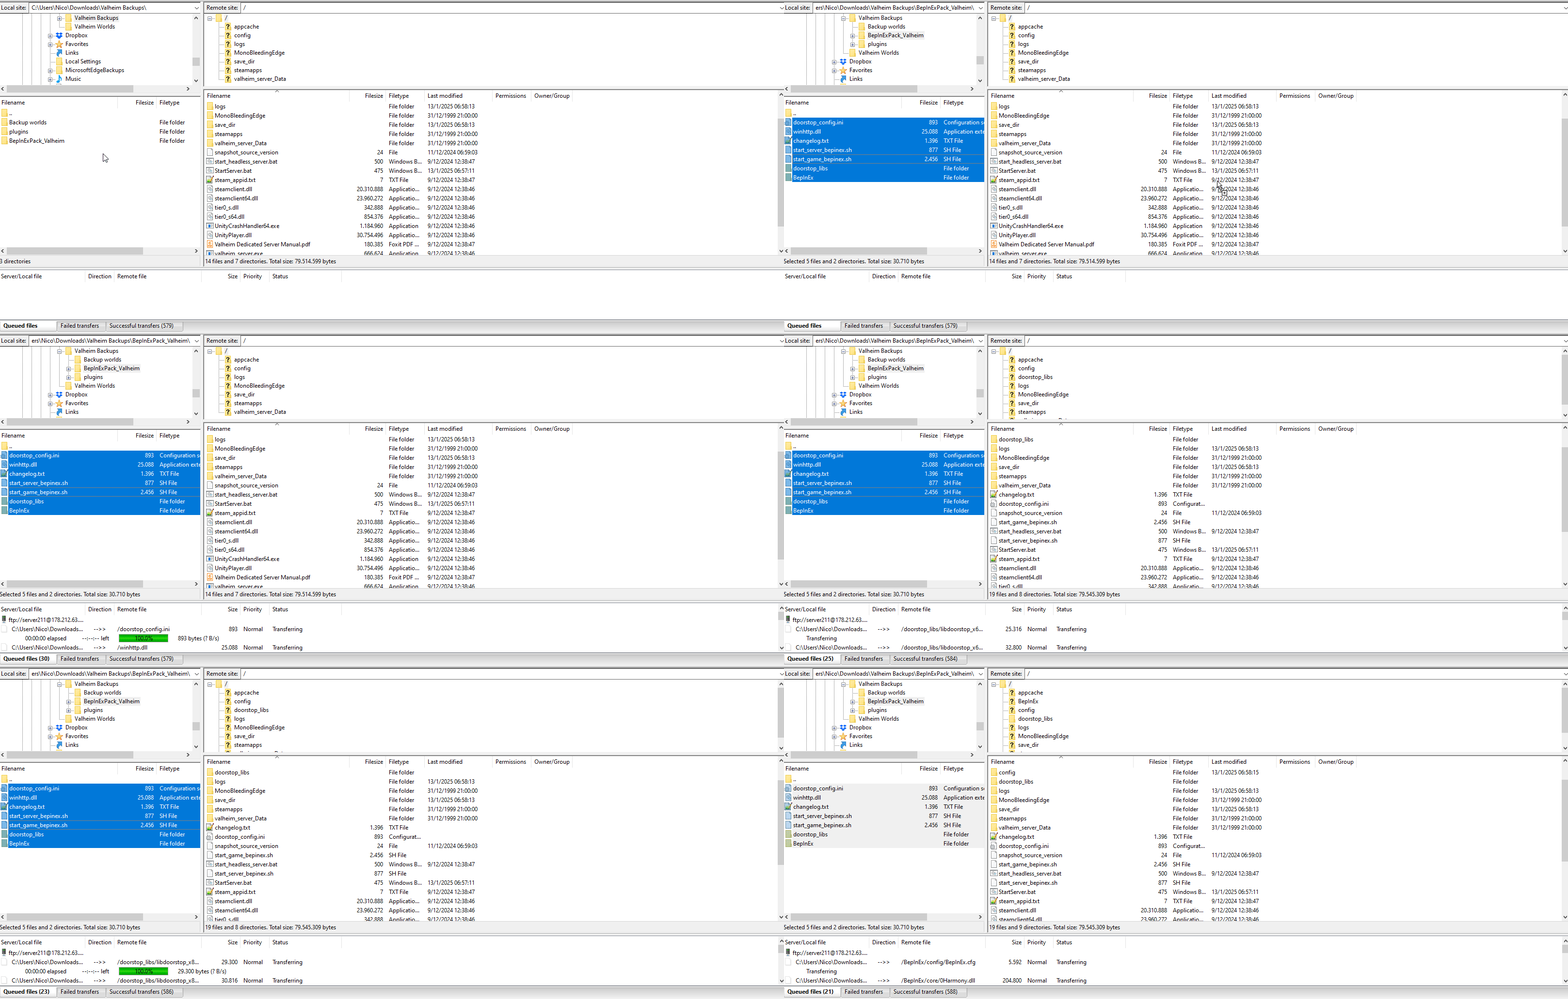
- Using FTP, connect to your game server. For detailed steps on how to connect through FTP, refer to our guide here.
- Once connected, copy the contents of
BepInExPack_Valheiminto the root directory of your server where all the server files are located.

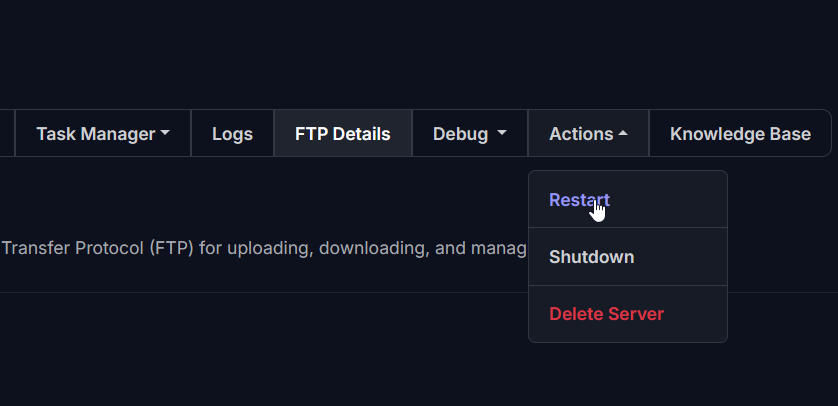
Step 4: Restart the Game
After BepInExPack is installed on both the client and server, restart your game.

MODS
Step 5: Downloading and Installing Mods
Now that BepInExPack is installed, you can start downloading mods. Here are a few popular sites to find Valheim mods:
After downloading the mod files, follow these steps:
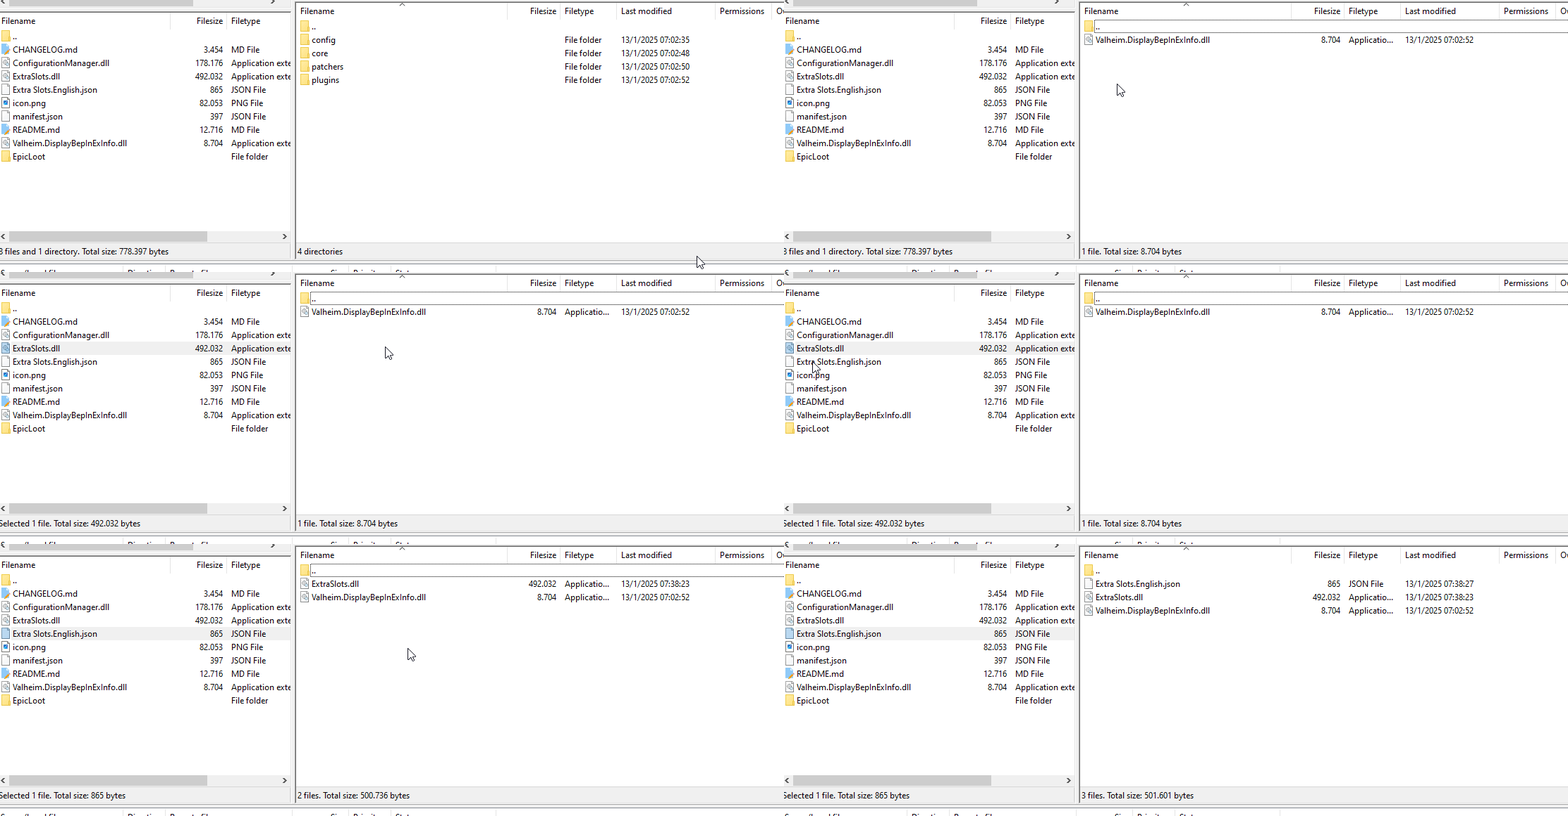
- Transfer the mod files (usually .dll files or other necessary files) to both your client and server
BepInEx/pluginsfolder. - Make sure to read the instructions provided with each mod for proper installation, as some mods might require additional steps.
- Remember to restart the server after each mod installation to ensure everything works correctly.


Troubleshooting Common Issues
- Ensure the mods are installed in both the client and server.
- Check for version mismatches. Make sure the versions of BepInExPack and the mods are compatible.
- Look out for extra mod configuration on client-side that might not be present on the server-side; mismatches can cause errors.
- Some mods may require a client-side program that won’t work on a dedicated server.
If you have any questions or need assistance, feel free to reach out to our customer care agents through our live chat or email at [email protected].