How to Join a Custom Minecraft Bedrock Server on consoles
Join a Minecraft Bedrock server on Xbox, Nintendo switch and PlayStation with BedrockConnect DNS, step-by-step setup, connection and troubleshooting tips.
Want to build, explore, and survive with your console friends on your own private world? Minecraft Bedrock Edition features incredible cross-platform capabilities, allowing mobile, PC, and console players to explore together seamlessly. However, console players hit a frustrating limitation: the Xbox, PlayStation, and Nintendo Switch versions do not natively allow you to add custom server IP addresses from the main menu, locking you into the official Featured Servers list.
Fortunately, by using a safe and clever workaround known as the BedrockConnect DNS method, you can easily bypass this restriction. By temporarily adjusting your console network traffic, you can intercept a standard featured server connection to unlock a hidden menu where you can input your own server details. This guide will walk you through the simple setup process to connect your console directly to your dedicated Bedrock server.
Are you trying to join a Java Edition server? This console workaround will only let you join Java servers if the server owner has specifically configured their server for cross-play. If the server owner needs help setting this up, send them our guide on How to Allow Bedrock Players on a Java Server!
Step 1: Retrieve Your Server Details
Before modifying any settings on your console, you need to collect your server connection info.
- Log in to your Server Panel dashboard.
On your main server page, locate your unique IP Address and Port number.
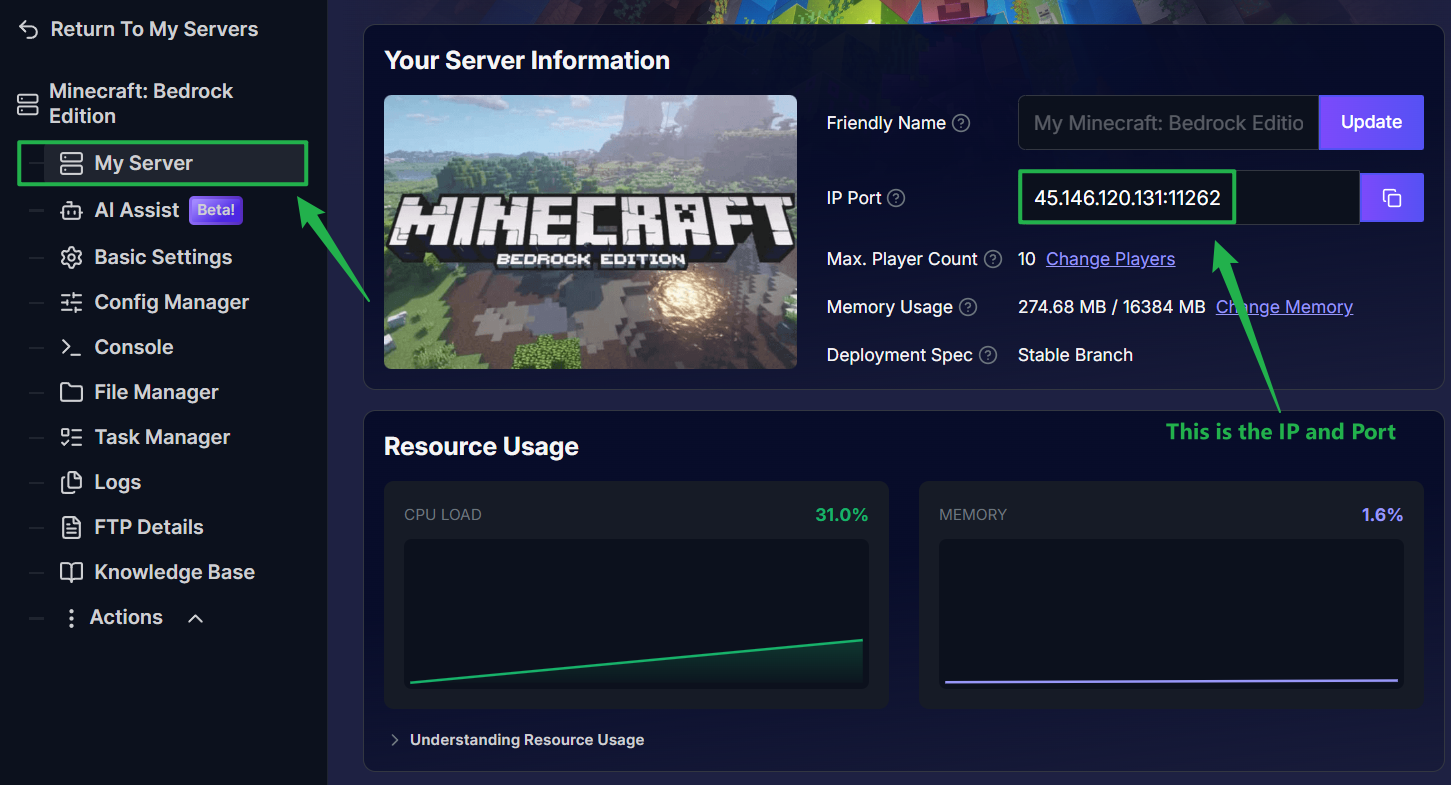
- Write these numbers down or keep this panel tab open nearby.
Step 2: Configure Your Console DNS Settings
To safely redirect the built-in server browser traffic to the custom BedrockConnect interface, you will need to change your console network properties from automatic to manual. This process is completely safe and fully reversible. Choose the instructions below depending on your console:
Xbox (One & Series X/S)
- Press the Xbox home button and navigate to Settings.
- Go to General > Network settings > Advanced settings > DNS settings.
- Select Manual.
- Enter
104.238.130.180for the Primary IPv4 DNS. - Enter
8.8.8.8(or1.1.1.1) for the Secondary IPv4 DNS. - Save your changes and return to the home screen.
Nintendo Switch
From the Switch home screen, navigate to System Settings > Internet > Internet Settings.
Choose your current active Wi-Fi connection and select Change Settings.
Switch DNS Settings to Manual.
Input
104.238.130.180as the Primary DNS.Input
8.8.8.8as the Secondary DNS.Select Save to apply your changes, then restart your console.
PlayStation 5
- From the home screen, navigate to Settings > Network > Settings > Set up internet connection.
- Highlight your active network connection, press the Options button (three lines) on your controller, and select Advanced Settings.
- Change DNS Settings to Manual.
- Input
45.55.68.52(or104.238.130.180) as the Primary DNS. - Input
8.8.8.8as the Secondary DNS. - Click OK to save and let the console run its connection test.
PlayStation 4
- Go to Settings > Network > Set up internet connection.
- Choose your connection type (Wi-Fi or LAN) and select Custom.
- Leave IP Address as Automatic and DHCP Host Name as Do Not Specify.
- Under DNS Settings, pick Manual.
- Set the Primary DNS to
45.55.68.52(or104.238.130.180). - Set the Secondary DNS to
8.8.8.8. - Leave MTU as Automatic and Proxy Server as Do Not Use, then complete the connection test.
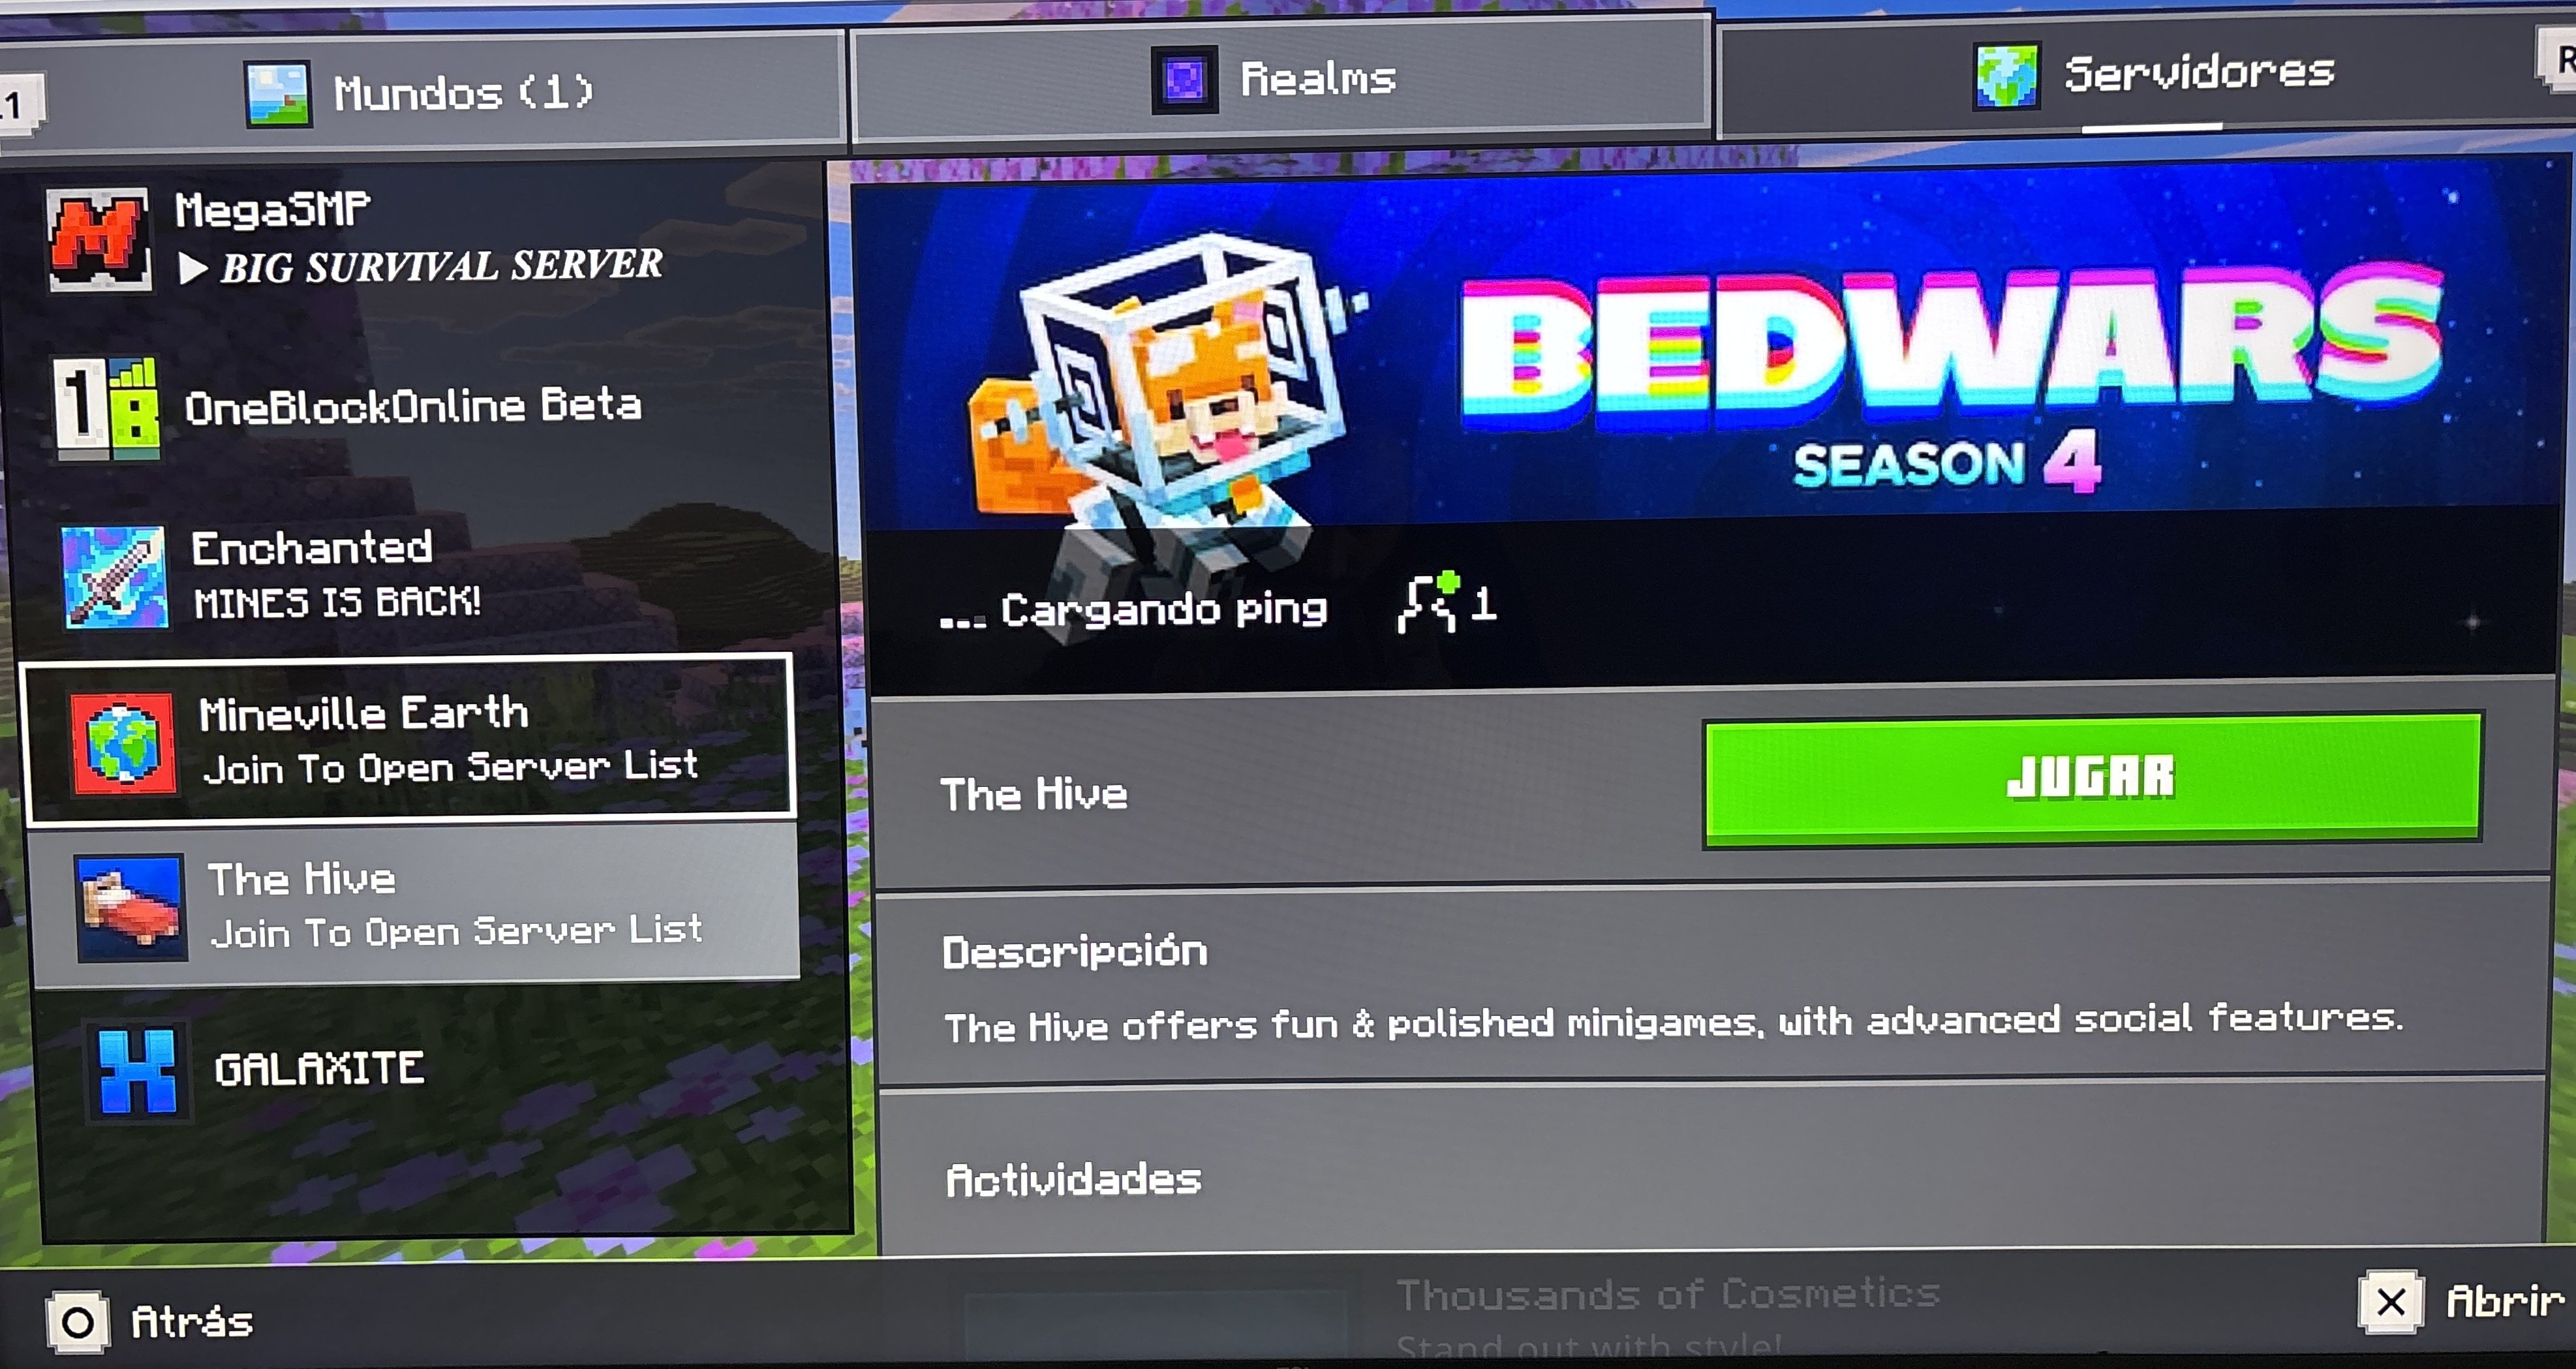
Step 3: Launch Minecraft and Access the Servers Tab
Fire up Minecraft on your console. Double-check that you are completely signed into your Microsoft account, as this is mandatory for online cross-play features. From the main menu, select Play, then shift over to the Servers tab located at the top right of your screen.
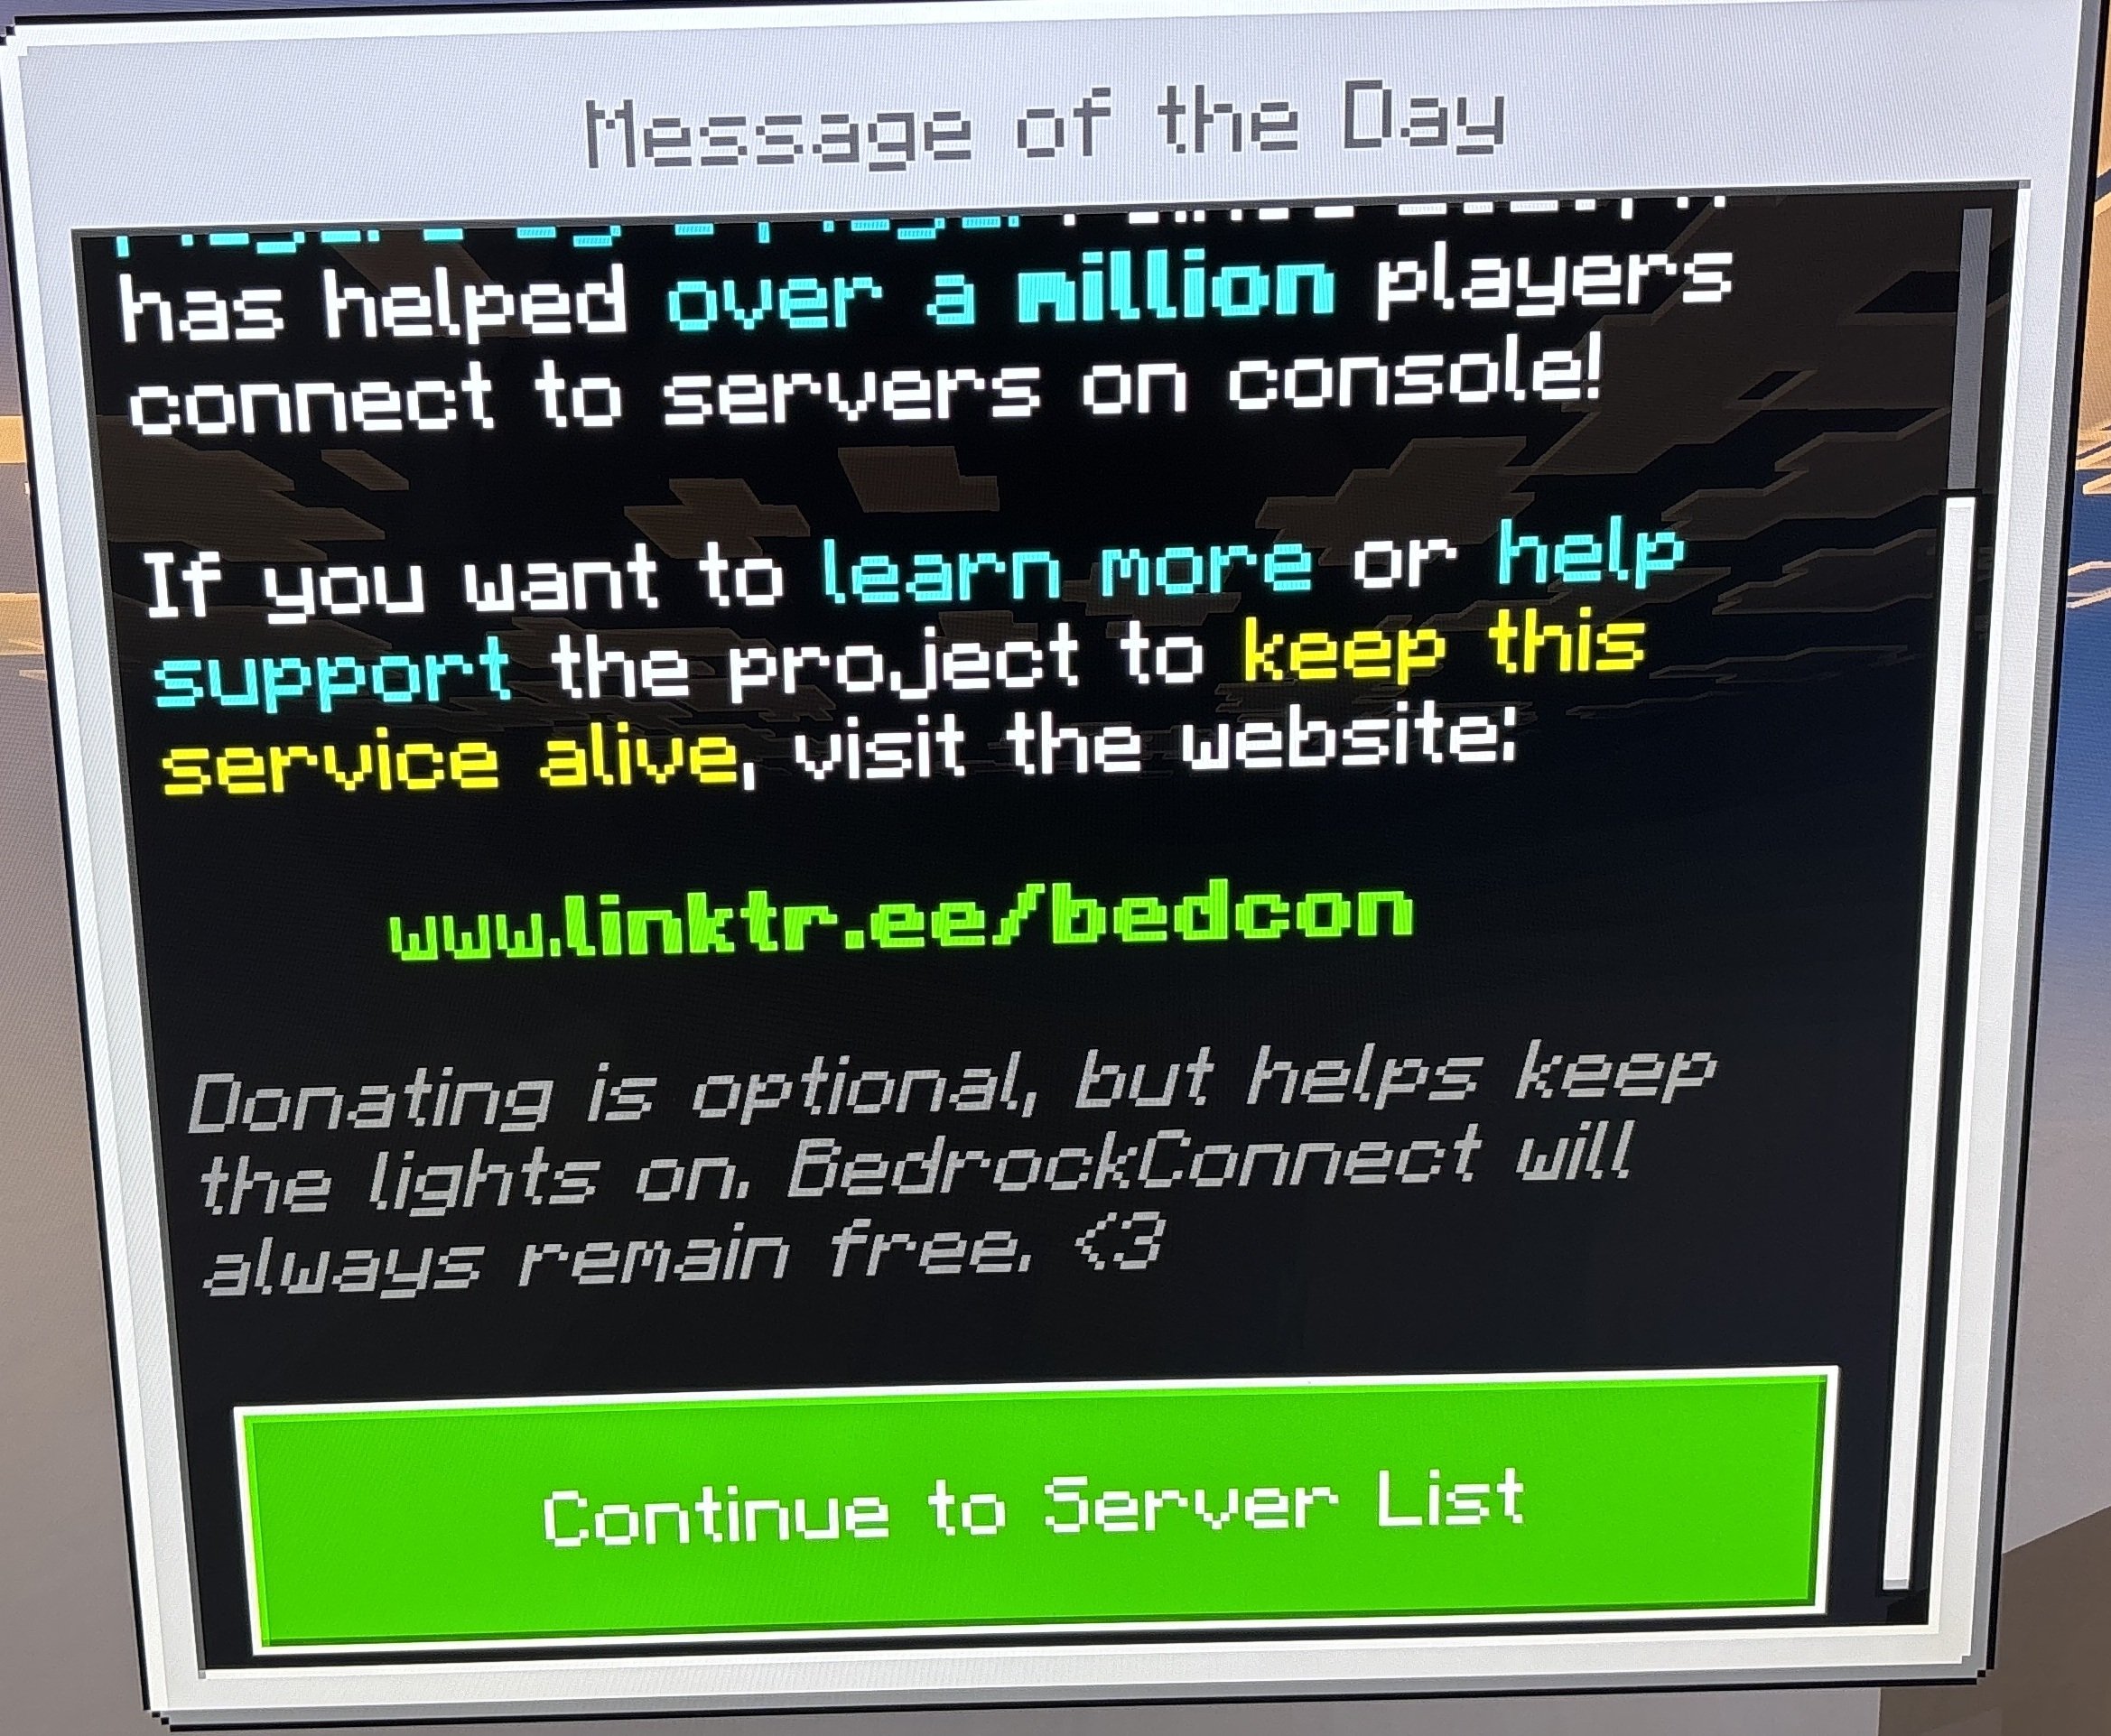
Step 4: Trigger the BedrockConnect Portal
Scroll down past the primary menu options until you reach the Featured Servers list. Click on any of the highly populated official servers (such as The Hive, Lifeboat, Mineville, or Galaxite) and choose Join Server.
Instead of connecting you to that official network lobby, your modified DNS settings will seamlessly intercept the request and open up the custom BedrockConnect portal menu (often displayed as Join to Open Server List).
Step 5: Connect to Your Custom Pingplayers Server
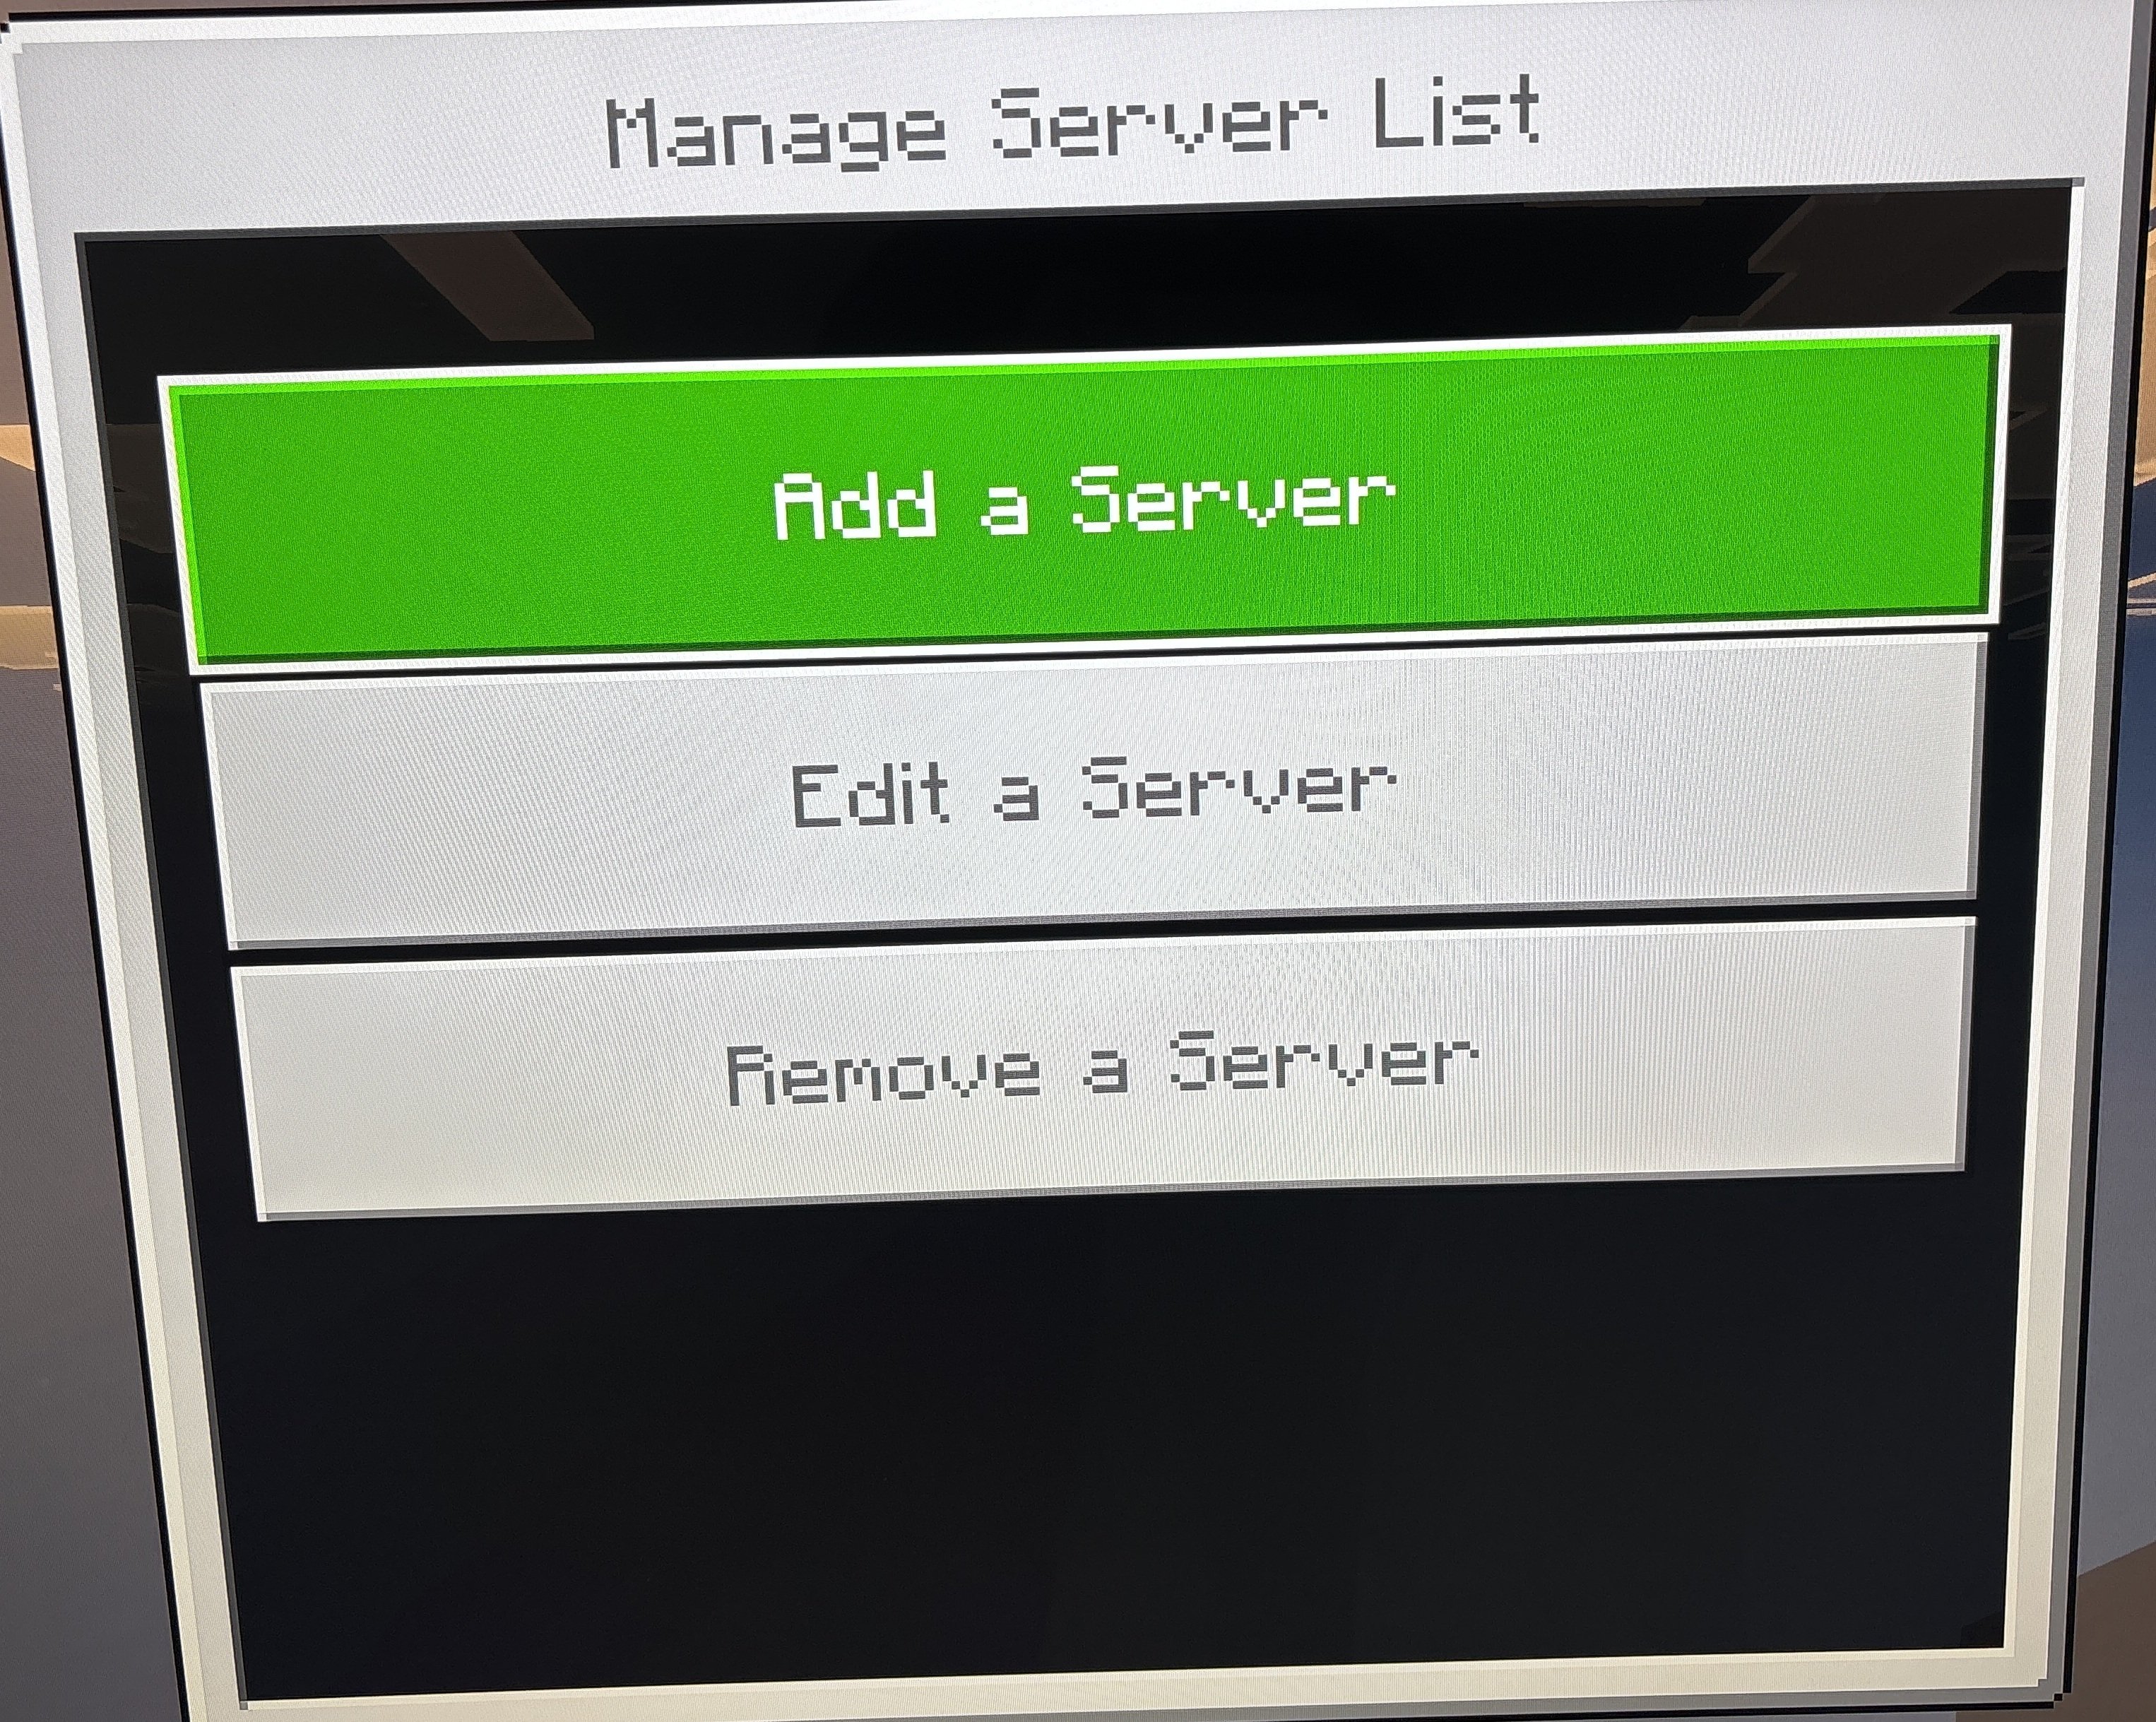
- Once inside the custom BedrockConnect portal menu interface, select the Connect to a Server option.
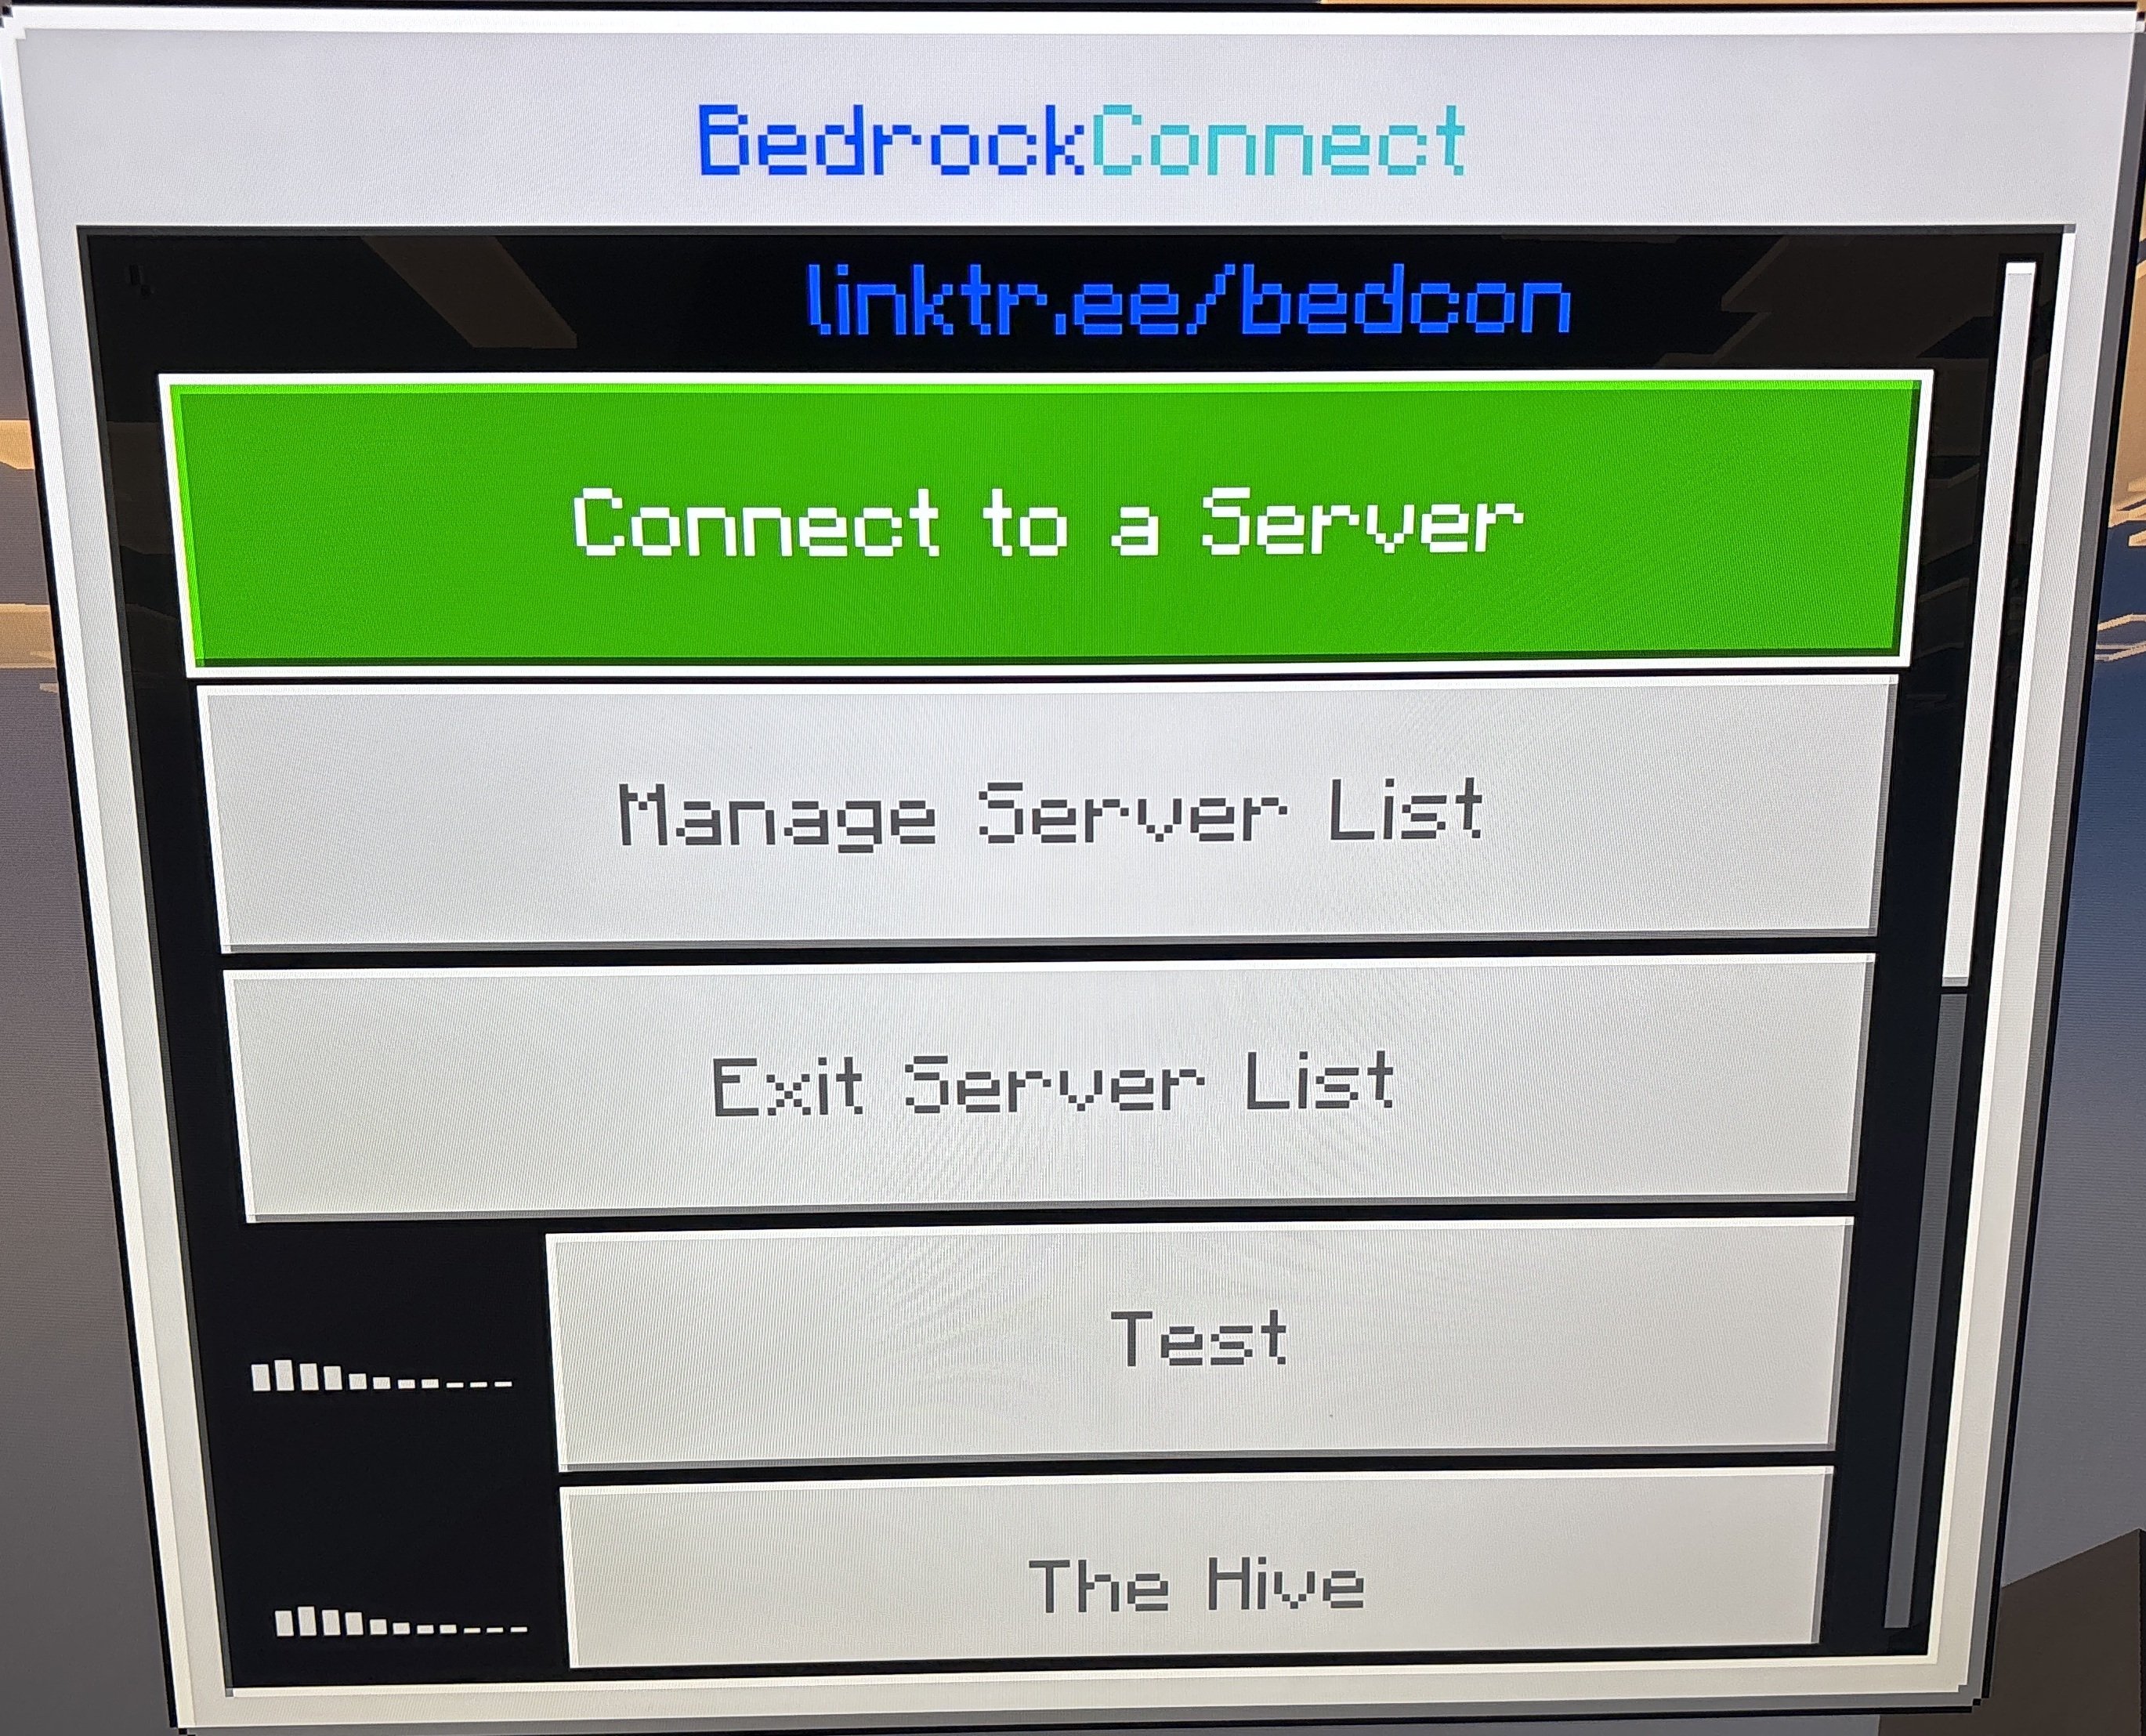
- Click on Add a Server
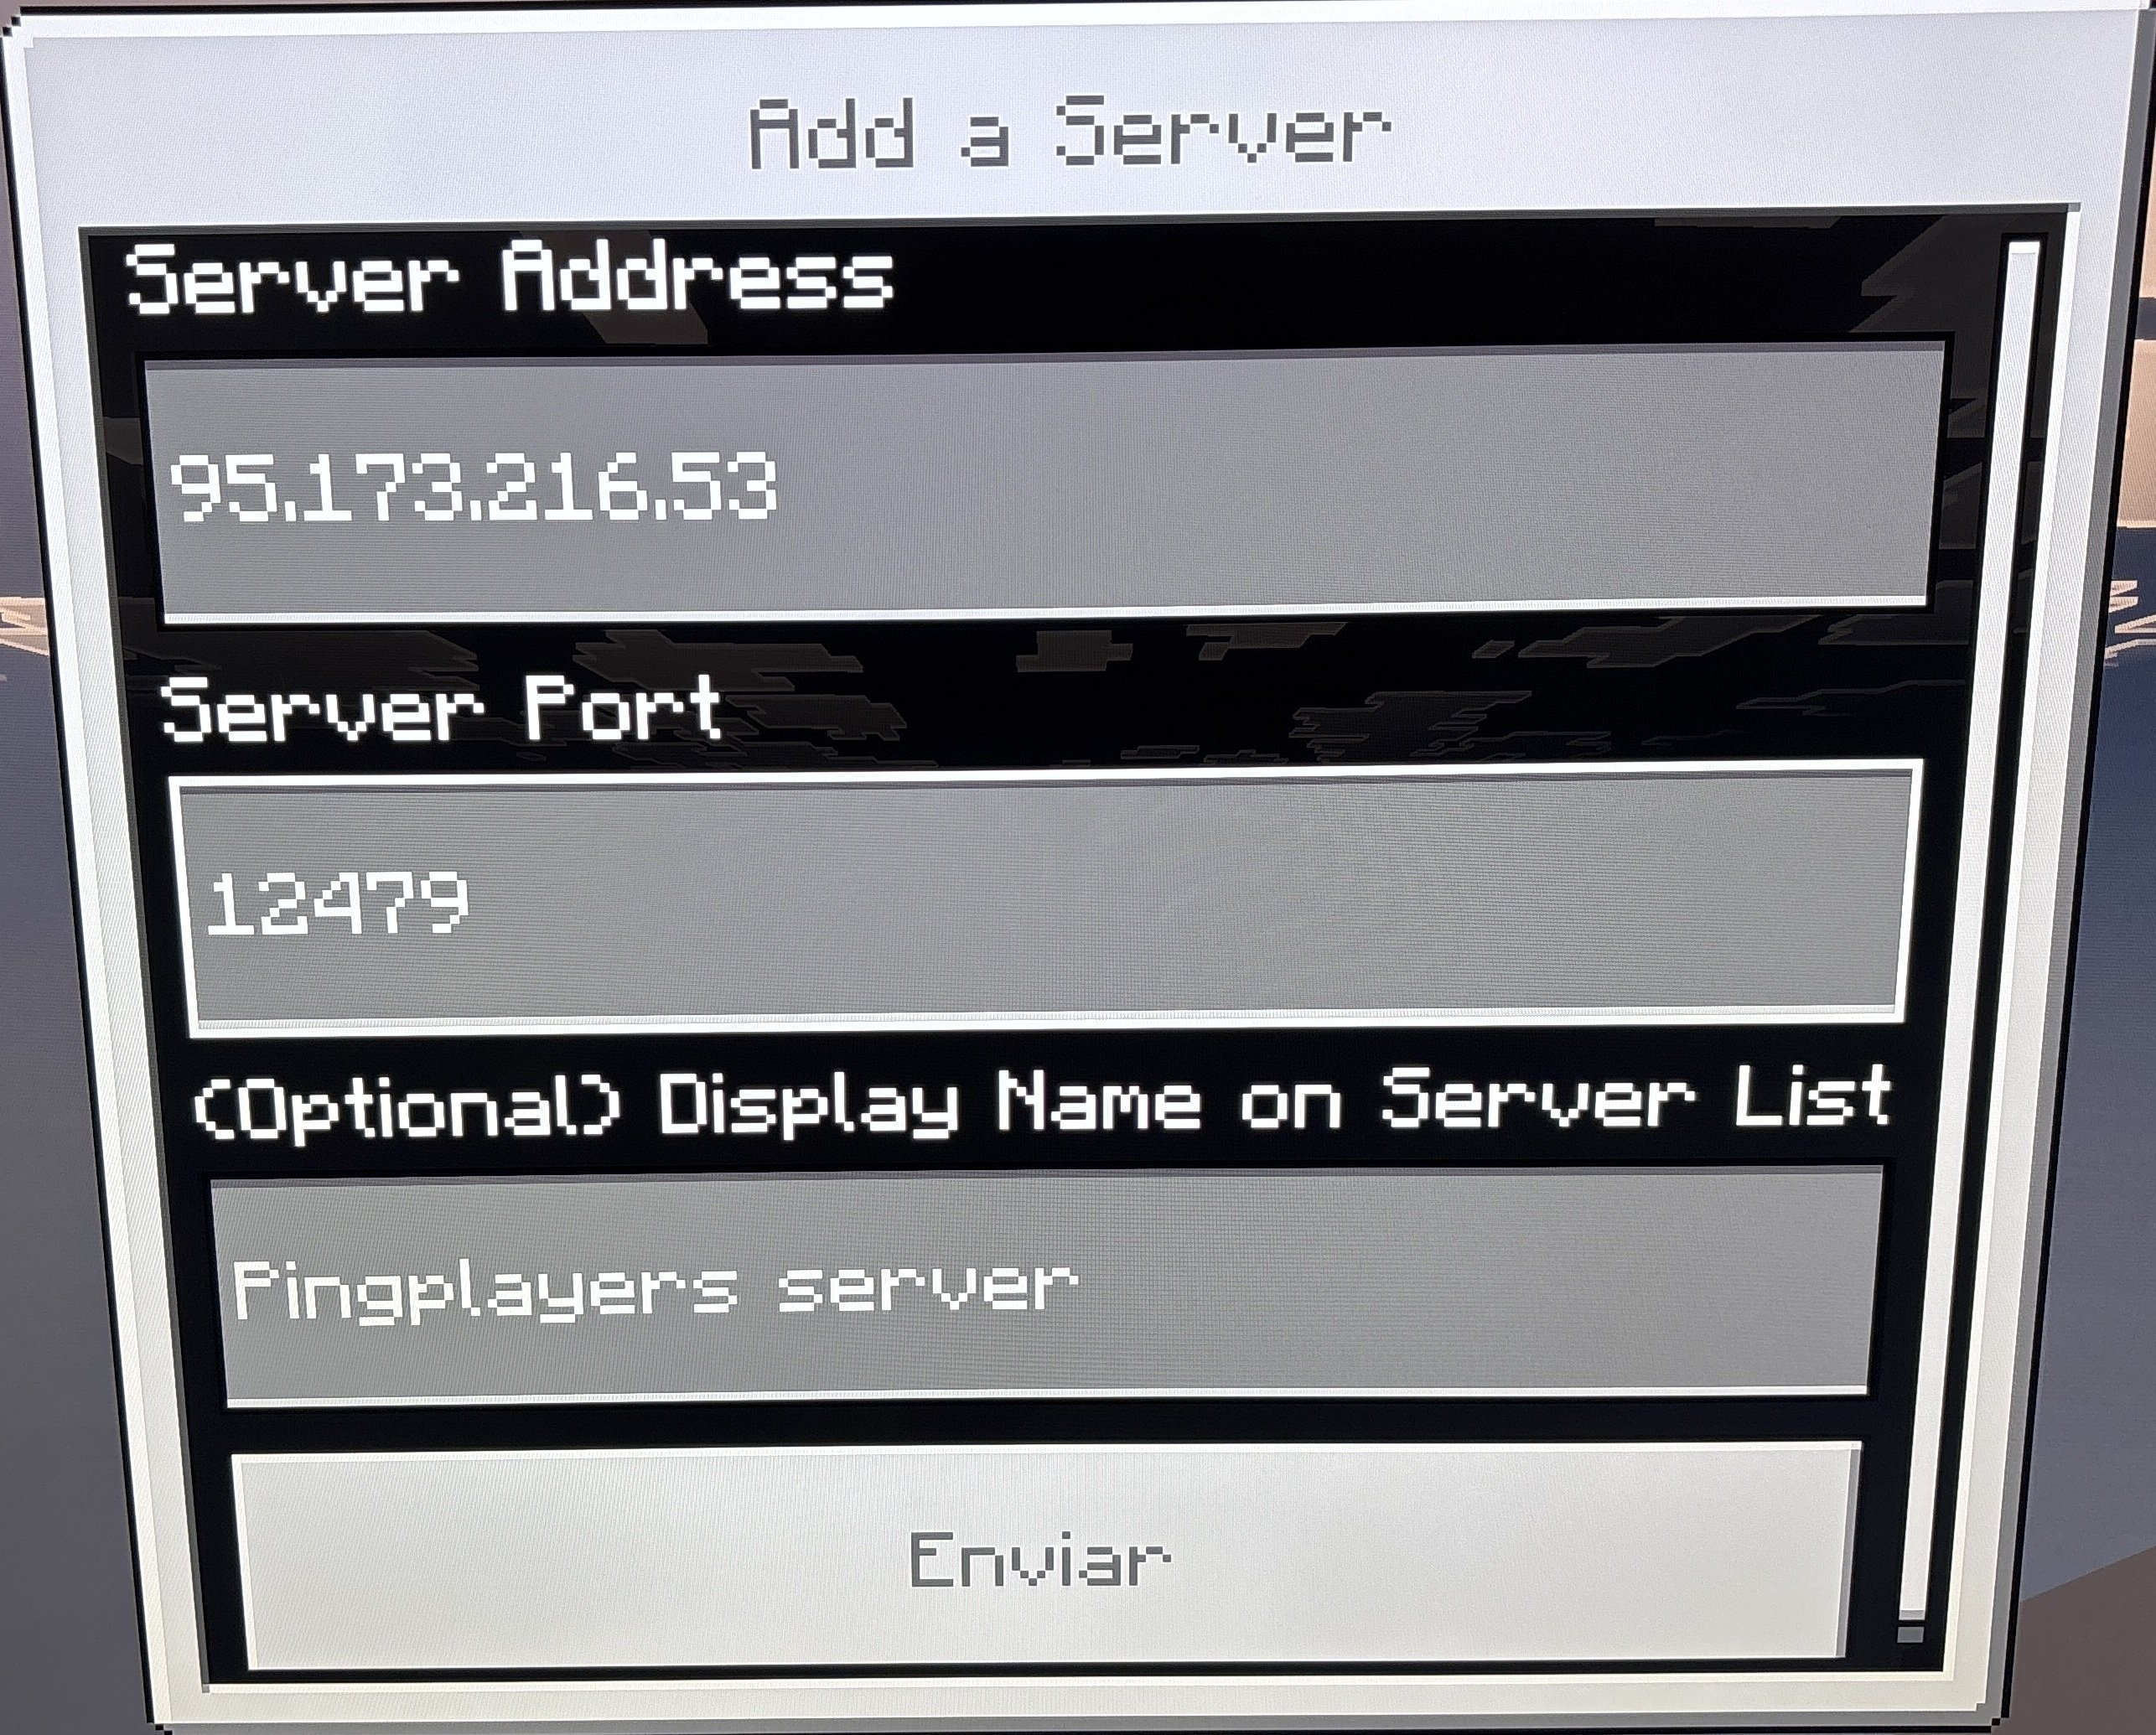
Carefully type your server IP Address and Port into the corresponding input fields, then click Submit, and your console will smoothly load directly into your multiplayer world!
Troubleshooting & Tips
If your console is refusing to redirect or you encounter an error when attempting to connect, go through these common troubleshooting checks:
- The standard Featured Server opens normally: If you click on The Hive and load straight into the official lobby without seeing the custom BedrockConnect portal, your console is still reading cached network details. Fully close Minecraft, restart your console to clear its temporary DNS cache, and double-check your manual DNS numbers for any typos.
- Unable to connect to world error: Head back to your Pingplayers Server Panel and ensure your server status is displaying as Running. If the server is active, re-verify the IP address and Port digits in the BedrockConnect screen — even a single incorrect number will cause the connection to fail.
- How to revert back to normal: If you ever need to remove the redirect and play on the regular official featured servers again, simply jump back into your console network settings and flip the DNS settings from Manual back to Automatic.
Conclusion
By spending just a couple of minutes tweaking your console network configurations, the built-in platform restrictions are officially gone. Your custom Bedrock world is now fully accessible to console, mobile, and PC players alike, bringing your entire gaming community together seamlessly on your server.
If you encounter any issues or have further questions, feel free to contact our support team for assistance!