How to Manage Your SCP: Secret Laboratory Server Commands and Permissions
Manage your SCP: Secret Laboratory server - learn Remote Admin vs Console, set permission groups, use PingAI to generate configs and fix permission issues.
Once you have successfully assigned yourself as an administrator, it is time to learn how to actively manage your facility. SCP: Secret Laboratory features a robust command architecture that separates live in-game commands from backend server console commands. Furthermore, you can completely customize how much power your individual staff members have by tweaking their permission groups.
Understanding the distinction between these command types and how to assign specific privileges is critical for running a smooth community. This guide will explain how your permission groups work and how to seamlessly manage your server.
Step-by-Step Guide to Server Management
Your server allows you to create highly specific tiers of staff members, from basic helpers to full server owners. Here is how to navigate the command structures and manage your team:
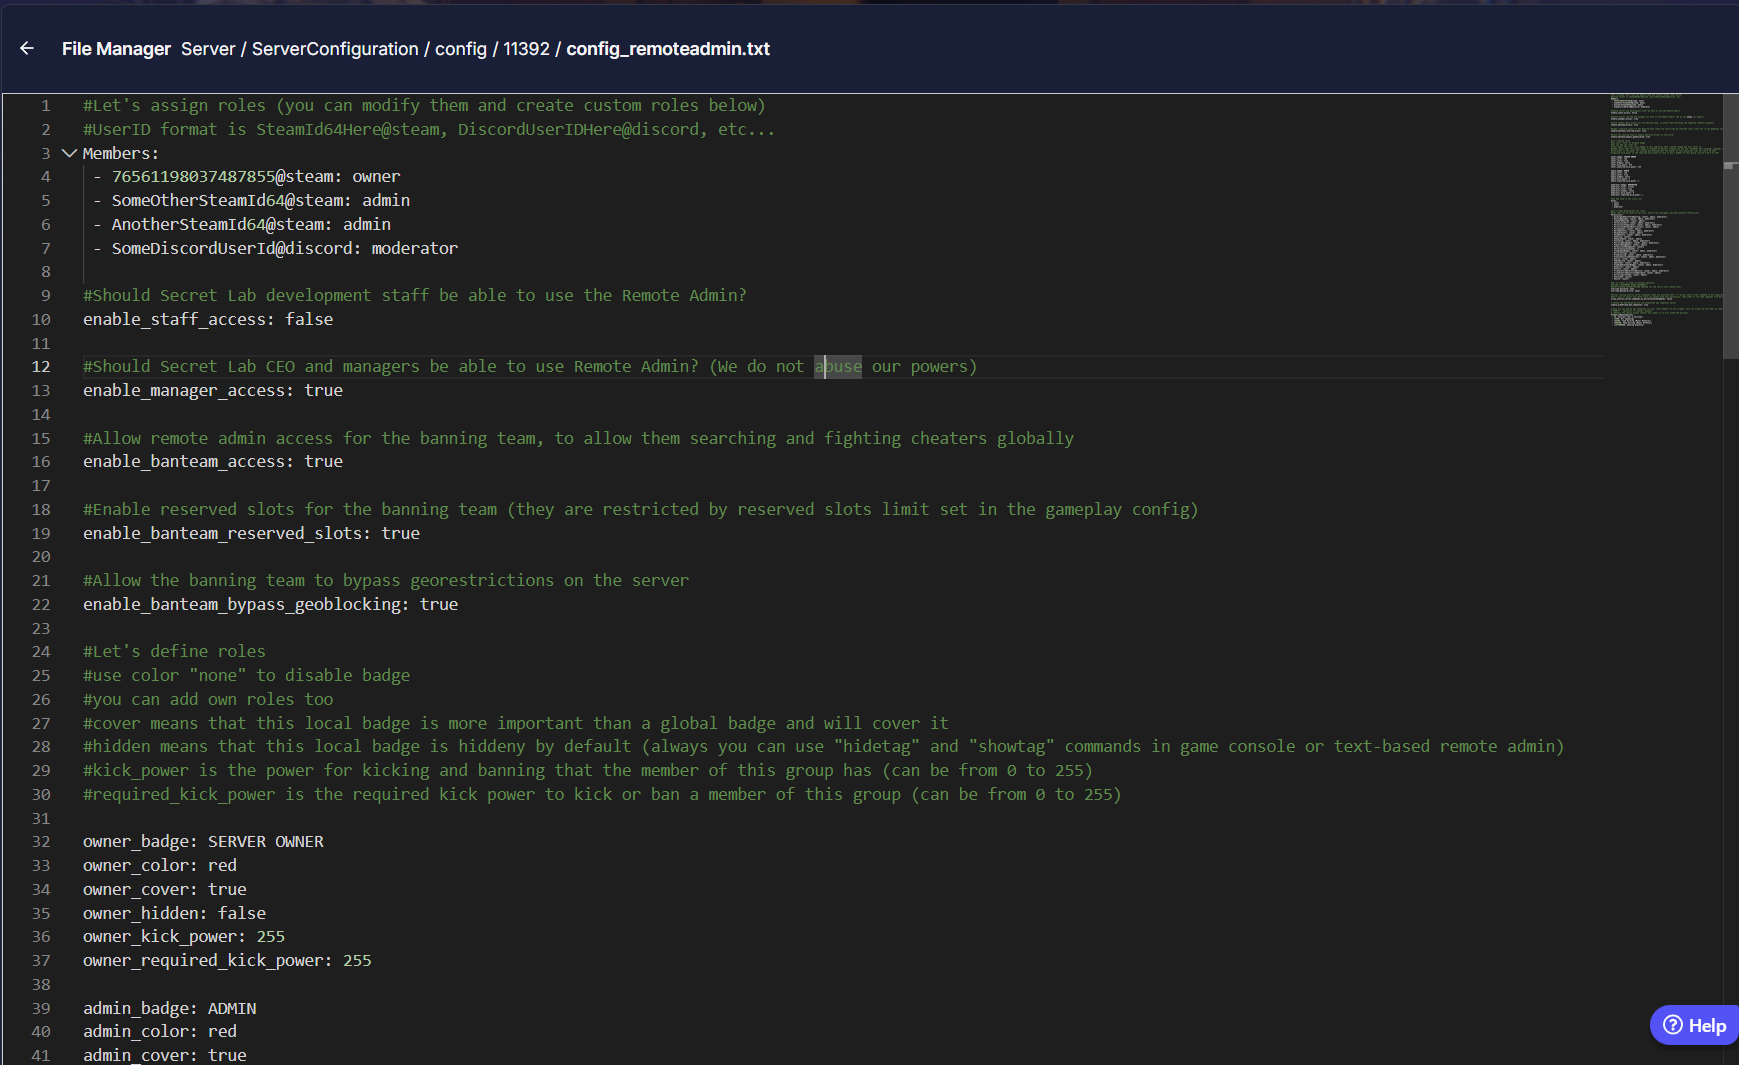
Understand how Permission Groups work. Inside your Remote Admin configuration file, you can create multiple roles simultaneously (like Owners, Administrators, Moderators, and Helpers). Each custom group can be assigned a specific badge color, reserved slot access, and precise kick or ban powers.
Learn the difference between the In-Game Remote Admin and the Server Console. When playing the game, pressing your assigned key opens the Remote Admin panel, giving you a visual interface to heal players, spawn items, or broadcast messages. However, backend actions like starting the server, forcing global wipes, or running deep diagnostic commands must be executed via the Console tab on your server dashboard.
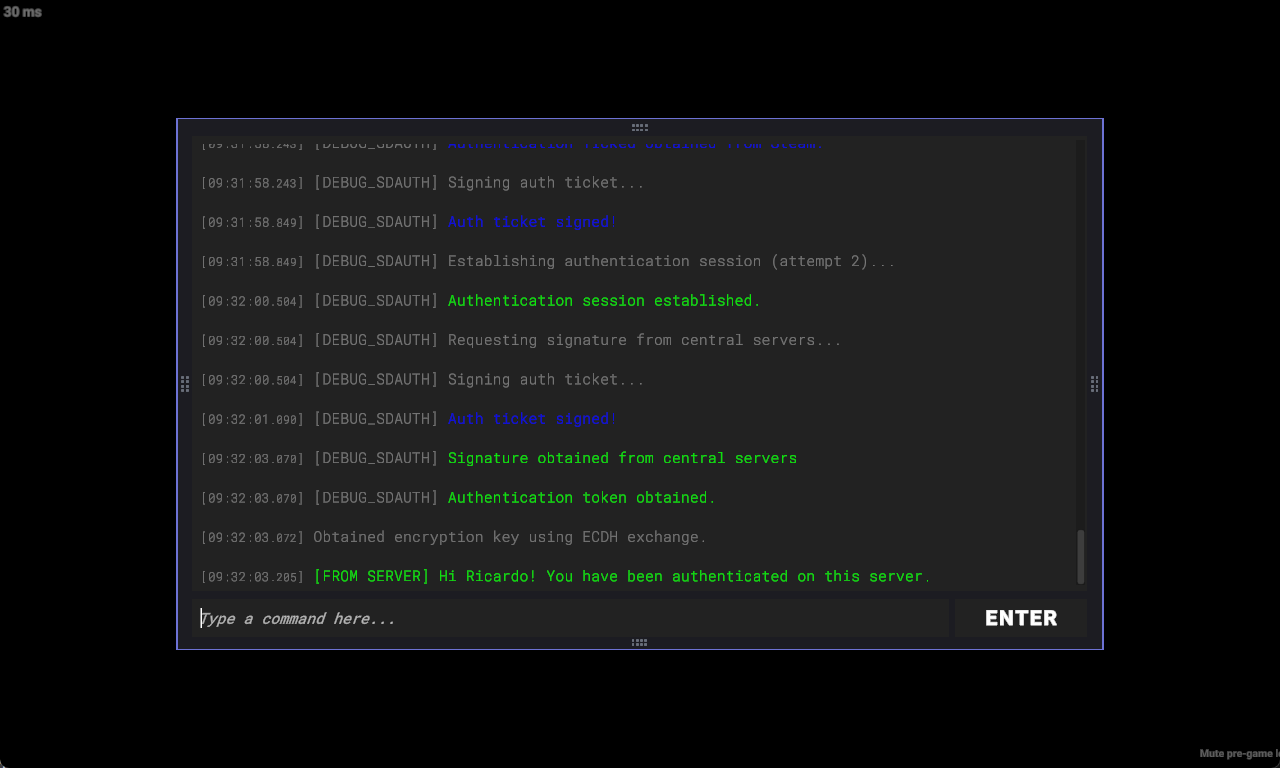
This is the Console tab in-game 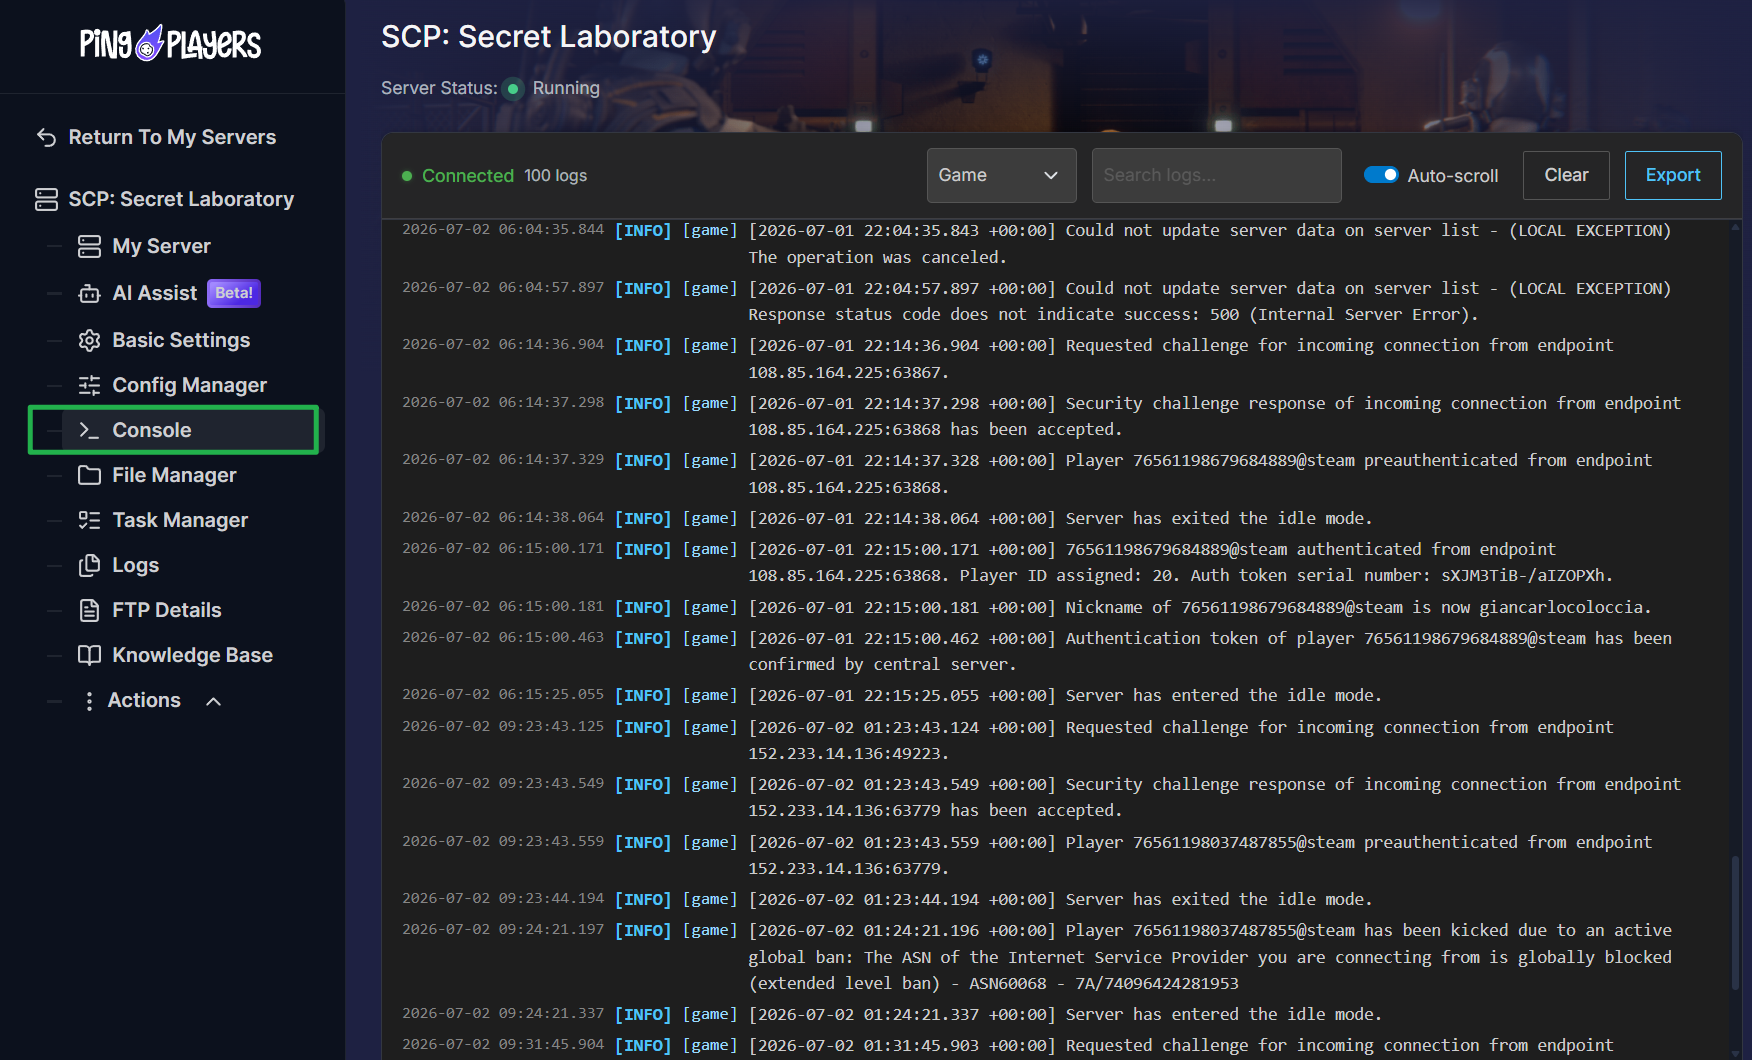
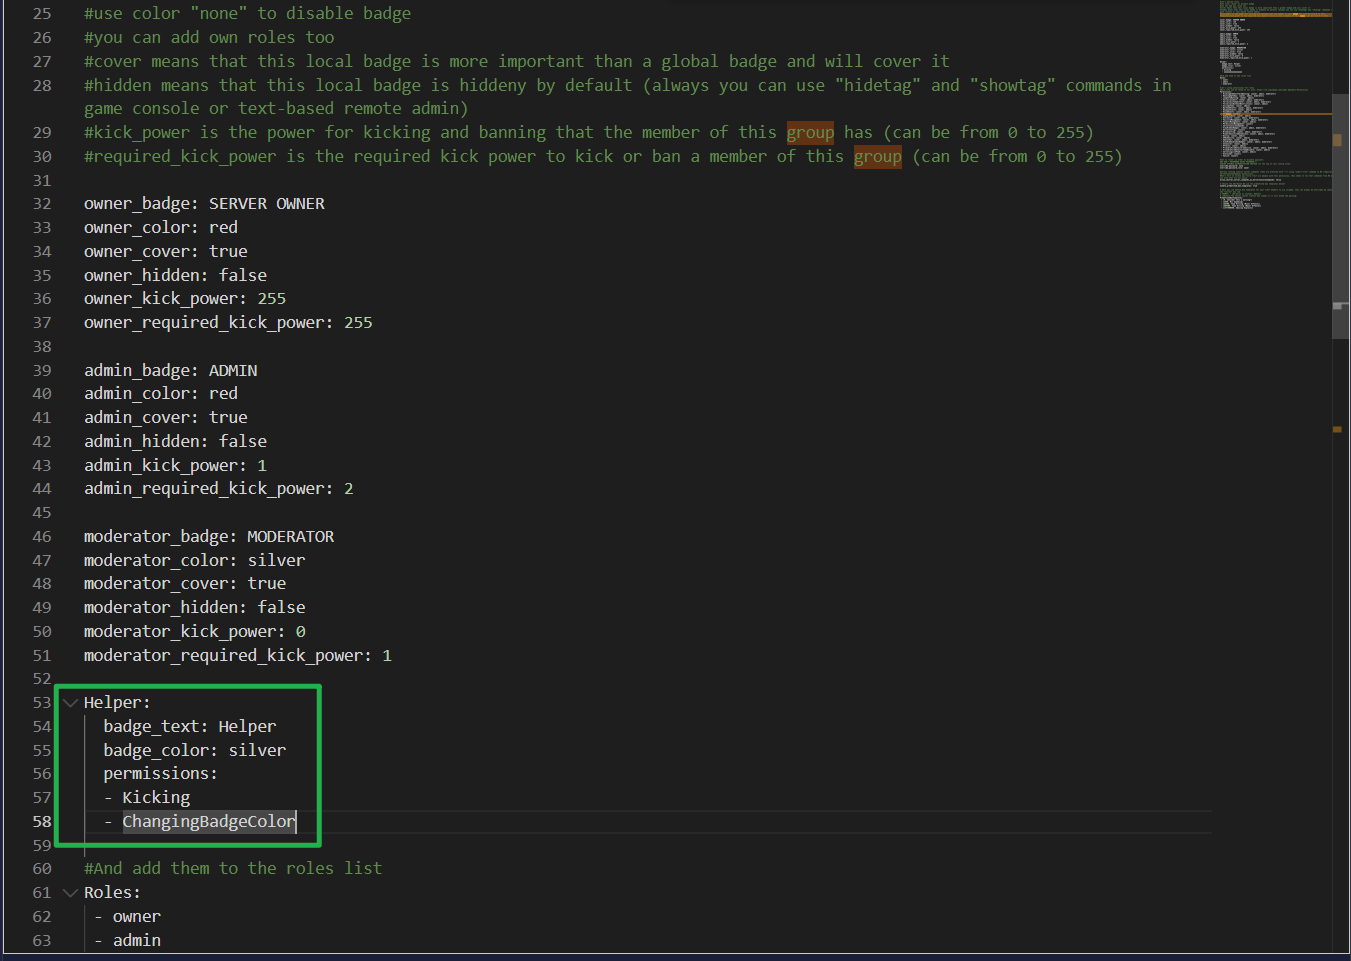
This is the Console tab on your server panel. If you want to create a brand new staff tier with very specific limitations, open the Ping AI tab on your dashboard. Do not waste time manually typing out permission nodes! Just tell Ping AI exactly what powers you want a role to have (for example, "Create a Helper role that can only kick players and change badge colors"), and it will generate the flawless code for you.
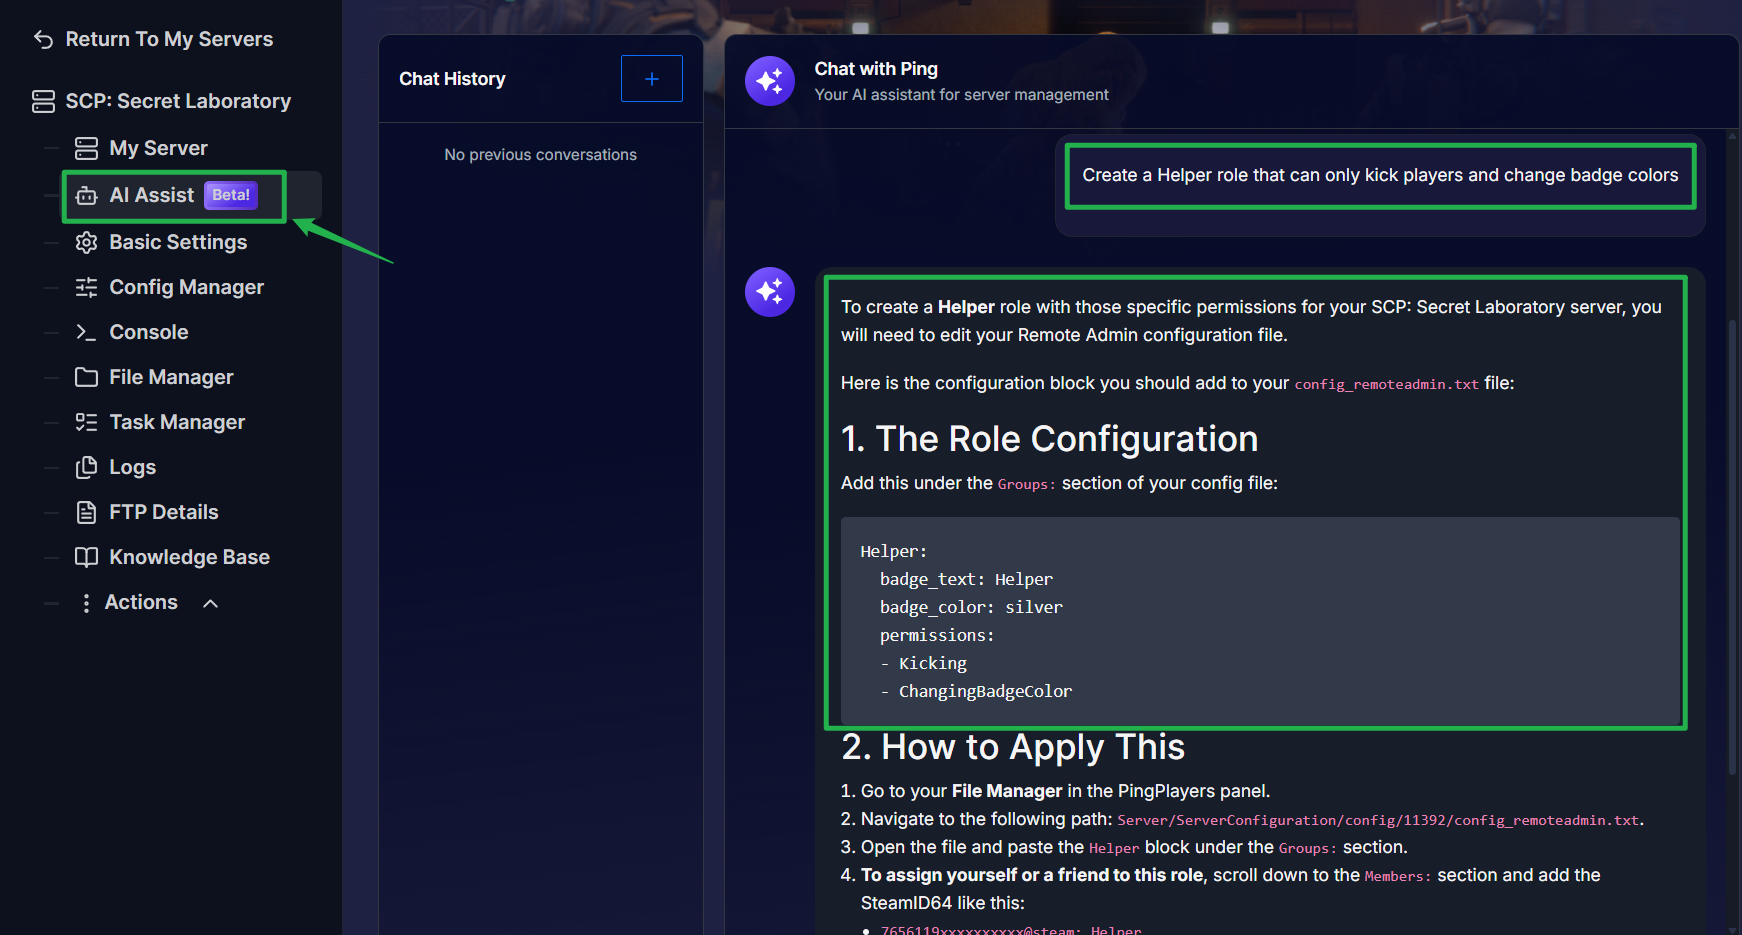
Using Ping AI to instantly write custom role permissions for the Remote Admin file. Copy the code generated by Ping AI and paste it directly into your Remote Admin configuration file via the File Manager.
Add your chosen staff members to that new role under the
Members:section and navigate to Actions > Restart to apply the changes!
Troubleshooting and Tips
Managing a hierarchy of staff members can sometimes lead to overlapping commands or broken permissions. Keep these crucial management tips in mind:
- Missing Permissions: If a moderator tries to use a command in-game and receives an access denied error, their assigned group is missing that specific permission node in the configuration file. You will need to add the correct permission line to their role and restart the server.
- Finding Command Lists: With dozens of commands available, memorizing them all is impossible. You can type
helpin your server console to see a list of available background commands, or just open your panel chat and ask Ping AI to provide a complete list of commands for whatever specific task you are trying to accomplish! - Start From Scratch: If your roles are completely broken and no one has administrative access, formatting errors have likely corrupted the file. It is often much faster to ask Ping AI to generate a completely fresh, default Remote Admin configuration file for you to paste in and start over cleanly.
Conclusion
Mastering the Remote Admin system and the server console gives you total control over the chaos of your facility. By establishing clear permission groups, understanding the scope of your commands, and utilizing Ping AI to manage the heavy coding, you can safely empower your staff to keep your community thriving.
If you encounter any issues or have further questions, feel free to contact our support team for assistance!