
How to Add Custom Missions to Your Nuclear Option Server
Guide to add custom Nuclear Option missions: download from Steam Workshop, upload to your dedicated server and edit MissionRotation JSON.
Executing flawless bombing runs and dodging radar-guided missiles in Nuclear Option is an absolute blast, but running the same default sorties can eventually feel a bit repetitive. Fortunately, the NO community is incredibly active on the Steam Workshop, creating intense and complex custom operations for you and your friends to tackle.
Adding these custom missions to a dedicated server requires a manual transfer of the mission files and a quick edit to your server's configuration file. It might sound a bit technical, but as long as you follow the syntax rules, you will be flying brand new combat operations in no time. This guide will walk you through exactly how to download, upload, and configure your custom mission rotation.
Step - By - Step Guide
To keep things organized and prevent any server crashes, we have broken this process down into three simple phases: getting the local file, uploading it to your server, and updating your configuration.
Part 1: Downloading the Mission File Locally
Custom missions must first be downloaded to your own PC through Steam before they can be placed on the server.
Open Steam, go to the Nuclear Option Workshop page, and subscribe to your desired mission. Make sure the Workshop item is specifically tagged as a Mission and not just a skin or livery!
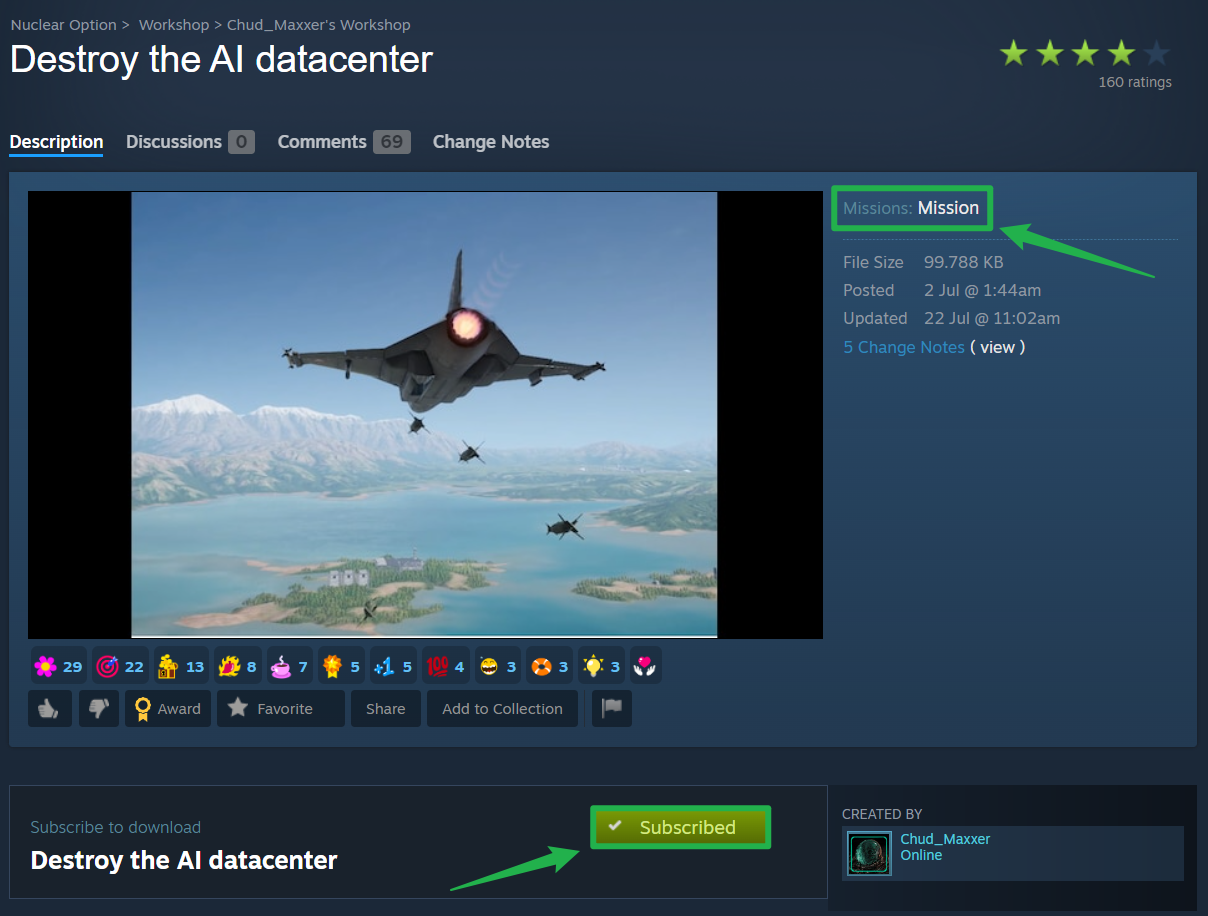
On your local PC, open your file explorer and navigate to your Steam Workshop content folder for the game. By default, this is located at
C:\Program Files (x86)\Steam\steamapps\workshop\content\2168680.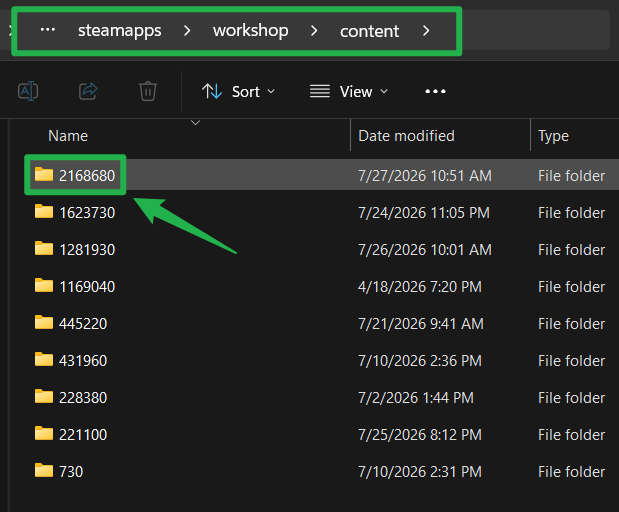
Look for the newest numbered folder, which corresponds to the mission you just subscribed to, and open it.
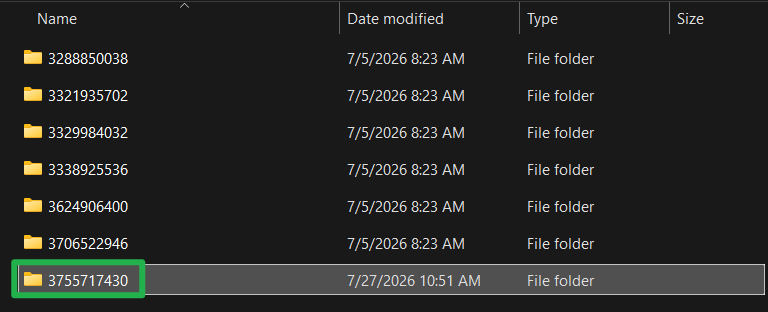
Locate the mission name
.jsonfile inside this folder. Copy this file to your Desktop so it is easy to find for the next step.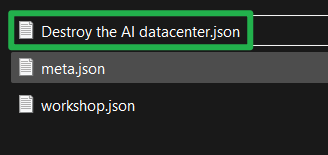
Part 2: Uploading the Mission to Your Server
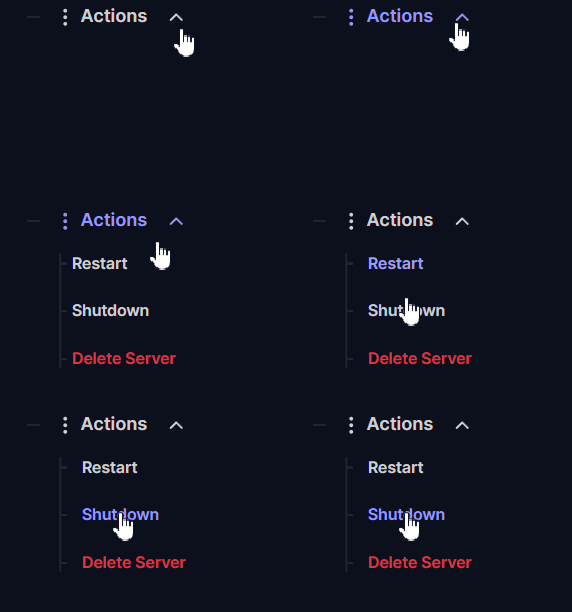
Log into your server panel and navigate to Actions > Shutdown to safely turn off your server. You must always completely stop your server before modifying files!
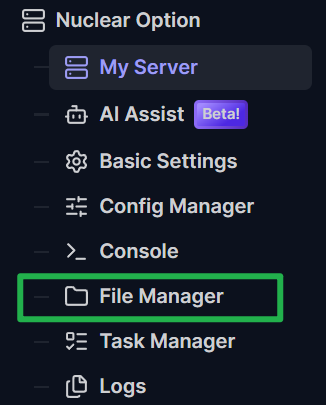
Open your server File Manager (or connect via an SFTP client like FileZilla).
Navigate to the default custom mission directory located at
Server/NuclearOption-Missions/.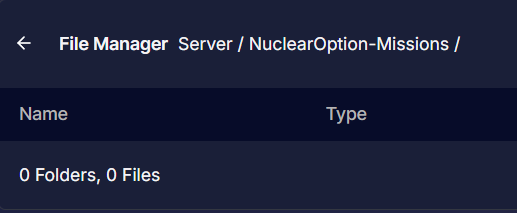
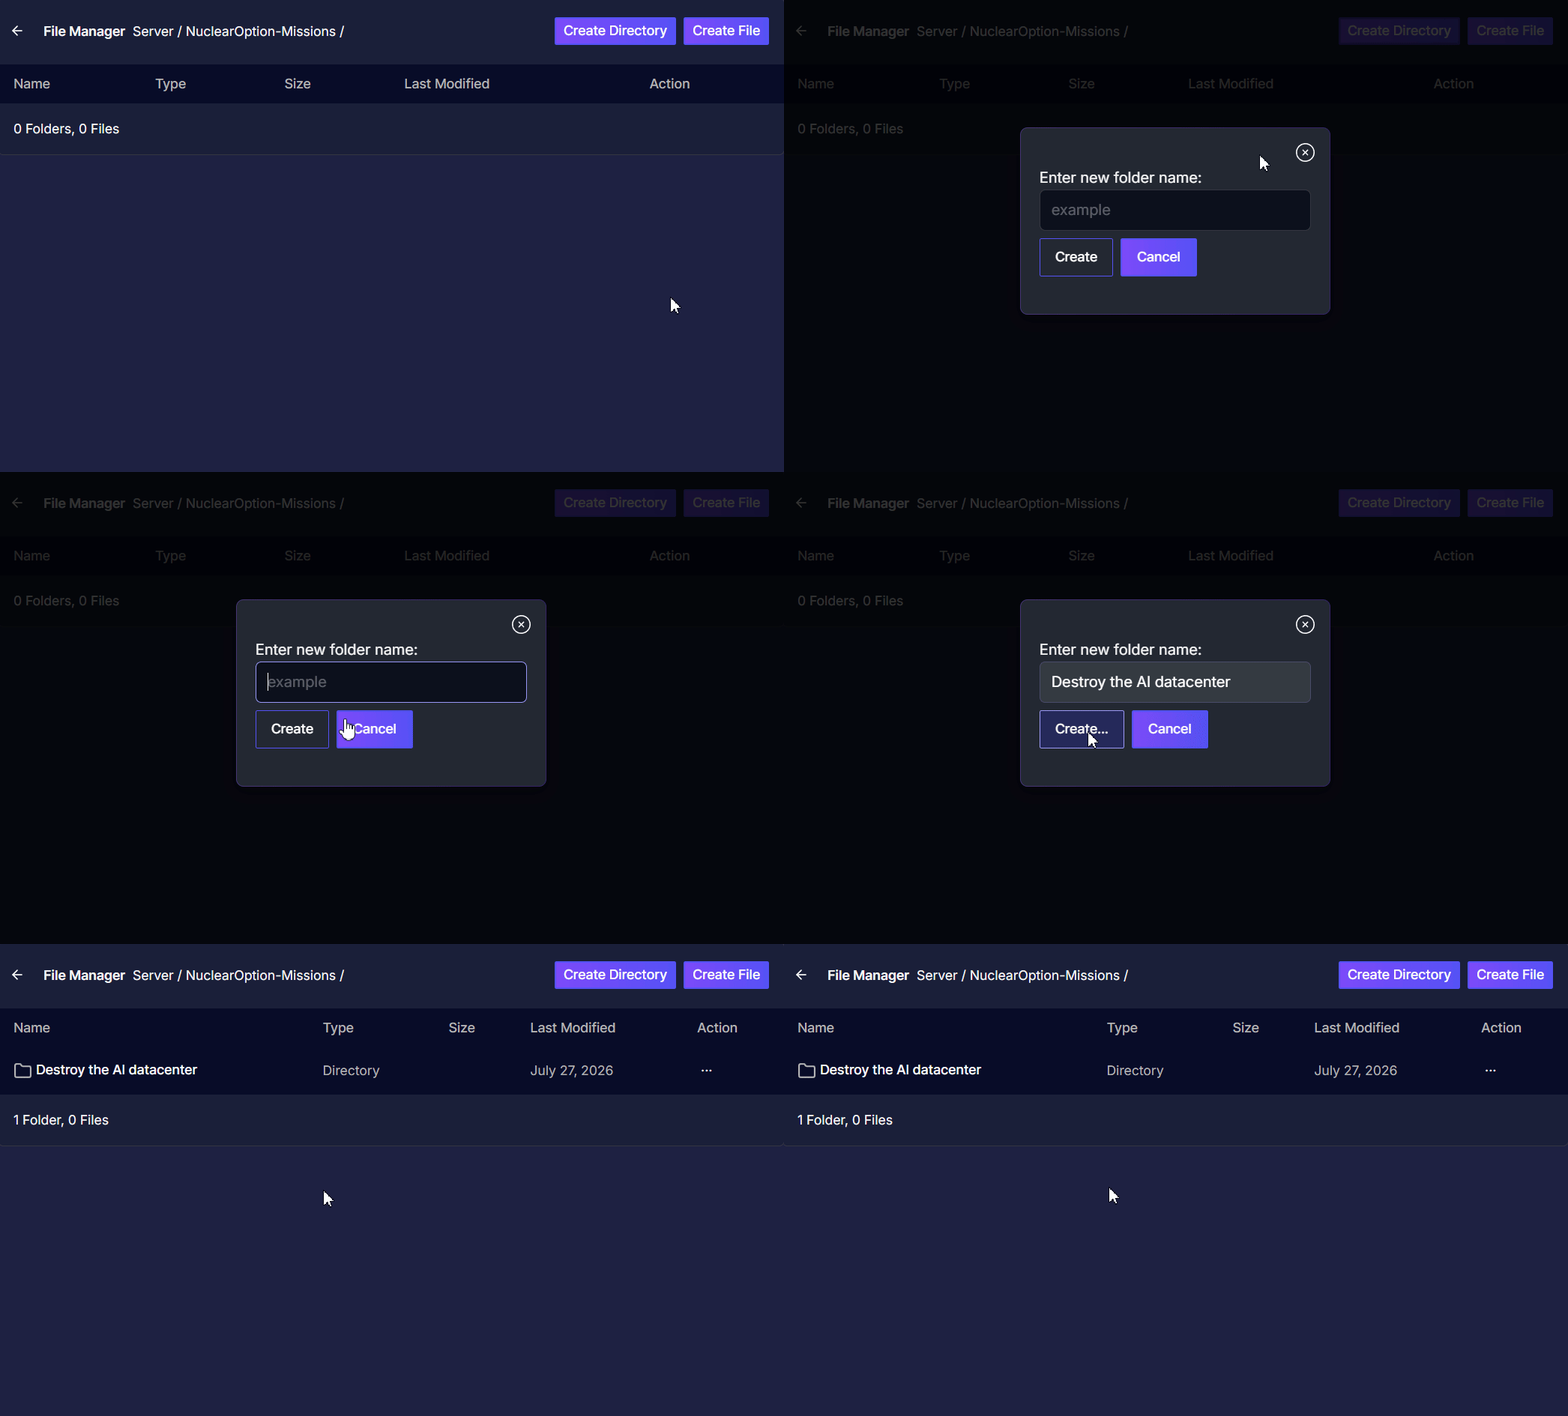
Inside this directory, create a new folder named exactly after the mission you are adding.
Open that newly created folder and upload your mission
.jsonfile directly into it by dragging and dropping the file on the upload bubble above the path.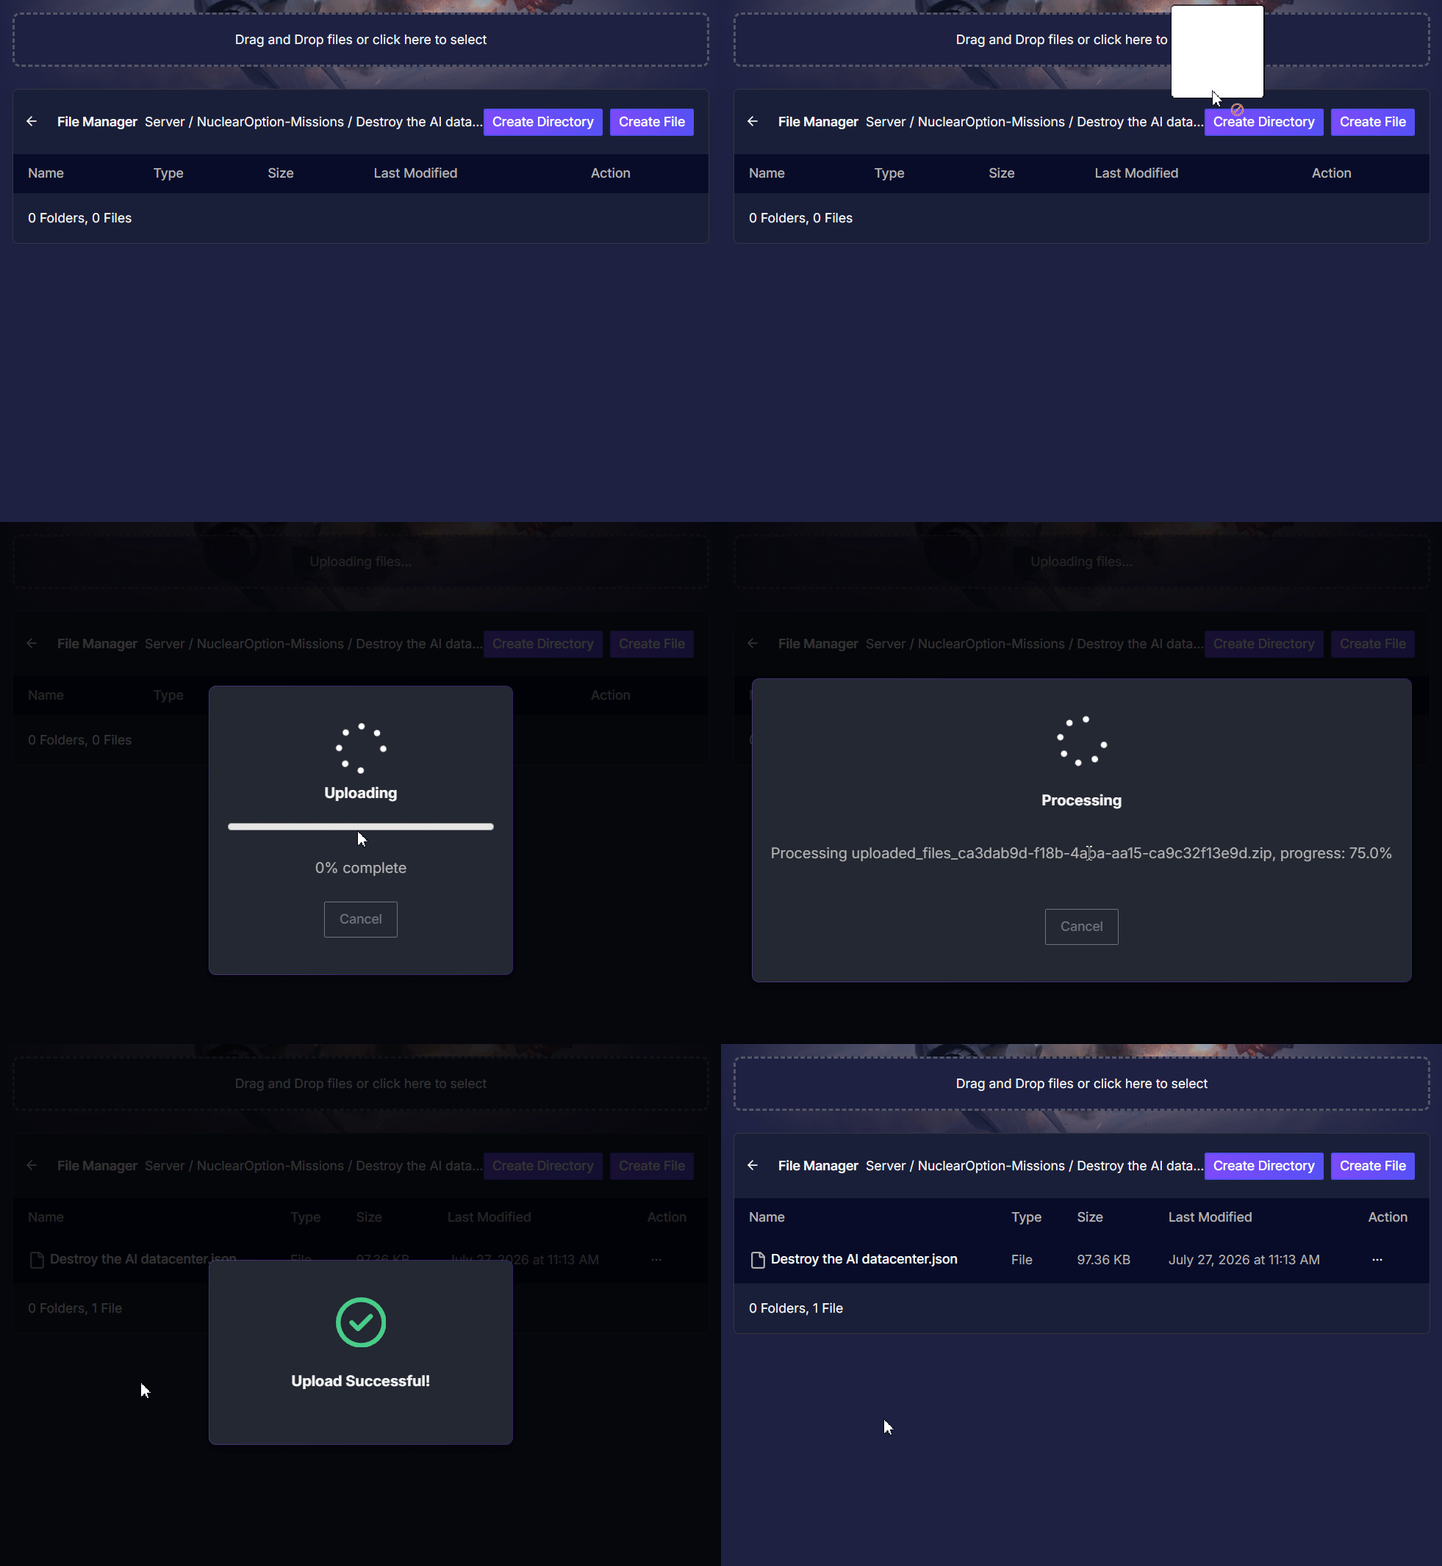
For reference, your final file structure should look exactly like this:
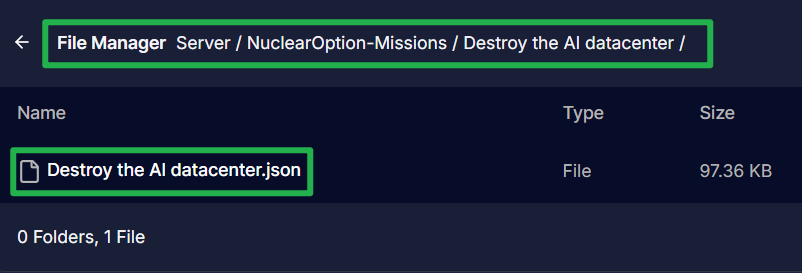
Part 3: Updating Your Configuration File
From your server panel menu, click on the Config Manager tab.
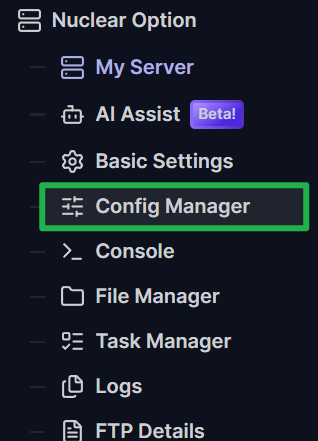
Click Create new config on the
DedicatedServerConfig.jsonfile to open the text editor.
First, verify that your server is ready for custom content by ensuring these two variables are set correctly:
"MissionDirectory": "/gameserver/server/NuclearOption-Missions","ModdedServer": true
Scroll down until you find the
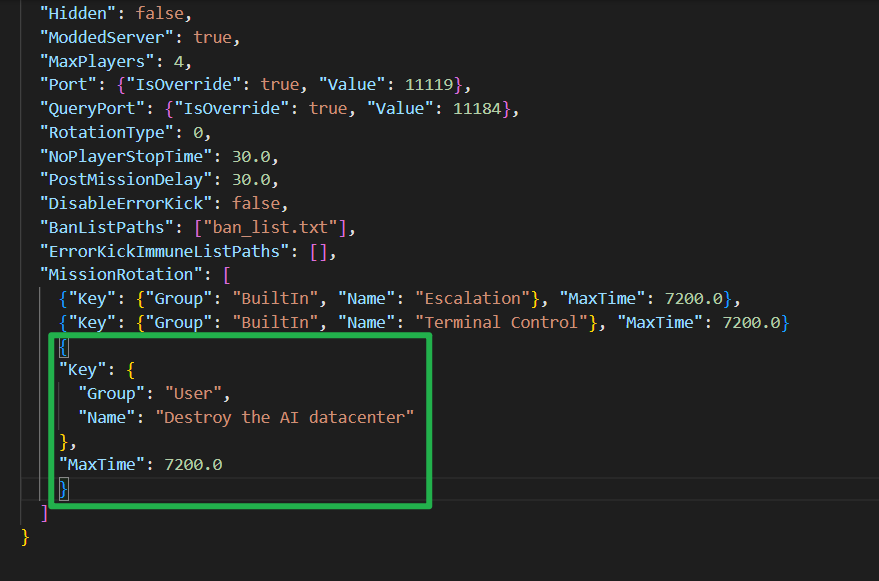
"MissionRotation"block. You will need to add your new mission here. Set the Group to"User"and type the exact name of your mission folder in the Name field. Do not include.jsonat the end of the name!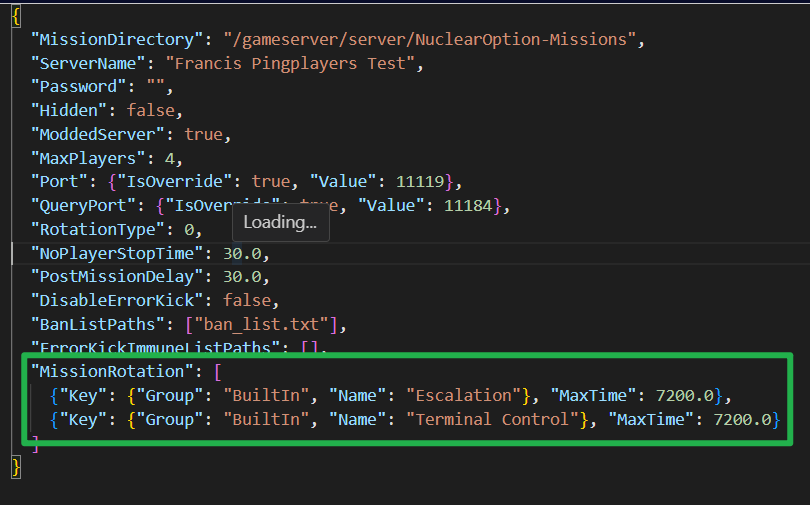
- If you are only running a single custom mission, your code block will look like this:
"MissionRotation": [
  {
    "Key": {
      "Group": "User",
      "Name": "Exact Name of the Mission Folder"
    },
    "MaxTime": 7200.0
  }
]
If you want to run multiple custom missions, you must separate each mission block with a comma. The very last mission in the list must NOT have a comma after it. Here is an example of a multi-mission rotation:
"MissionRotation": [
  {
    "Key": {
      "Group": "User",
      "Name": "Operation Crossfire - Breaking Point"
    },
    "MaxTime": 7200.0
  },
  {
    "Key": {
      "Group": "User",
      "Name": "Destroy the AI datacenter"
    },
    "MaxTime": 7200.0
  },
  {
    "Key": {
      "Group": "User",
      "Name": "Name of Third Mission Folder"
    },
    "MaxTime": 7200.0
  }
]
Click Save Config Template and put a check on Override Boot Config - Use As Default to apply your changes to your server.

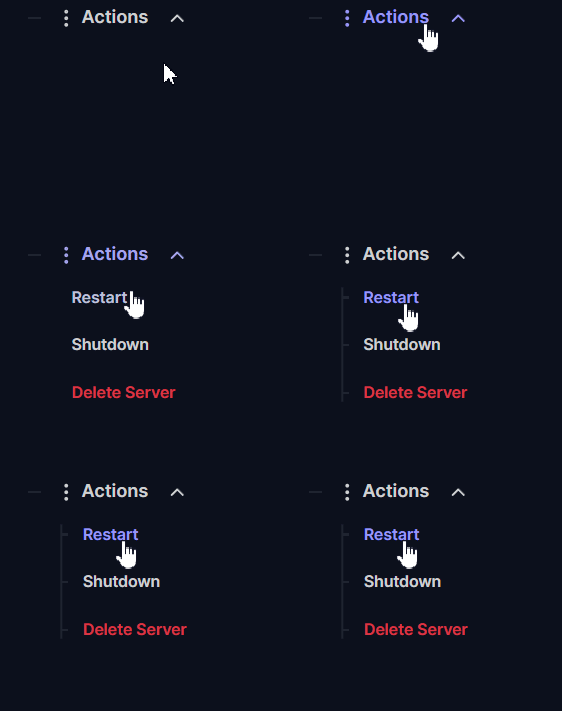
- Navigate to Actions > Restart to boot your server back up. Your server will now load up your custom operations!
Troubleshooting and Tips
Working with raw JSON files can sometimes lead to simple syntax errors. Keep these quick fixes in mind if your server refuses to boot up:
- Watch Your Commas: The most common reason a NO server crashes after adding missions is a trailing comma. Remember that in your
"MissionRotation"array, every mission block needs a comma after it EXCEPT the final one. A trailing comma at the end of the list will break the JSON formatting entirely. - Double Check Folder Names: The game engine is very strict about file paths. The folder name you created in the File Manager must perfectly match the Name value in your configuration file, and neither of them should include the
.jsonextension.
Conclusion
Taking the fight to custom battlefields completely refreshes the Nuclear Option experience. While it takes a few steps to move the files from your local Workshop folder to the dedicated server, mastering the JSON configuration means you can build massive, rotating campaigns for your entire squadron. Double-check your commas, upload your favorite operations, and get back to the flight deck!
If you encounter any issues or have further questions, feel free to contact our support team for assistance!