

Welcome to Night City, choom! Managing your own OPEN77 multiplayer server means you need the right cyberware to keep things running smoothly. Warden is the official browser-based administration panel that gives you full control over your Cyberpunk 2077 server, allowing you to manage players, run commands, and reload Lua resources on the fly.
Because OPEN77 is currently in Open Alpha, getting your administration tools wired up takes a few specific steps. This guide will walk you through authenticating your server, finding your setup PIN, and logging into Warden for the first time.
Generating Your Cyberpunk2077 OPEN77 License Key
Before you can jump into the step-by-step guide and boot up Warden, your dedicated server needs to be officially enrolled with the OPEN77 Master Server. Without a valid key, your server cannot register itself or appear publicly.
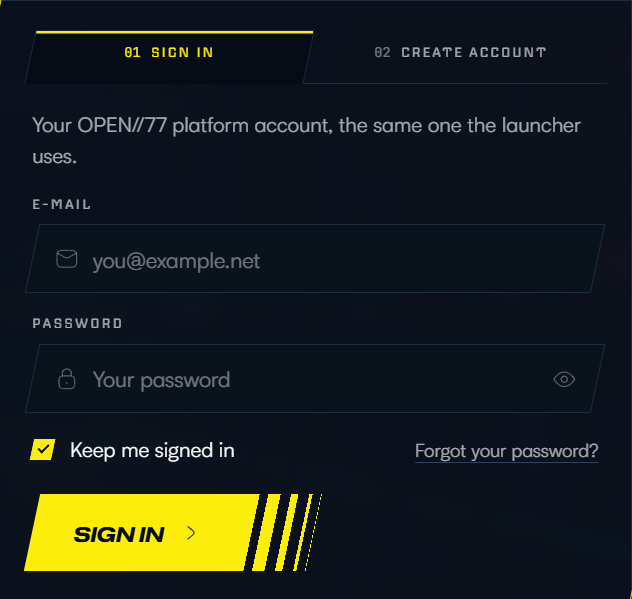
Head over to the open2077.net website and log into your registered OPEN77 account.
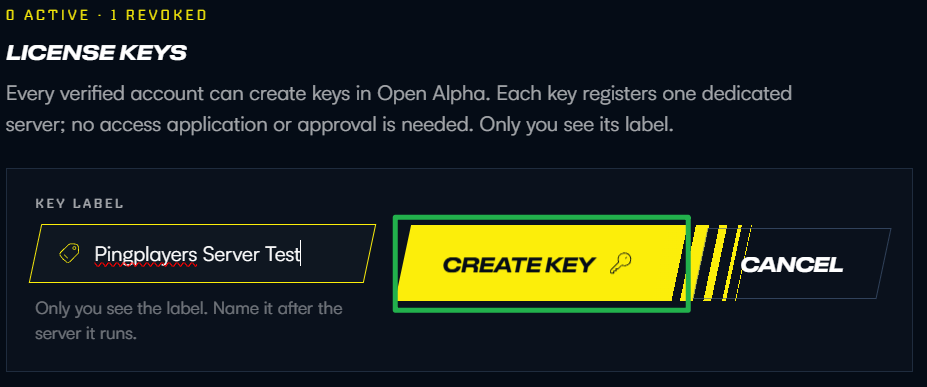
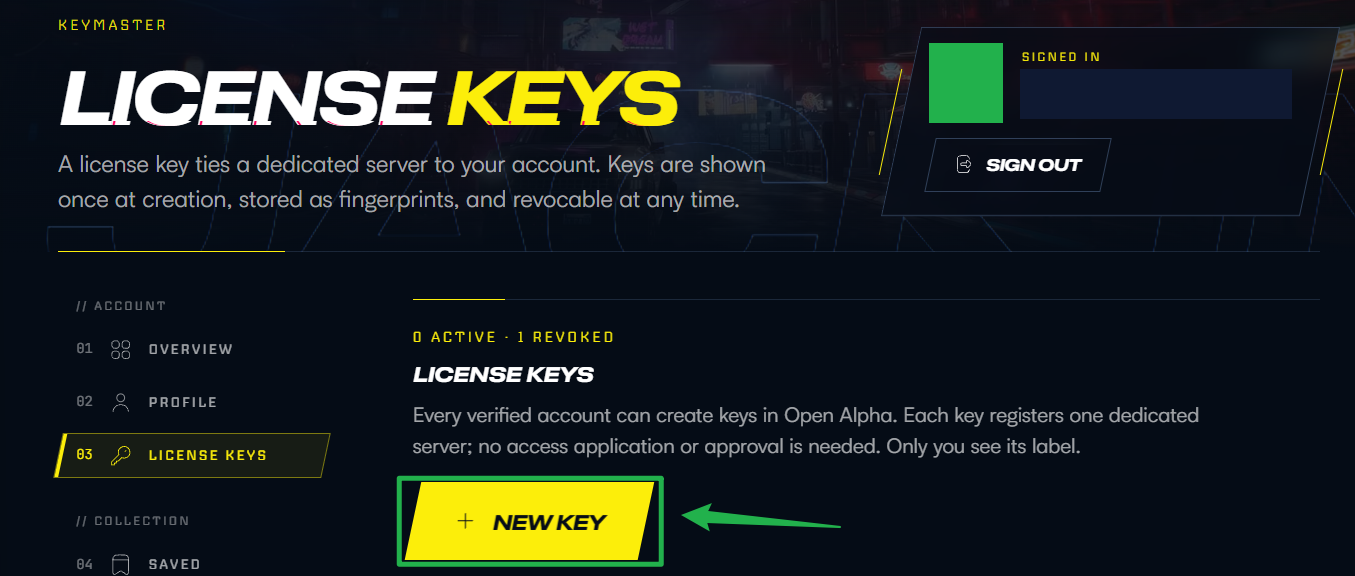
Navigate to the Server Keys section and generate a new key (it will usually start with
op77_live_).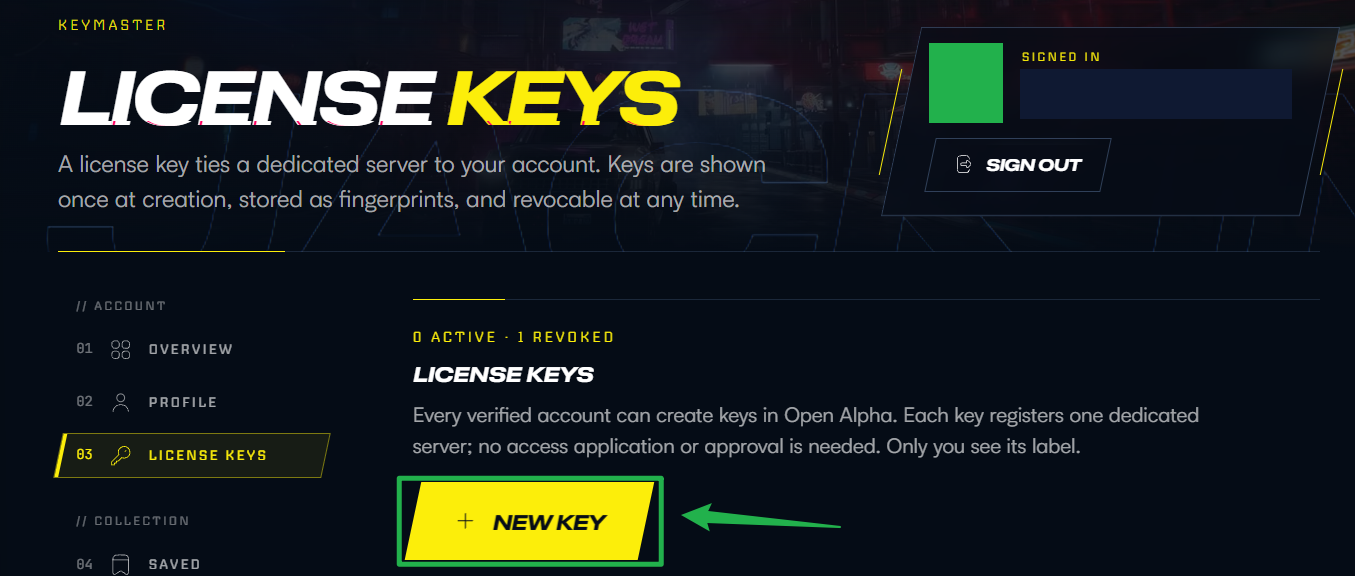
Go back to your Pingplayers account and when creating a new server, you will be prompted to enter your OPEN77 License Key. Simply paste the key you generated directly into this field to authenticate your server.
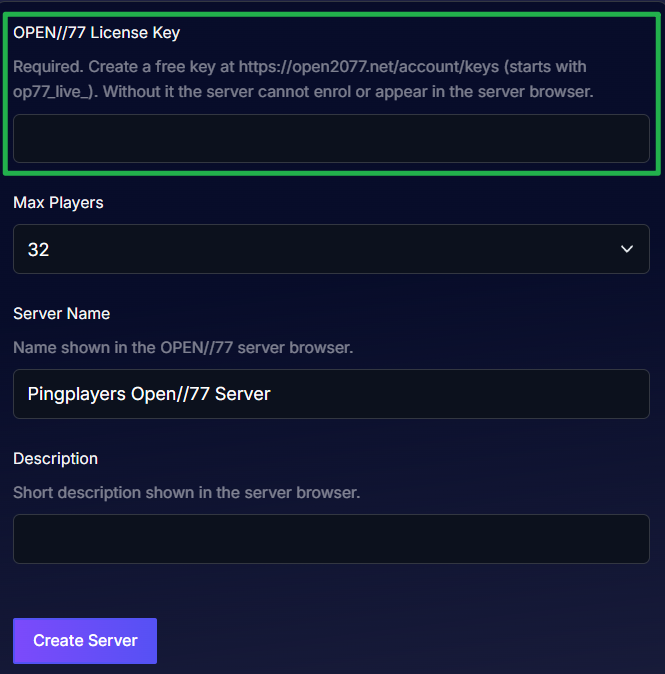
Treat this key like a password and keep it secret! Anyone with the key can enrol a server against your account.
Step - By - Step Guide
Now that your server is properly licensed, let us get your Warden panel online and configure your first admin account.
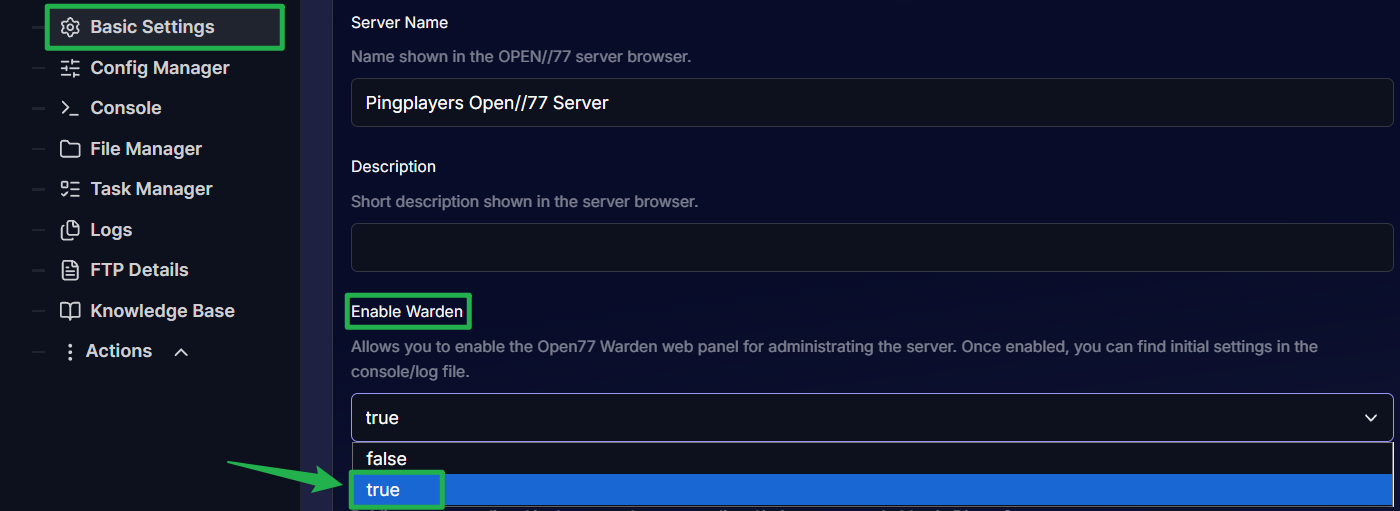
On your main dashboard, navigate back to your Basic Settings and switch the Enable Warden option to enabled.
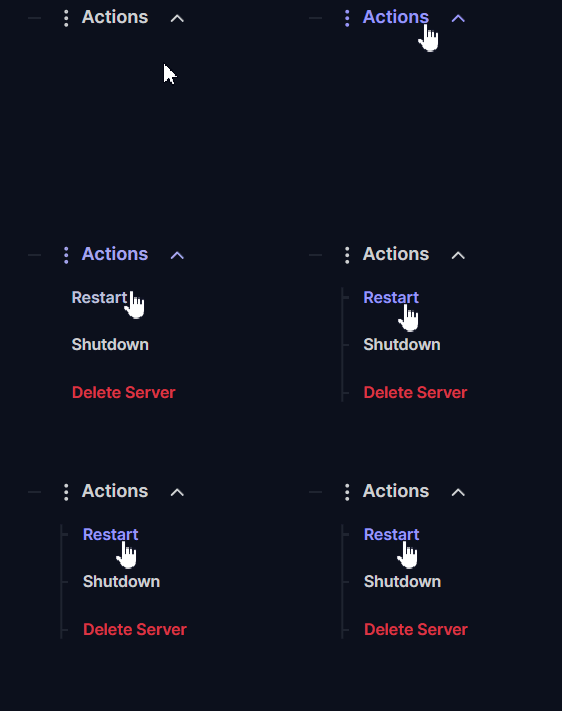
Click Action > Restart on your dashboard to boot the server back up with Warden active.
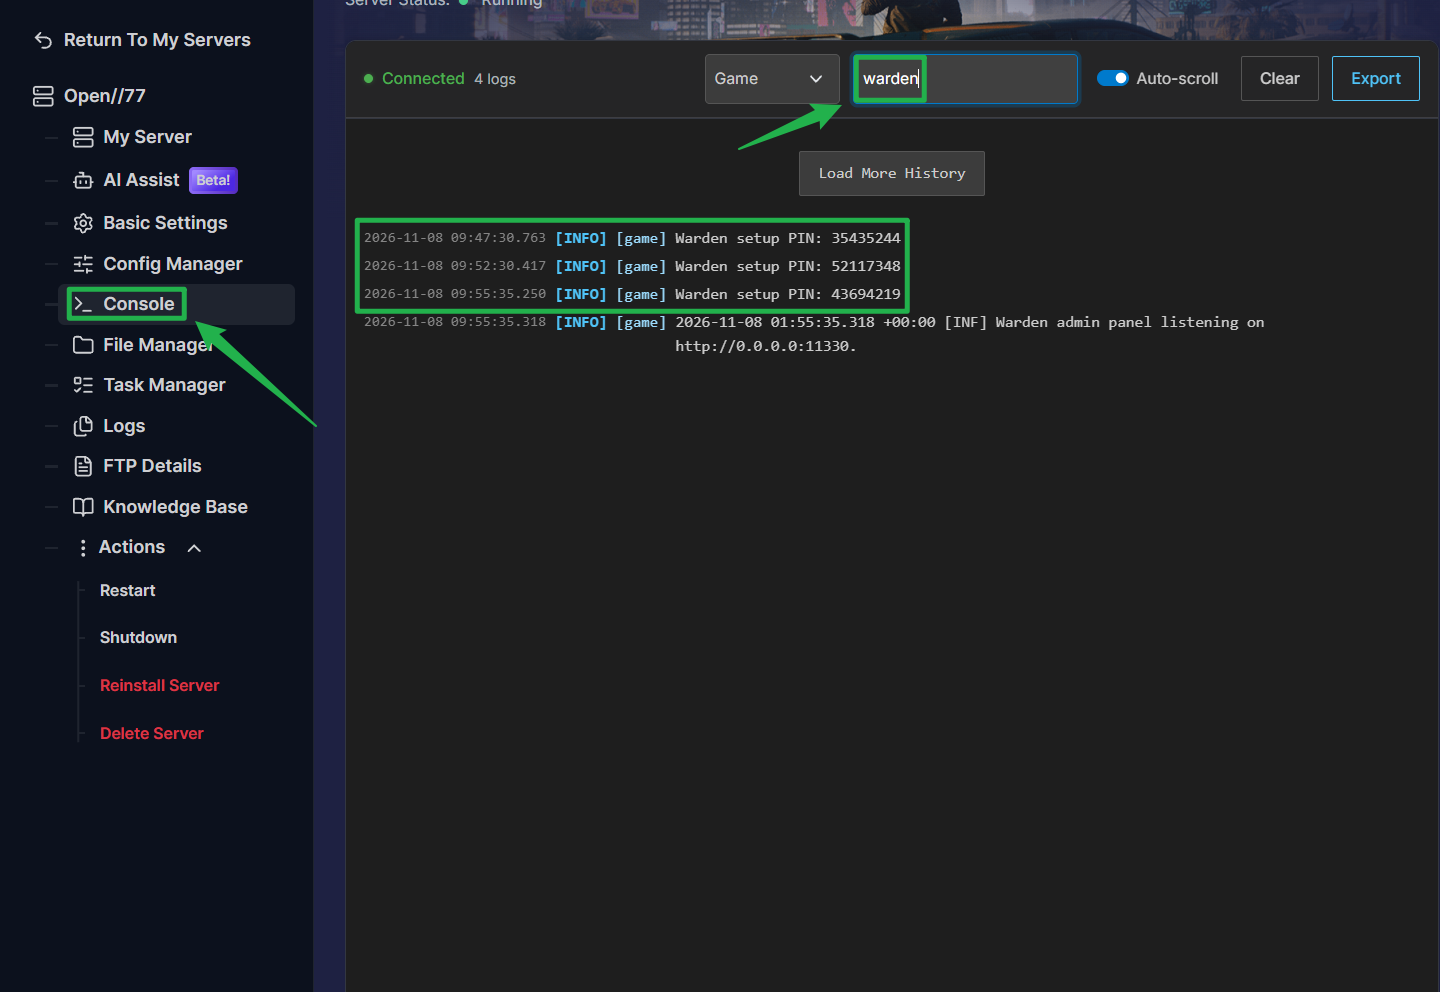
Once the server is online, open your live Console tab. Look through the startup logs (or use the console search bar to look for the word "warden") and copy the one-time setup PIN printed in the output.
Locate your specific Warden port in your server's Networking information. Open a new web browser tab and type in your server IP and Warden port using this exact format:
http://IP:WARDEN_PORT.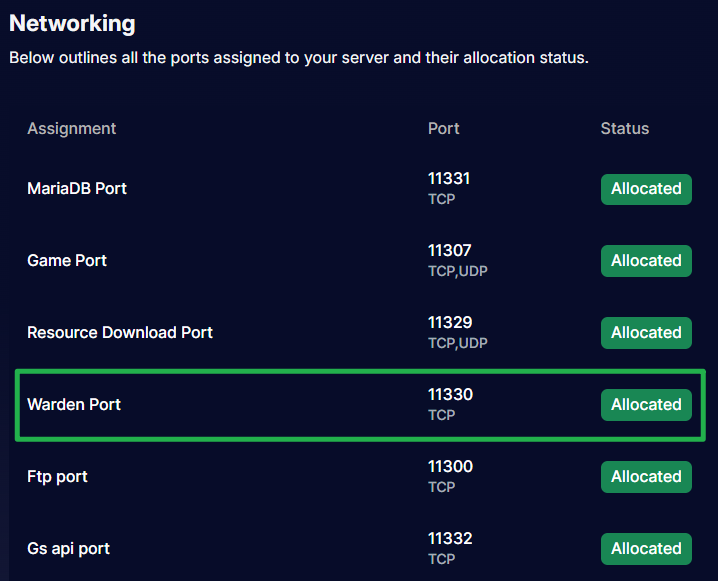
The Networking tab is available on the main server panel. 
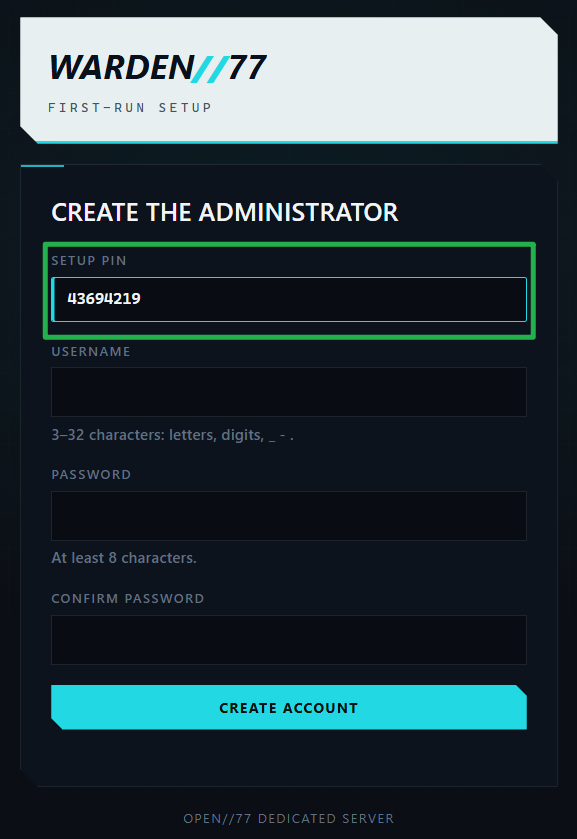
You will be prompted to enter the one-time setup PIN you copied earlier. Enter it, then create your first administrator username and password to gain full access to the panel!
Troubleshooting and Tips
If you are having trouble jacking into the system, run through these quick checks:
- Missing Setup PIN: If Warden is asking for a PIN but you cannot find it, remember that it only prints in the console during the very first time Warden is initialized. If you missed it, try searching the console history. The PIN is only used once to create your initial account.
- Configuration Changes vs Resource Reloads: While Warden allows you to start, stop, and reload individual resources on the fly without disconnecting players, major changes to your
server.jsoncfile (like changing your database settings or visibility) will not take effect immediately. For persistent core changes, you must reboot the whole server. - Safe Reboots: Whenever you need to make heavy edits to your server files manually, always use Actions > Shutdown to bring your server offline safely. Once your tweaks are done, use Action > Restart to bring Night City back online.
Conclusion
You are officially wired in! With Warden set up, you have the ultimate admin toolset to moderate your OPEN77 community, manage your database, and keep your CP2077 server running flawlessly. Grab your iron, hit the streets, and start building your empire.
If you encounter any issues or have further questions, feel free to contact our support team for assistance!