
How to Install Arma 3 Mods Using the Mod Manager
Install and manage Arma 3 Steam Workshop mods with your server panel's Mod Manager - installs, dependency checks, and troubleshooting.
How to Install Arma 3 Mods Using the Mod Manager
Arma 3 is the ultimate military simulation sandbox, but the vanilla game is only the beginning. The real magic happens when you start loading up mods. Whether you want to run massive modern combat ops with RHS, coordinate realistic radio comms using Task Force Radio, or drop in new terrains for your Zeus missions, mods are absolutely essential for a proper A3 experience.
In the past, installing Steam Workshop mods on a dedicated server meant dealing with slow FTP transfers and messy folder structures. Now, our server panel features a built-in Mod Manager that handles the heavy lifting for you. This guide will show you how to install and manage your mods with just a few clicks.
Step-By-Step Guide to Installing Mods
Getting your tactical loadouts and custom maps ready is incredibly simple. Just follow these steps to add mods to your A3 server:
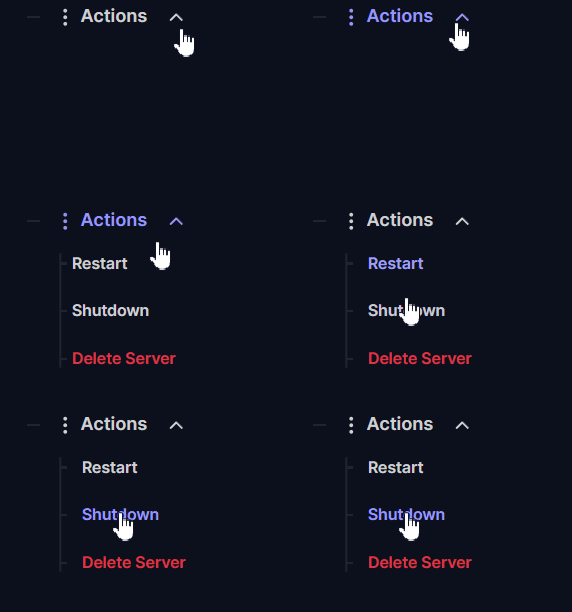
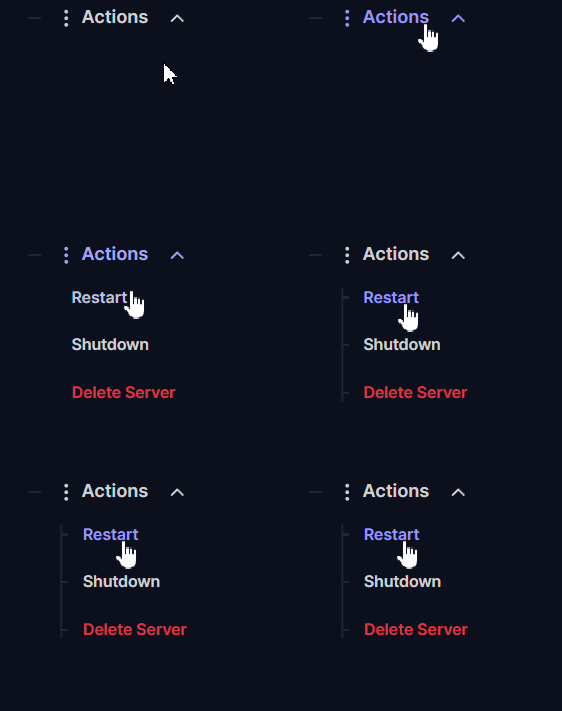
Log into your server panel and navigate to Actions > Shutdown to safely turn off your server. Modifying files or installing mods while the server is active can cause data corruption, so always make sure your server is completely offline before proceeding!
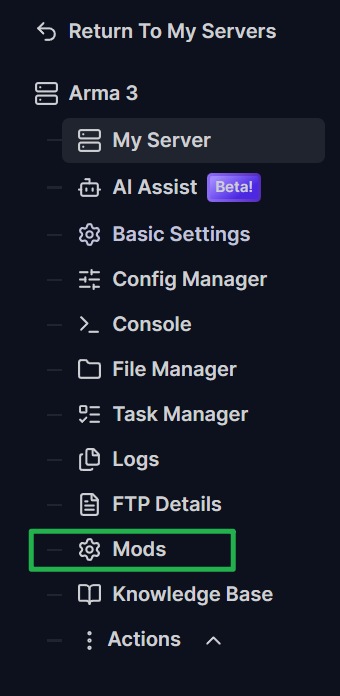
Look at the left-side menu and click on the Mods tab.
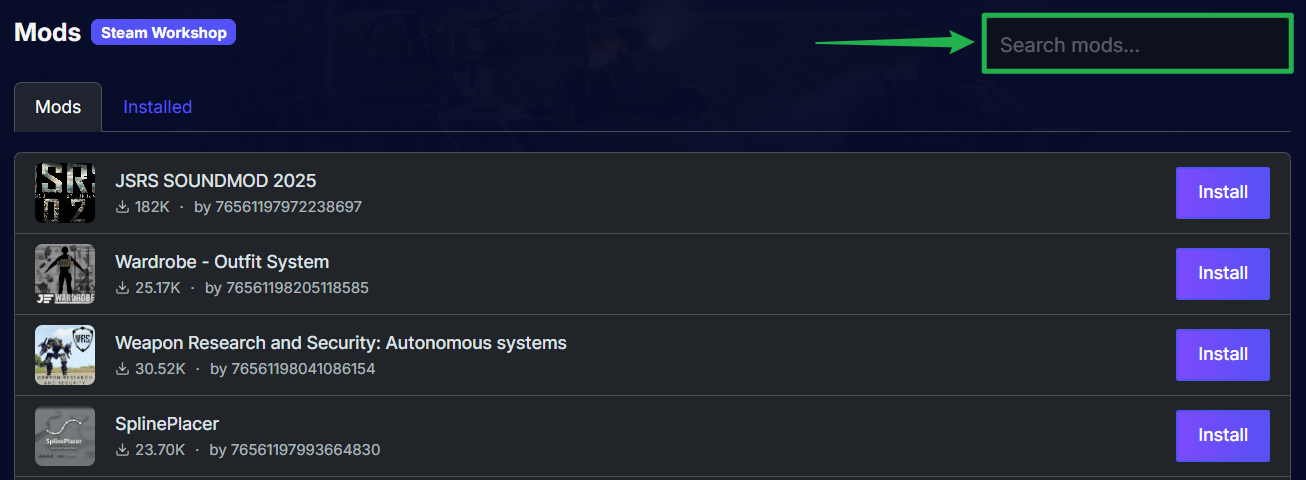
Use the search bar at the top of the menu to find the specific Steam Workshop mods you want to add to your loadout. You can search by the exact mod name or by the Workshop ID.
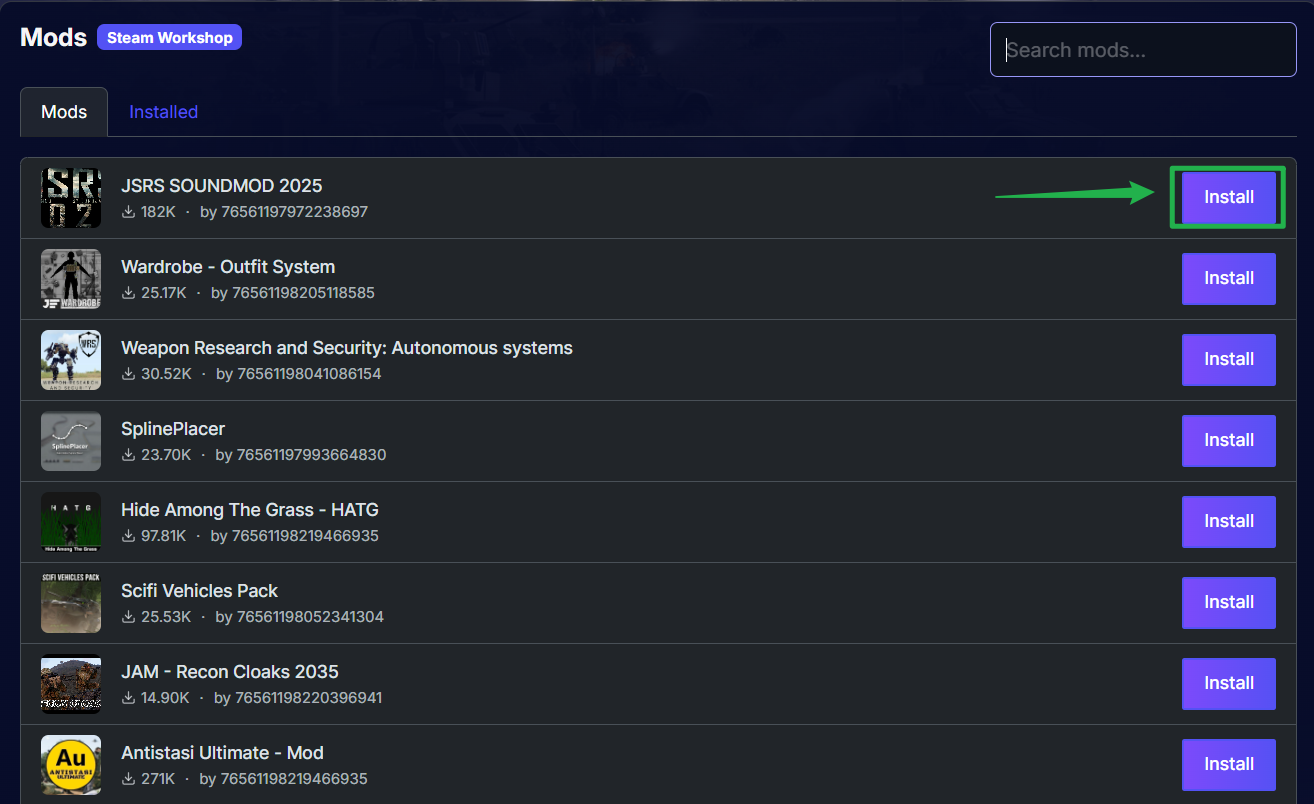
Once you locate the correct mod in the list, click the purple Install button next to it. The server will automatically download the files directly from Steam and place them in the correct directories.
To verify that your files downloaded successfully, click on the Installed tab at the top of the window. This section displays every active mod currently applied to your server.

Navigate back to the Actions menu and click Restart to boot up your server with your brand new mods loaded in!
Troubleshooting and Tips
Modding a massive milsim game can sometimes lead to unexpected errors or connection kicks. Keep these tips in mind to ensure your deployments go smoothly:
Always Check Dependencies: Many popular A3 mods require core framework mods to function properly. For example, almost every major mod requires CBA_A3 (Community Base Addons). If your server crashes on startup, double check the Steam Workshop page to ensure you installed all required dependencies.
Client and Server Mismatches: In Arma 3, connecting players must be running the exact same modset as the server. To avoid signature mismatch kicks, export an HTML preset file from your Arma 3 Launcher and share it with your unit so everyone downloads the exact same Workshop list.
Use AI Assist for Quick Fixes: If a mod causes a server crash and you are not sure which one is the culprit, open your panel chat. You can ask the AI assistant to read your crash logs, and it will pinpoint exactly which file or mod is breaking your op.
Conclusion
Mods completely transform Arma 3 into whatever tactical experience you can imagine. By taking advantage of the built-in Mod Manager, you can skip the tedious manual file transfers and spend more time building the perfect Zeus operations for your squad. Get your modlist locked in, load up your gear, and get ready to deploy!
If you encounter any issues or have further questions, feel free to contact our support team for assistance!