How to Set Up Your Proximity Chat The Isle Server
Set up proximity voice for The Isle: Evrima with Pingplayers - install Mumble and TheIsleProximity plugin, link accounts via /link-account.
What is proximity voice chat
The Isle: Evrima does not natively support proximity voice chat at the time of writing. Many players prefer talking to nearby players in-game rather than using global voice channels. To provide that experience, community solutions using Mumble plus a proximity plugin were developed.
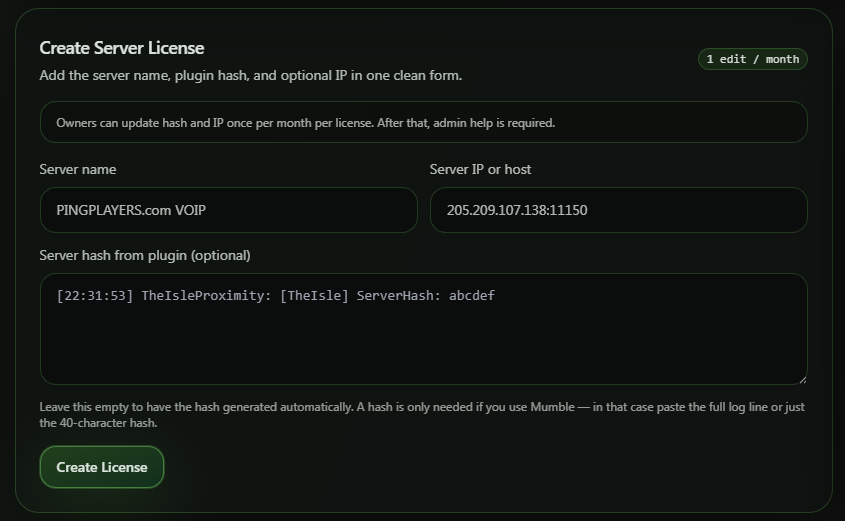
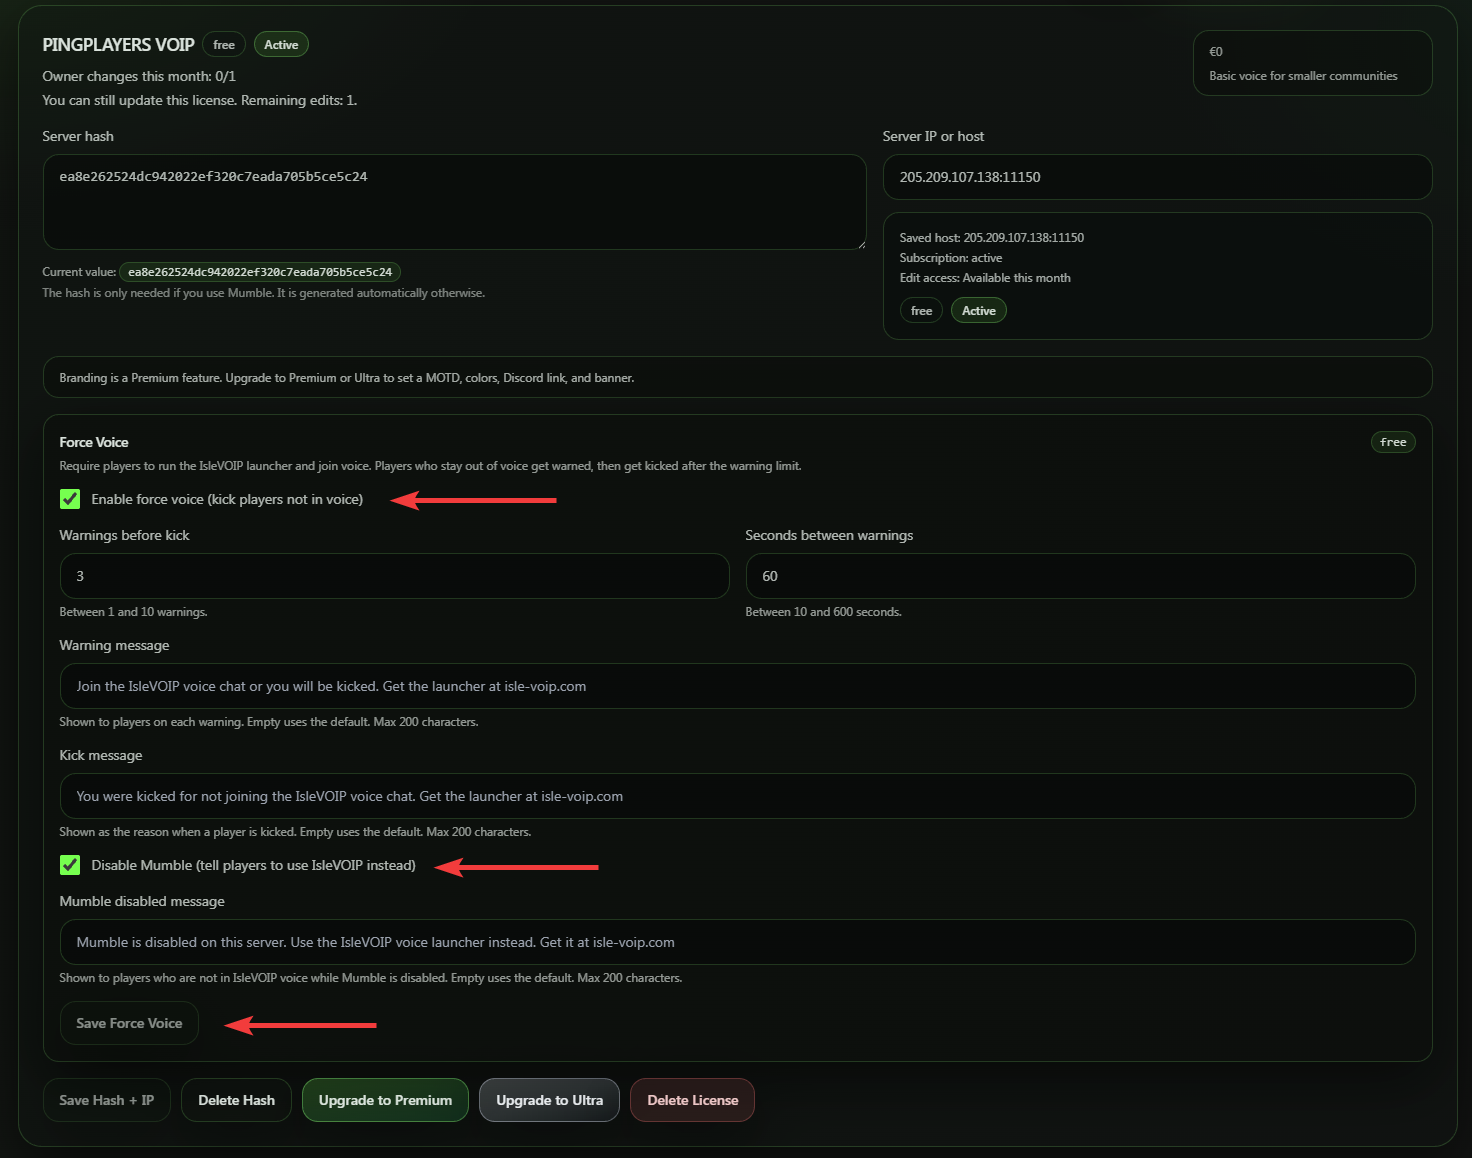
Pingplayers bundles the VoIP TheIsleProximity plugin (from The Isle VOIP) with the server, so if you rent a +VoIP server from us you already have a Mumble server running and the plugin available on the server side.
Installing Mumble and the plugin
Before you can use proximity voice, players need the Mumble client and the proximity plugin on their machines.
Note: Pingplayers The Isle: Evrima +VoIP servers already include a Mumble server, so you only need the client.
Download and install the Mumble client in your PC. For Windows (64-bit) you can use this link: https://dl.mumble.info/latest/stable/client-windows-x64


Download the plugin from here. Note that the creator of the plugin has reported that the .exe isn't signed and verified as an official company because he can't afford it, therefore, Windows may flag it as malicious. There's a post in the Discord server about it and here is the Virustotal Scan. We believe the Yannik as many use it.

- Install the Proximity plugin (TheIsleProximity) on the client. This plugin lets your Mumble client communicate with The Isle to enable distance-based voice.
To enable the plugin in Mumble:
- Open Mumble and go to Configure → Settings.
- Go to Plugins and find TheIsleProximity in the list.
- Tick Enable and click OK.

In case you don't see it on the list, click on Reload plugins after you install it.
Connecting as SuperUser
The Mumble server on your Pingplayers The Isle: Evrima server is started with the game. To create channels and manage server settings you should connect to it as the SuperUser.
- From your Pingplayers control panel, write down: your server's IP, the Mumble port (found in Networking) and the SuperUser password (found in Basic Settings).
- Open Mumble and click Server → Connect → Add New…
- Fill in:
- Address: your server IP
- Port: the Mumble port
- Username: a name to identify you (can be SuperUser)
- Password: the SuperUser password from Basic Settings. Note that the password field appears only when inserting SuperUser as a username.
- Label: optional (e.g. "Pingplayers VoIP The Isle: Evrima SuperUser")

- Save and click Connect to sign in as SuperUser.

Editing the Mumble server (create channel, password, permissions)
After connecting as SuperUser, create the voice channel players will use for proximity chat and set its password and access rules.
Right-click on the server name in Mumble and choose Add to create a new channel.

Name the channel (for example: Proximity_chat). Add a description or image if desired.

Right-click the new channel and choose Edit.

In the Properties tab, set a password for the channel and write it down for later (you will copy this into the game server settings). Click OK to save the password.

Right click and Edit again and in the ACL tab, set permissions. For a public server you can permit @all to join; for private servers restrict as needed.


Here, the password we set is test123 so it shows up as a group - Apply changes and close the editor.
Synchronizing with The Isle: Evrima server
The game server needs to know the Mumble channel name, password and server hash so the proximity plugin on the server side can link player game accounts to Mumble users.
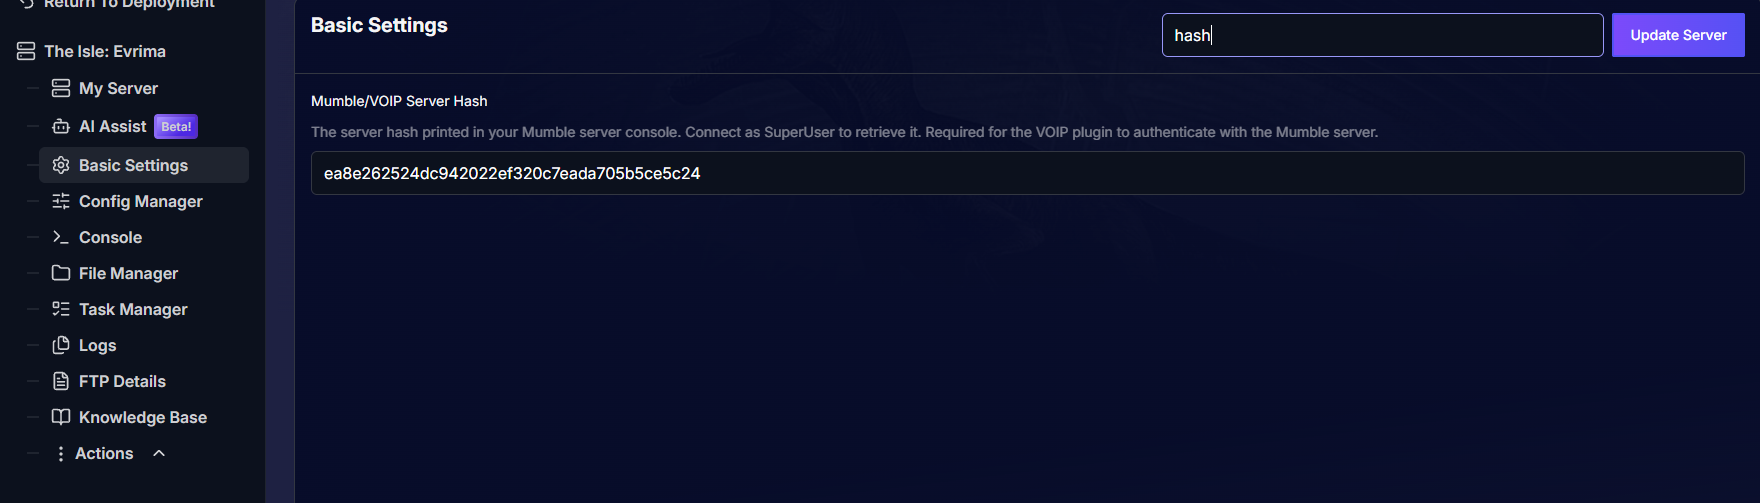
- Go to your Pingplayers control panel → Basic Settings for your server.
- Copy the channel name you created in Mumble into the Mumble Channel Name field.
- Copy the channel password into the Mumble Channel Password field.
- Get the Mumble Server Hash: while connected to the Mumble server (as SuperUser), look at the left-side log for the server hash (or check the server logs panel in Mumble). Copy that value into the Mumble Server Hash field in Basic Settings.
- Click Update Settings in the control panel.
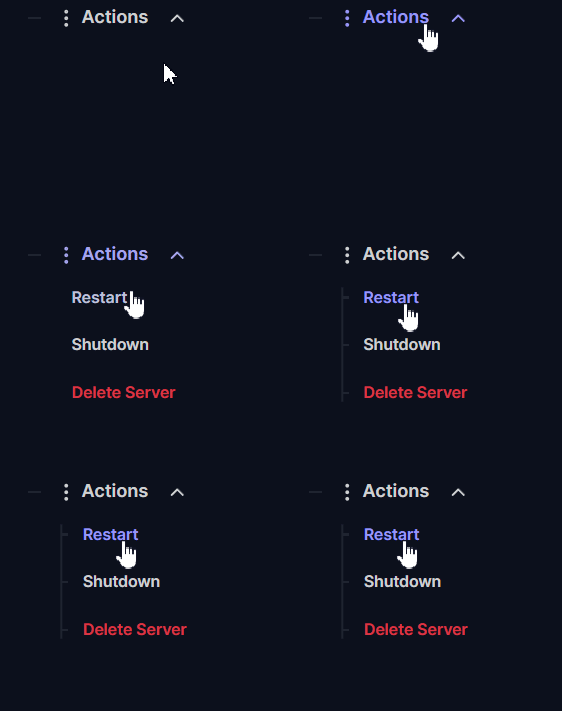
Restart your game server so the new VoIP settings take effect.

Once the server restarts with these values the proximity functionality on the server side is configured.
Connecting and activating the client plugin
Players must link their Mumble client to their in-game account once to enable proximity voice.
- If you haven't, install the Mumble client (link above) and enable TheIsleProximity plugin in Configure → Settings → Plugins.
- In Mumble: Server → Connect → Add New…
Enter the server IP, Mumble port, and your in-game name as the Username. Label the entry as you like (for example "Pingplayers VoIP The Isle: Evrima").

- Connect to the Mumble server and join the channel configured earlier.
- In the Mumble client, open the left-side log pane and copy your Mumble UserHash (UniqueID) from the connection logs.
Go into The Isle: Evrima in-game and in chat type:
/link-account YOURHASHCODE(replace YOURHASHCODE with your UserHash and include the leading slash)
This links your in-game account to your Mumble user so the proximity plugin recognizes you.
- If successful the plugin will activate for your account and you should hear/speak to nearby players in-game according to proximity rules.
Troubleshooting
Common issues and how to fix them:
- Plugin conflicts: If you have other Isle-related Mumble plugins installed (for example Boschs-Island), disable them. Running TheIsleProximity and Boschs-Island together can cause forced mute conflicts.
- Missing password field: If you don't see the password field when editing a channel, make sure you connected as the SuperUser. The SuperUser username must be written as SuperUser (no space). Only SuperUser can set channel passwords.
- /link-account fails: Ensure you copied the correct hash — you need your personal Mumble UserHash (UniqueID) from the client log, not the server hash. Also be sure you type the command with the leading slash in the in-game chat.
- Can't hear or be heard: Check Mumble input/output device selection and volume. Ensure the TheIsleProximity plugin is enabled in Mumble. Confirm the server channel ACL allows you to join.
- Still stuck: Restart Mumble and the game client, re-check server settings in the Pingplayers control panel, and verify the server was restarted after changing Basic Settings.
Console shows a lot of ERRORS. Console doesn't truly understand that the plugin is injecting stuff so it reads it as an error, ignore that as every injected line will show up in red as an error, even when they aren't errors.

I join the channel and activate it but I'm muted. If the channel has a password, you may need to add it through Server→Access Tokens→Add→Password.

That's it!
If you followed these steps you should have a working proximity voice setup for your Pingplayers The Isle: Evrima server. Players need the Mumble client, the TheIsleProximity plugin enabled, and a one-time /link-account command in-game to link their Mumble UserHash. Once linked, voice will be distance-based in the configured channel.
If you have any questions or need assistance, feel free to reach out to our customer care agents through our live chat or email at [email protected].